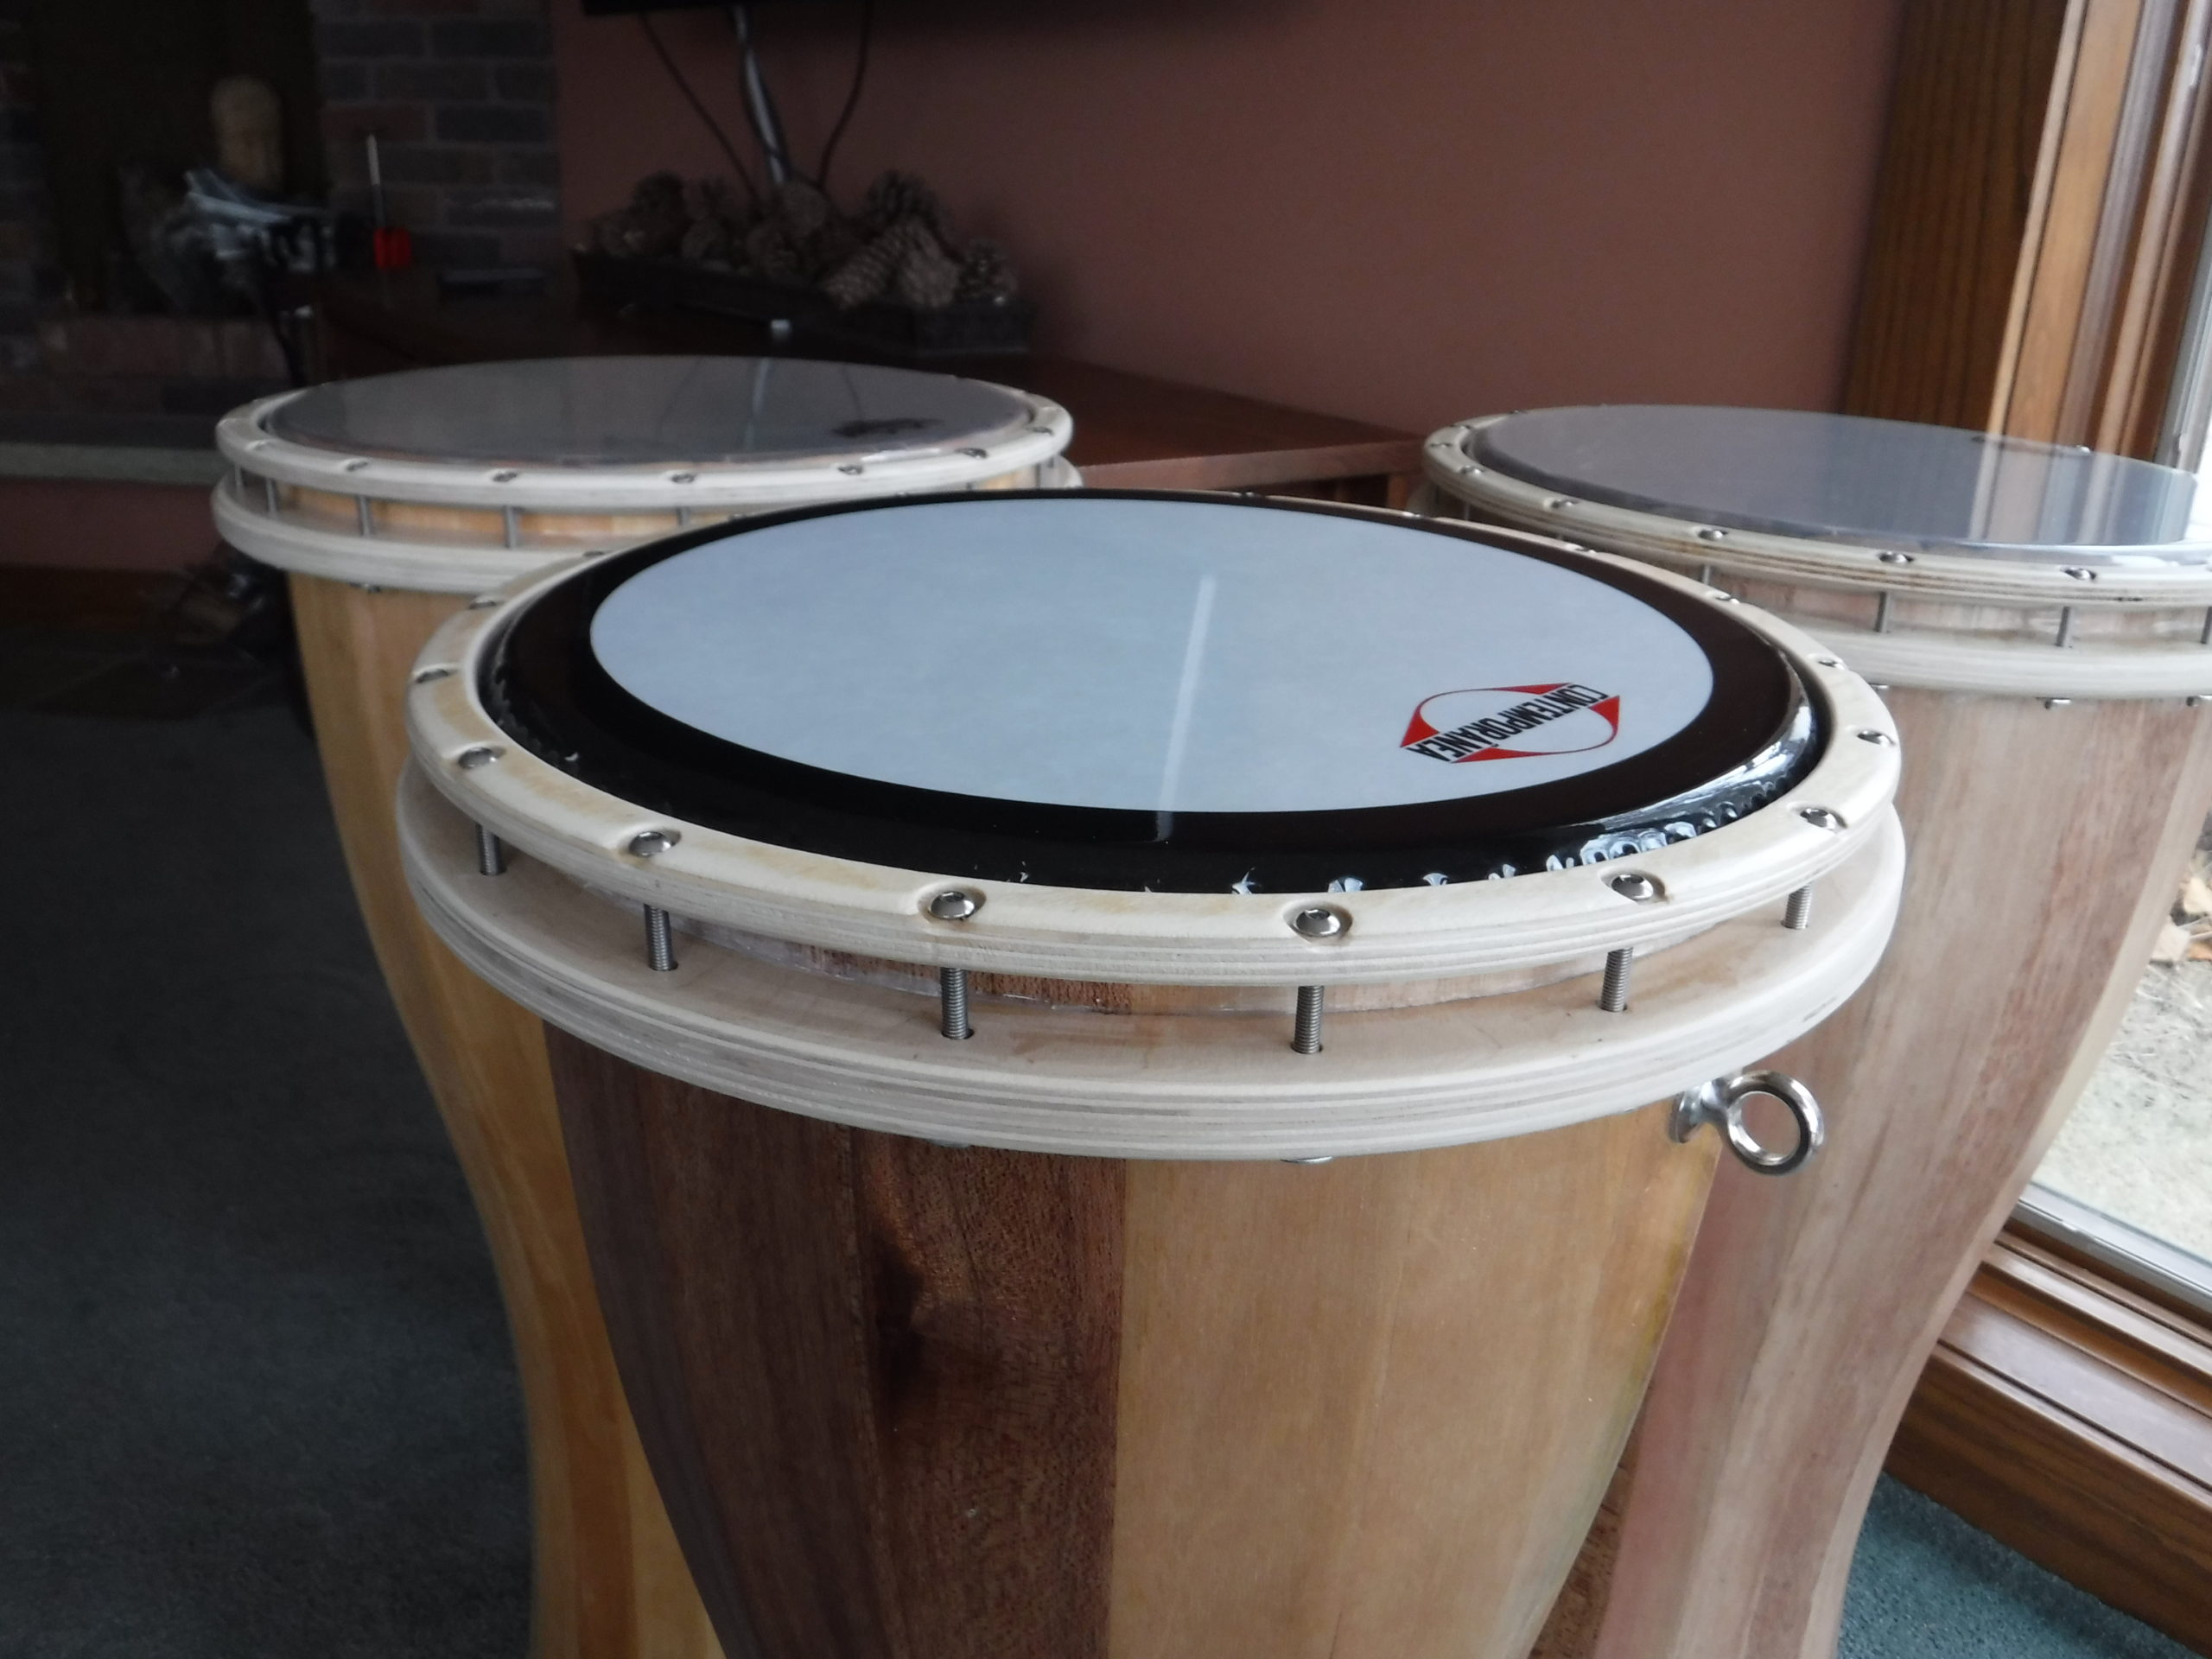
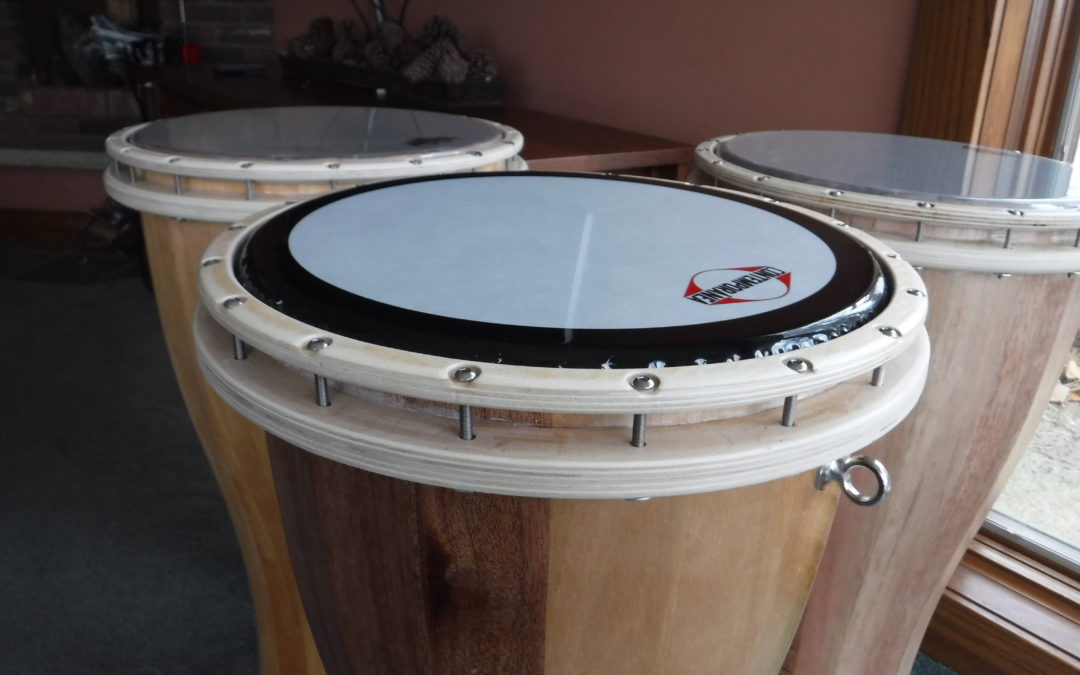
A plywood hoop was a descision made by nescessity that had some positive outcomes. My search for the Brazilian style hand drum hoops ended up when I could not find them for sale as a seperate item. It was cheaper to buy a drum then to buy the replacement part. This made me think of the possibilty of making it in plywood. After many prototypes I found that if it was carefully made out of quality plywood, one could come up with an effective hoop for a hand drum. I will share with you my findings.
The positive outcomes:
- A wood hoop ends up being gentle on you hands.
- It does not require you to change your playing style. Some user notice the need to change the position of their thumbs slightly
- It is strong enough to tension the head
- The 18 lugs allow you to tune the drum nicely, albeit it does take a little longer to tune.
Material List
– Best quality birch plywood you can find 1/2″ (9ply). Depending on the quality of your plywood these dimensions might change dramatically… or not work at all. You will need approximately a 16″ X 16″ piece
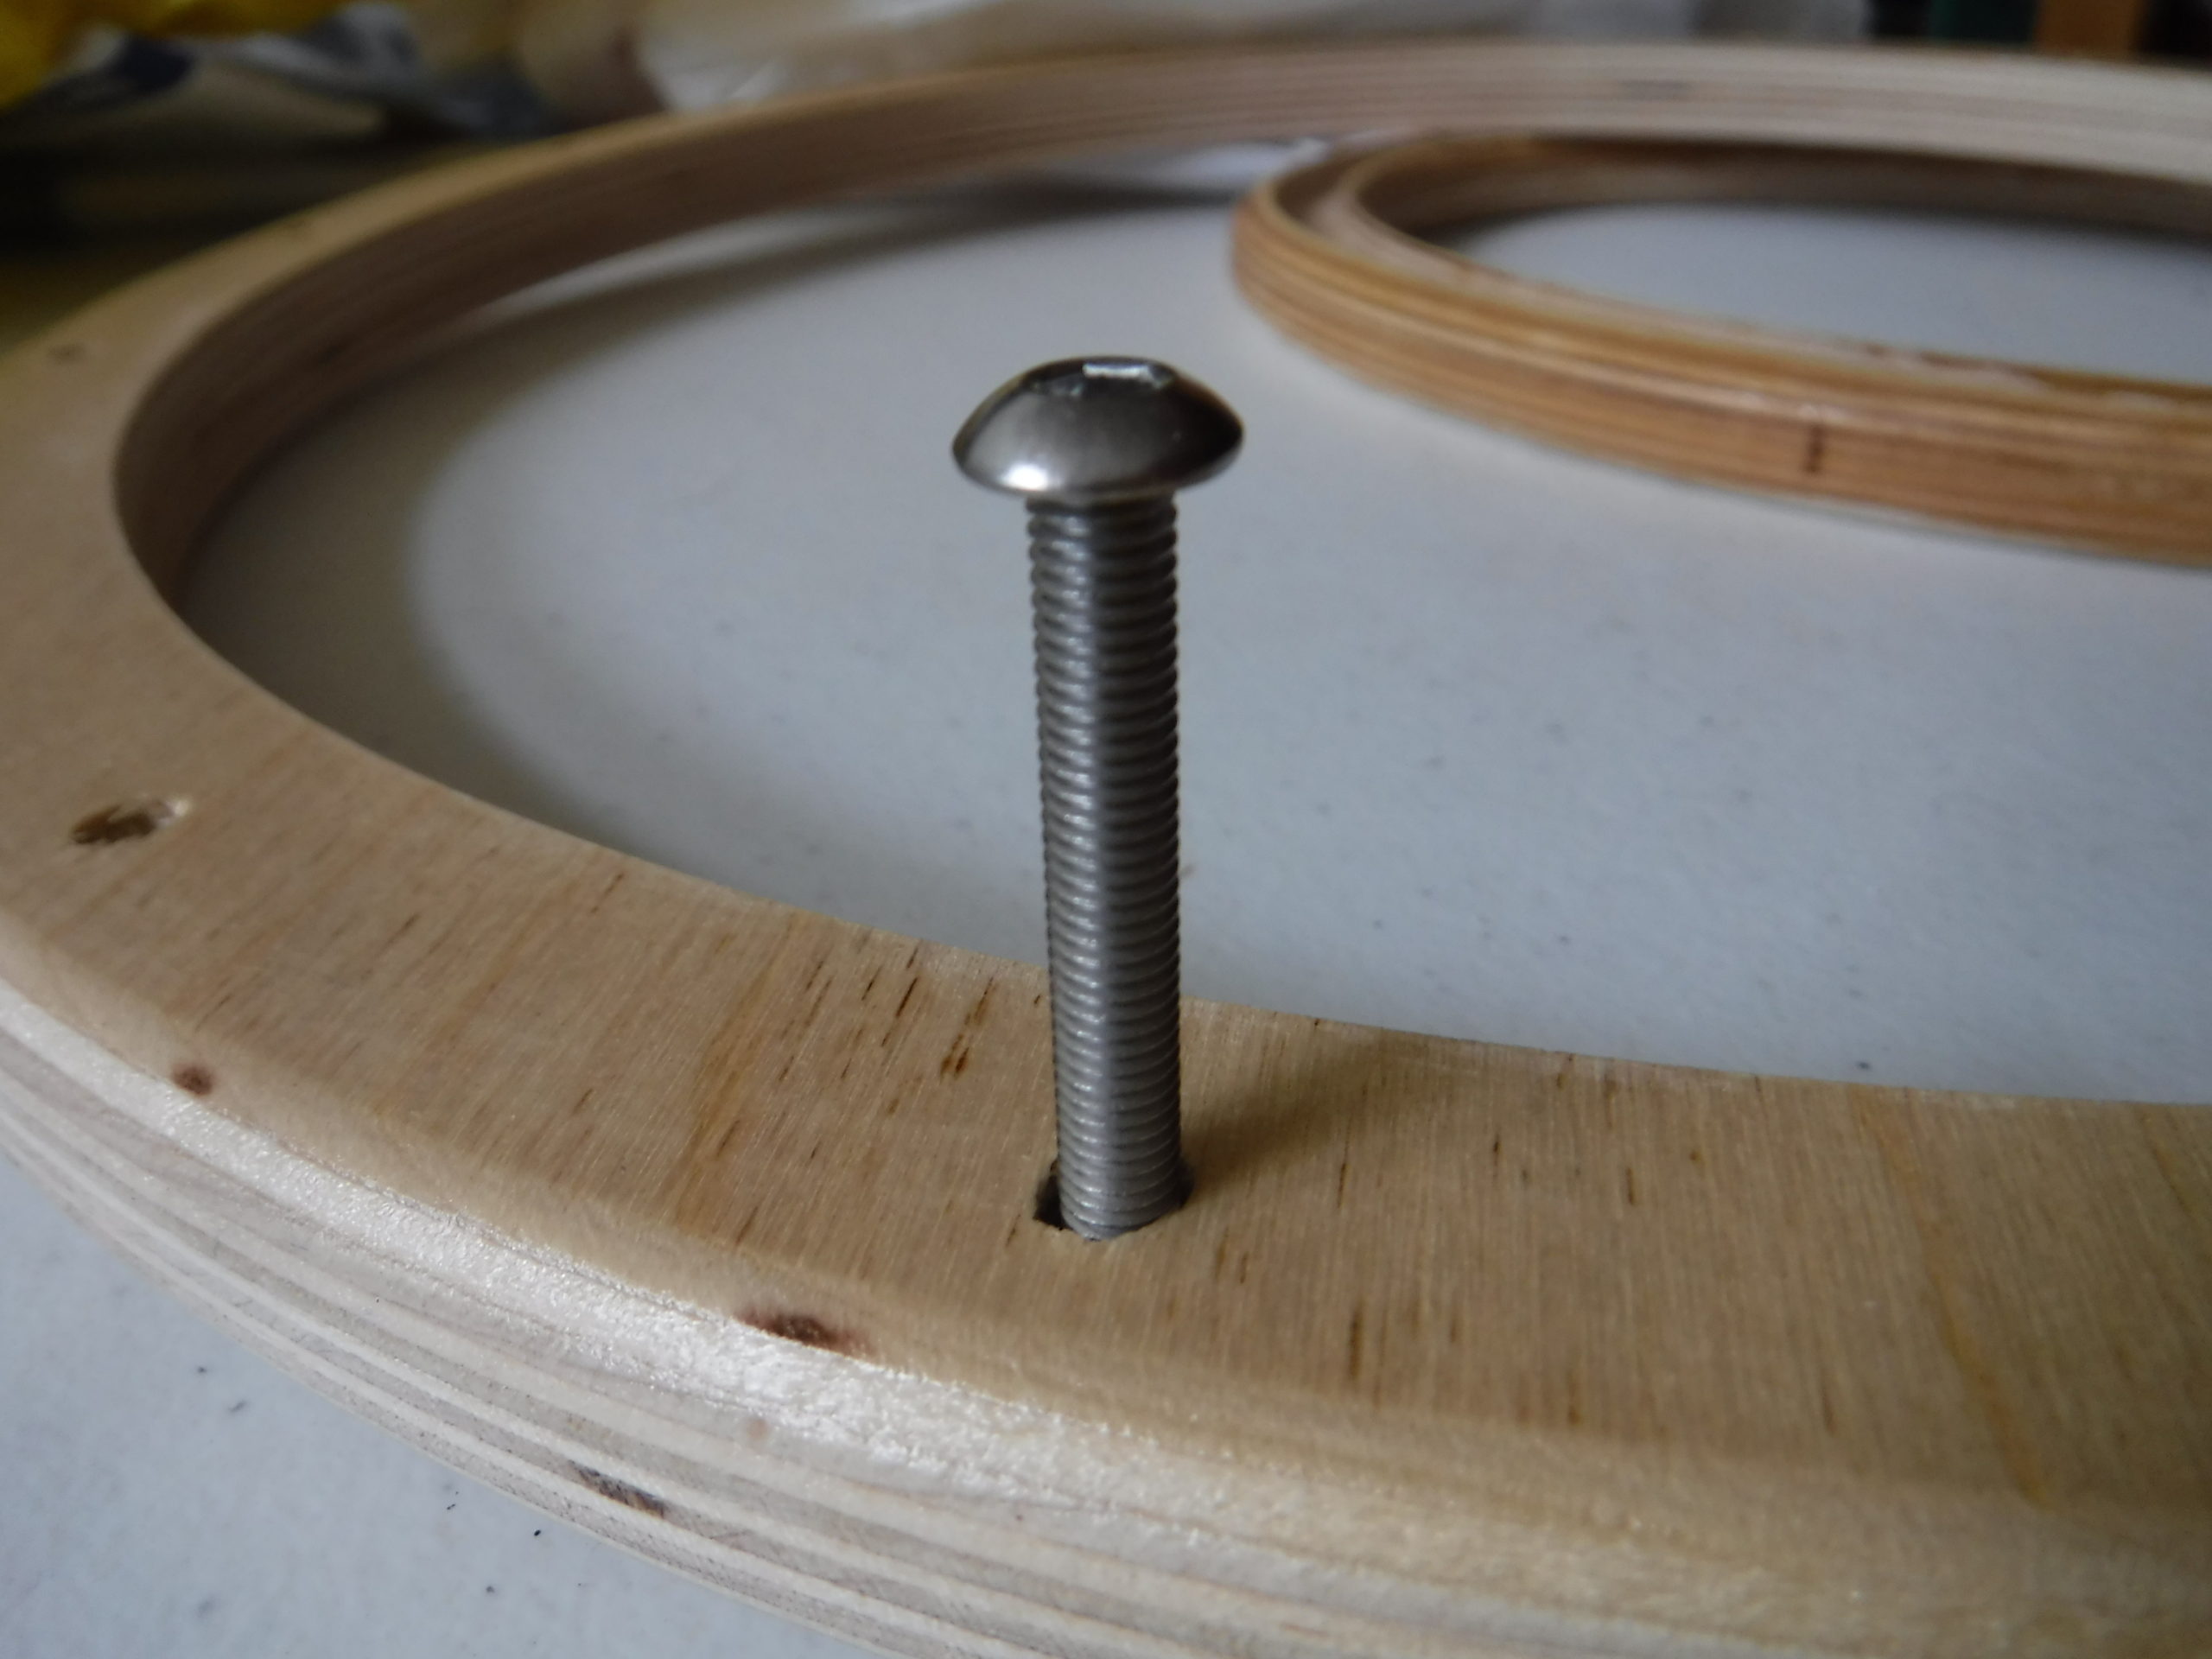
– Tension screws are #10-32 x 2″ Button head socket cap screw, 1/8″ Hex Drive, 304 Stainless Steel. You will need 16 of them.
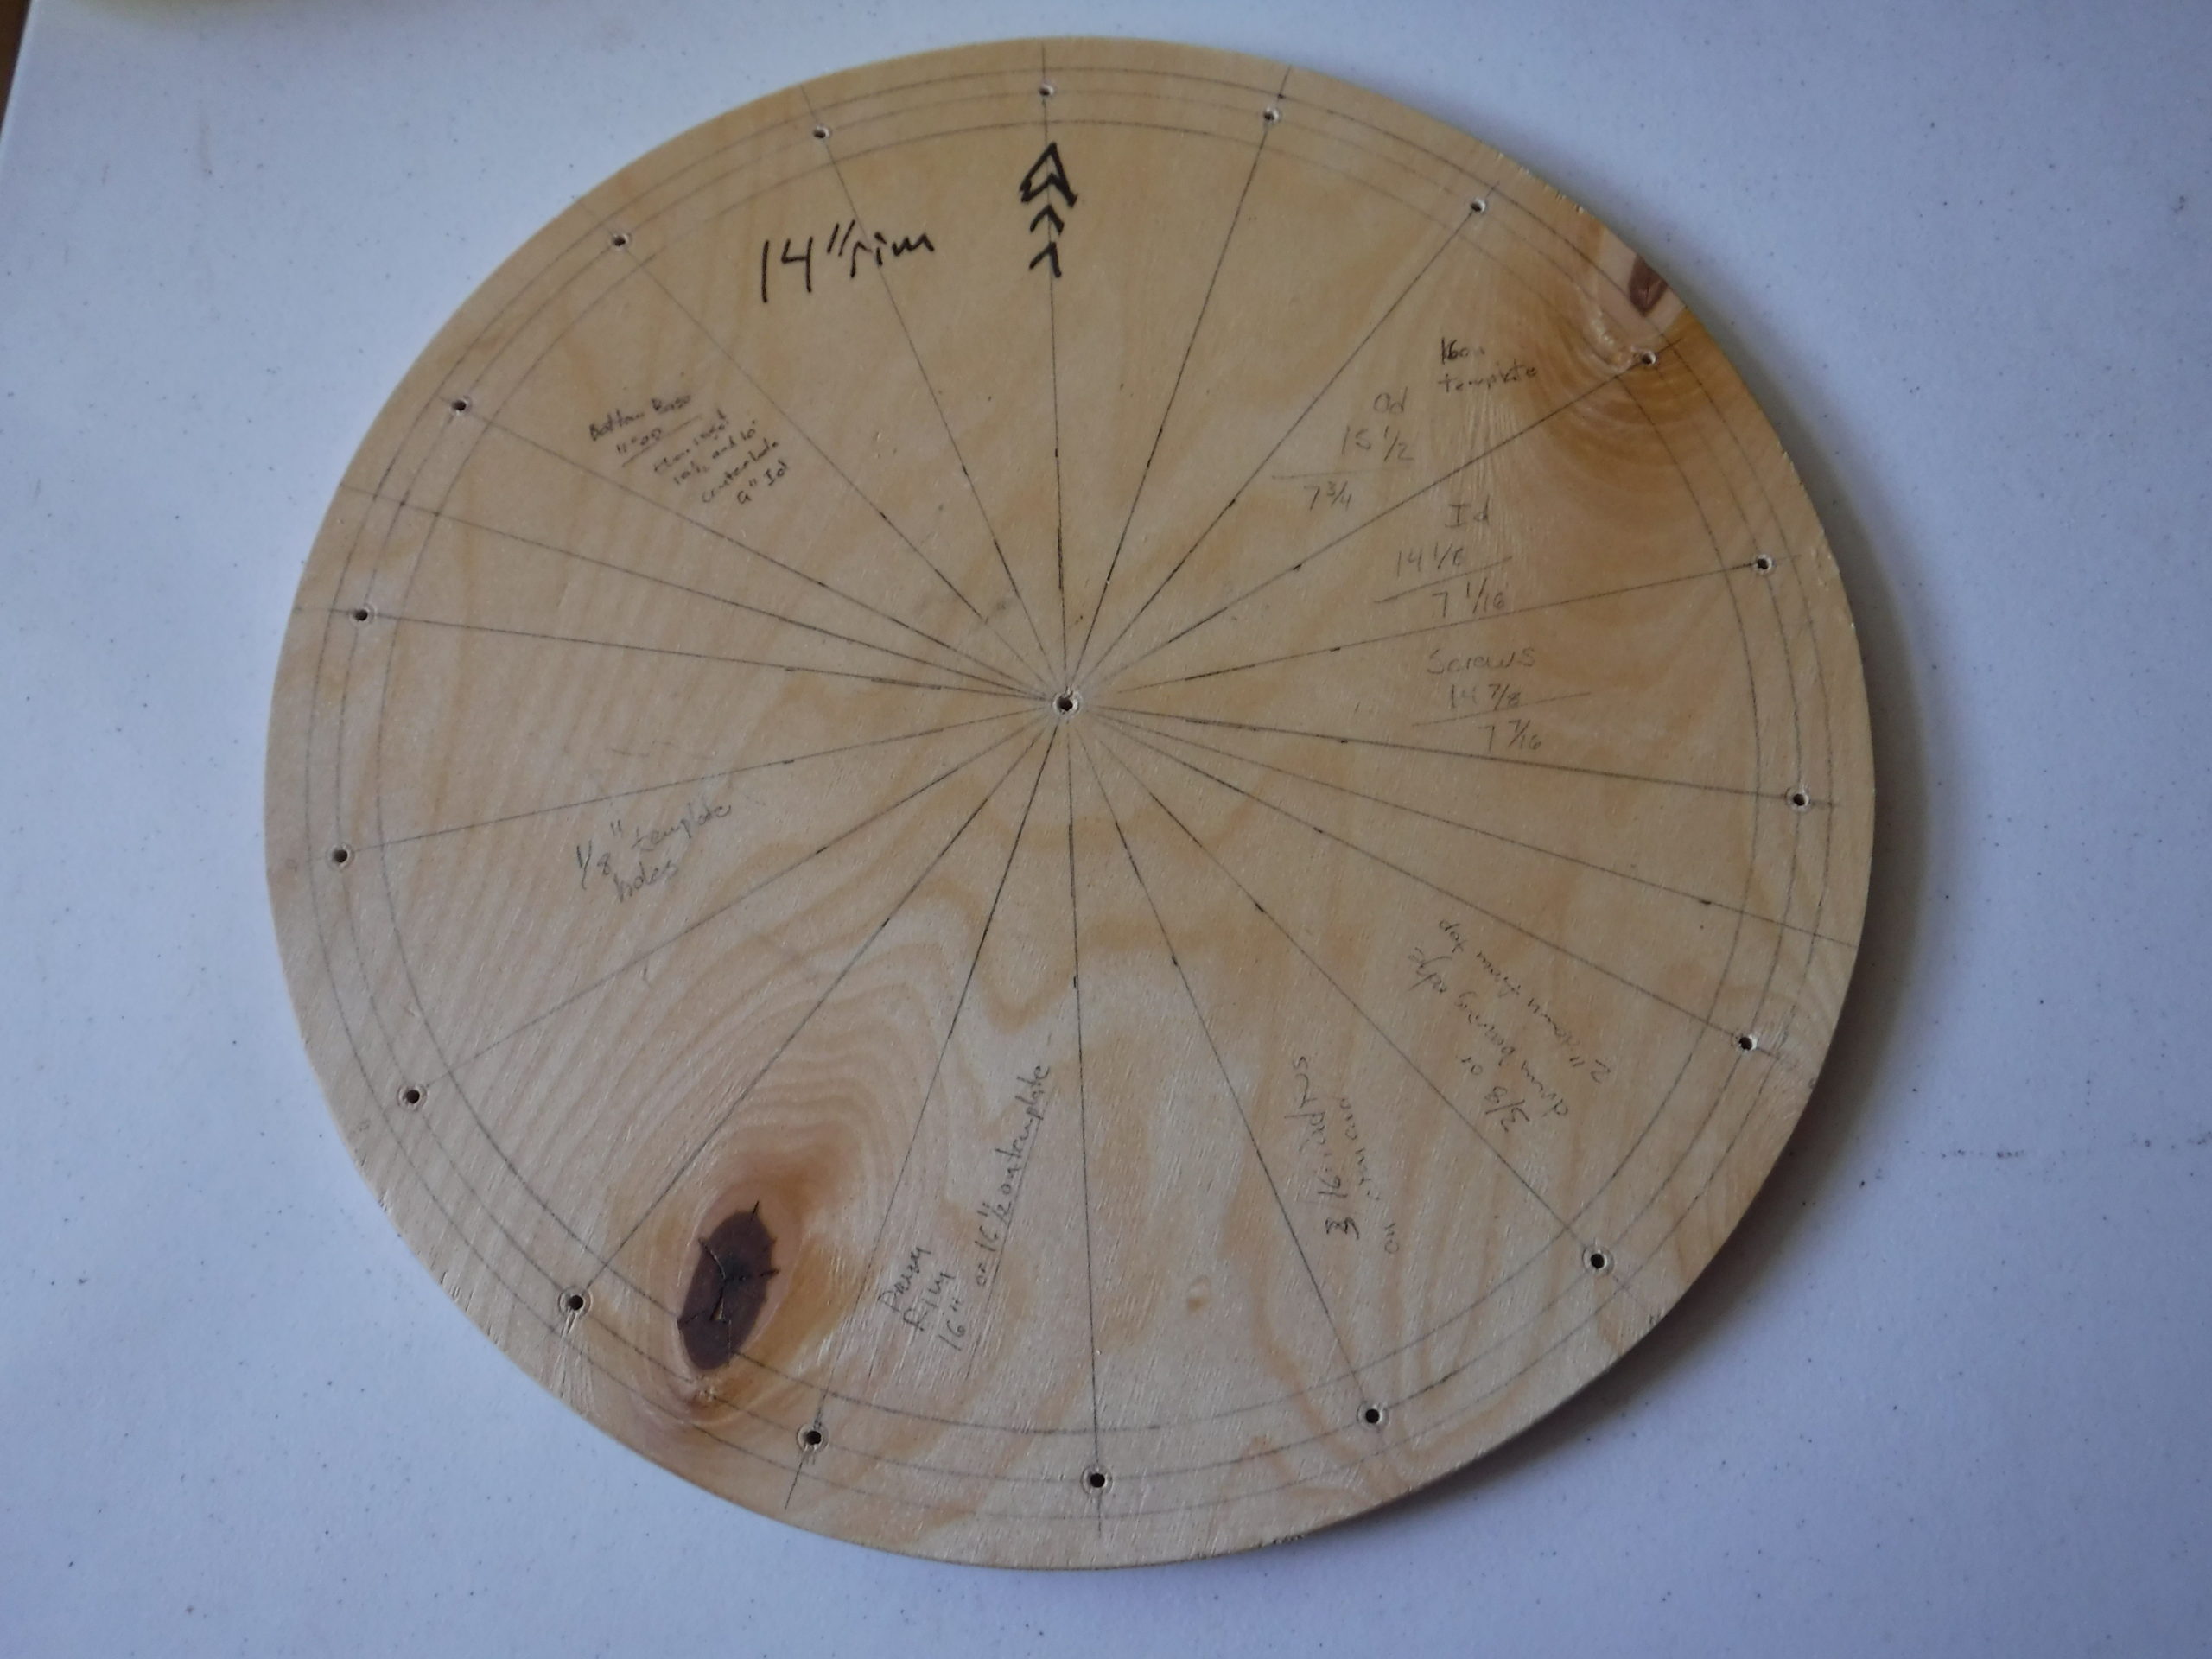
Dimensions for a 14″ drum head
– OD 15 1/2″
– ID 14 1/8″
– Recess for the drum head rim 1/4″. Leave 1/4″ of material above head
For the tension screws
– 18 Holes on a diameter of 14 7/8″ spaced 20 degrees apart
– Drill hole size 7/32″
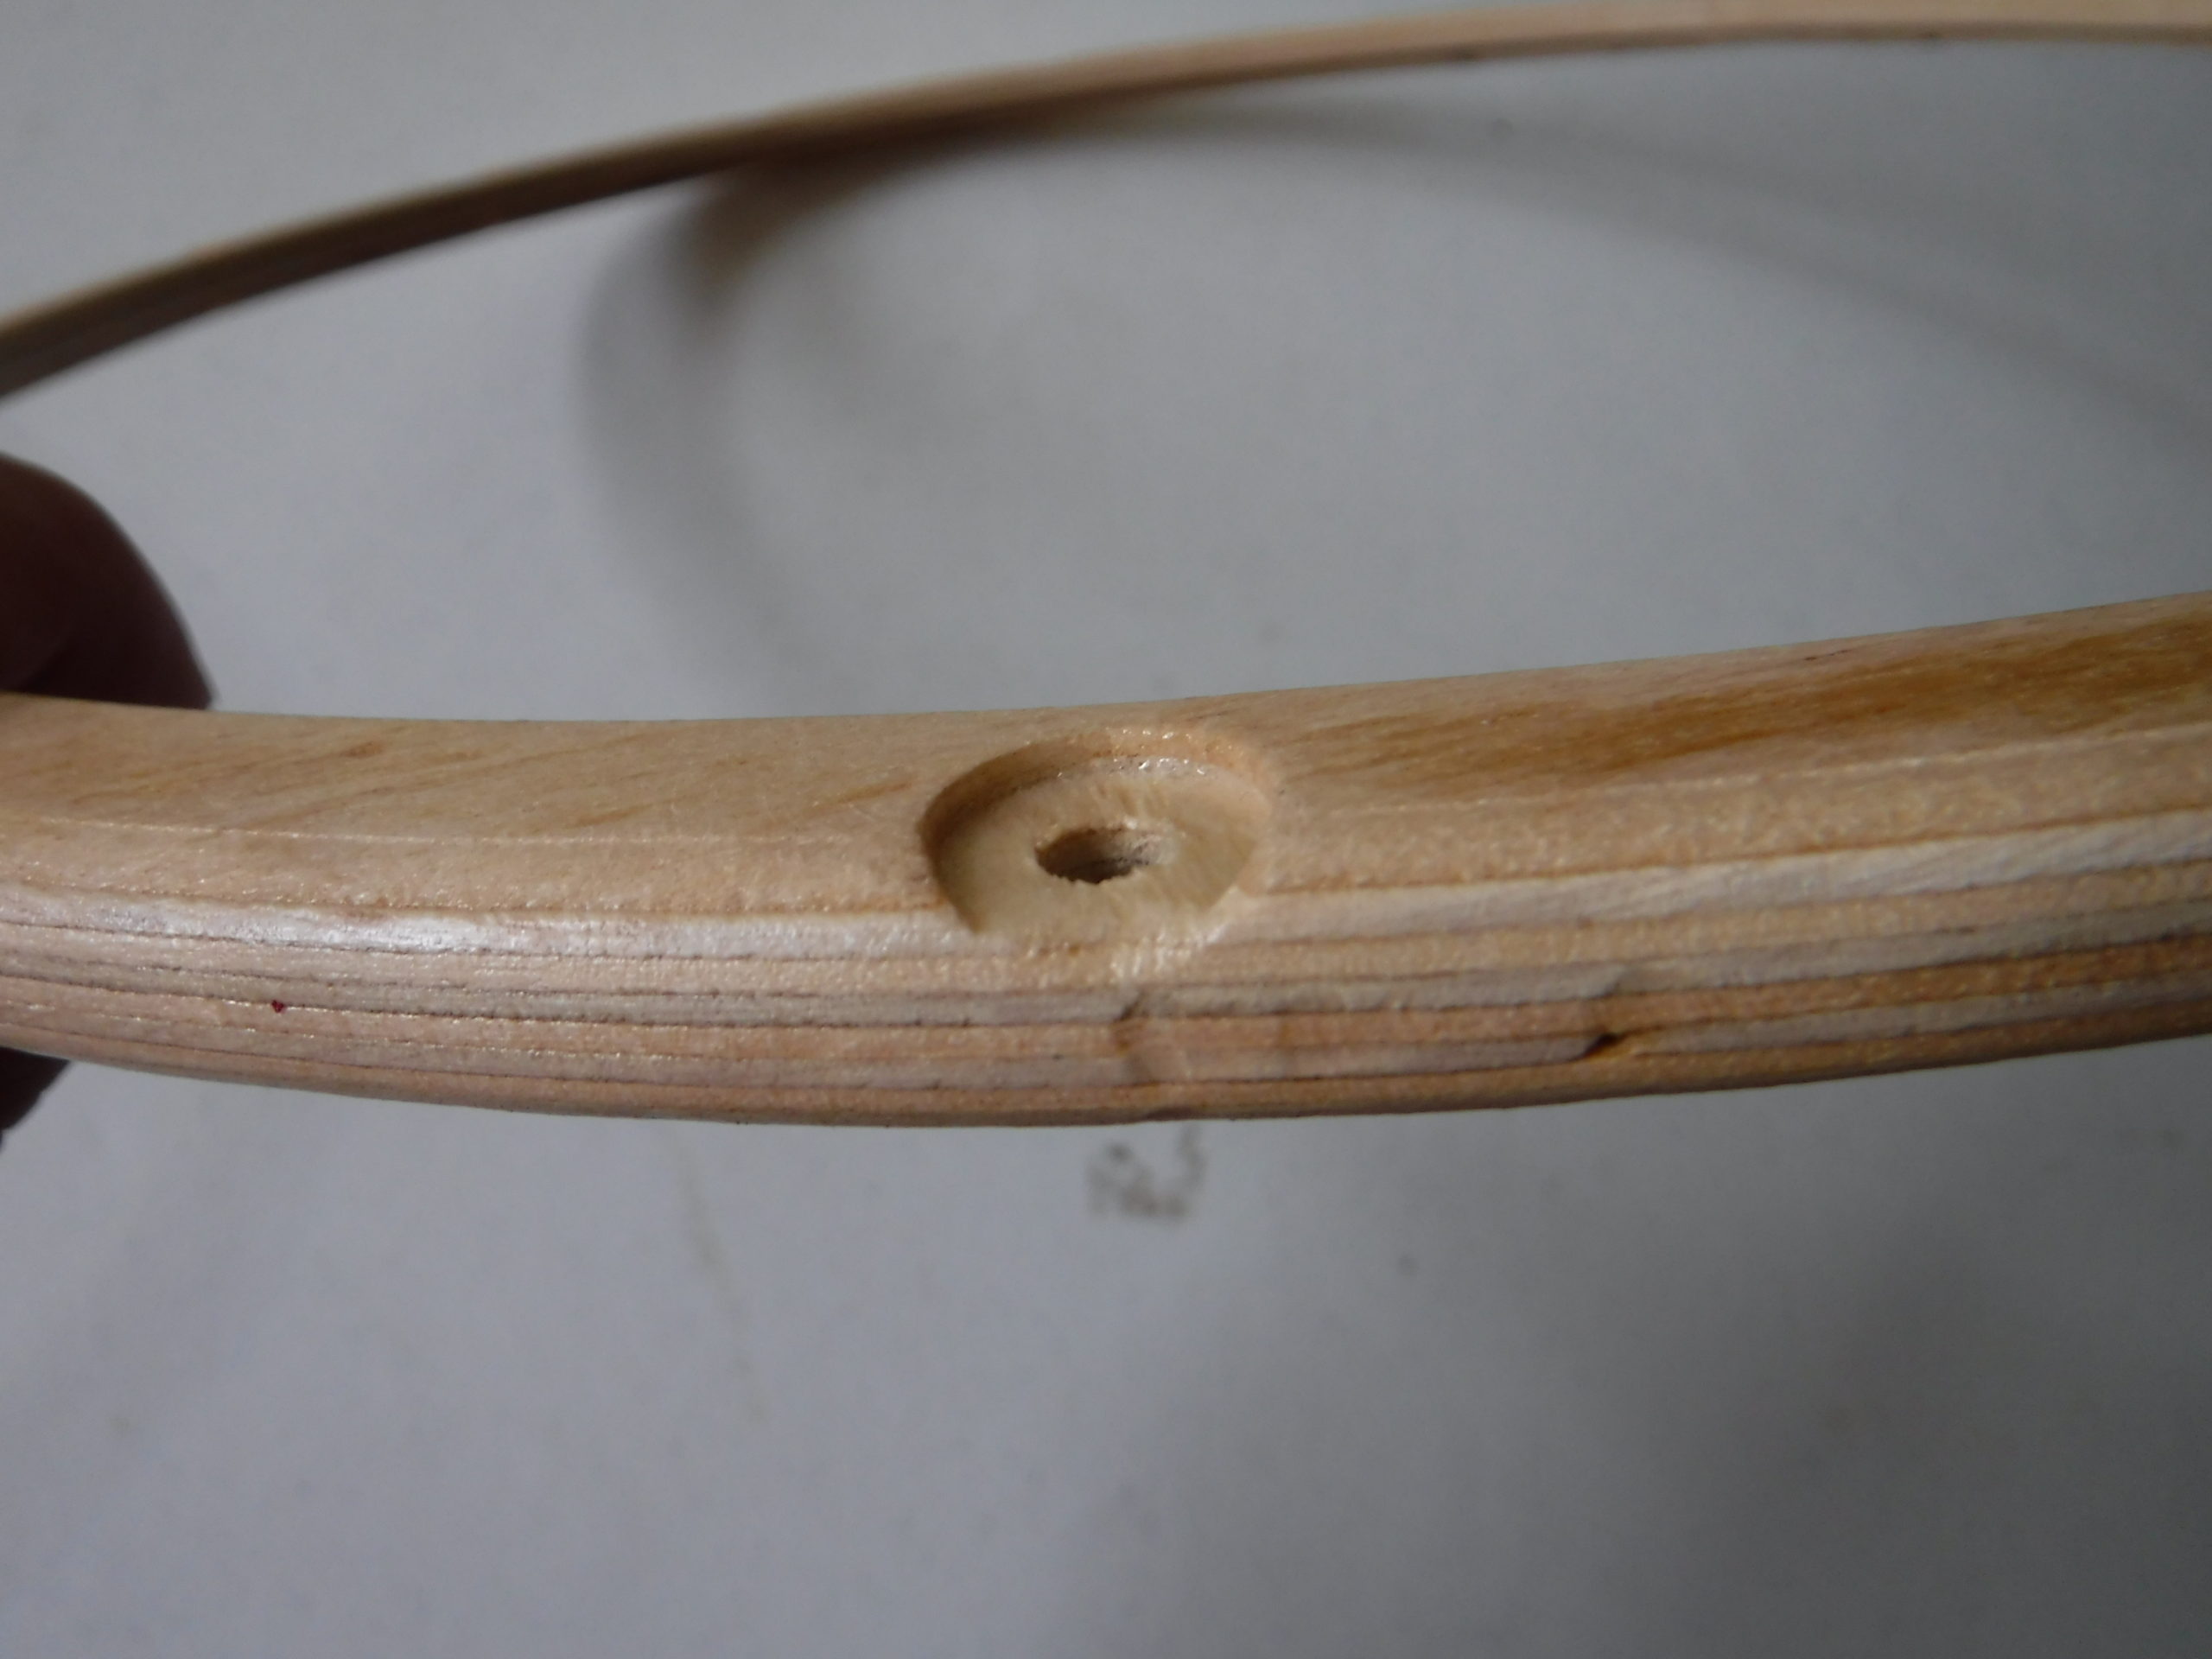
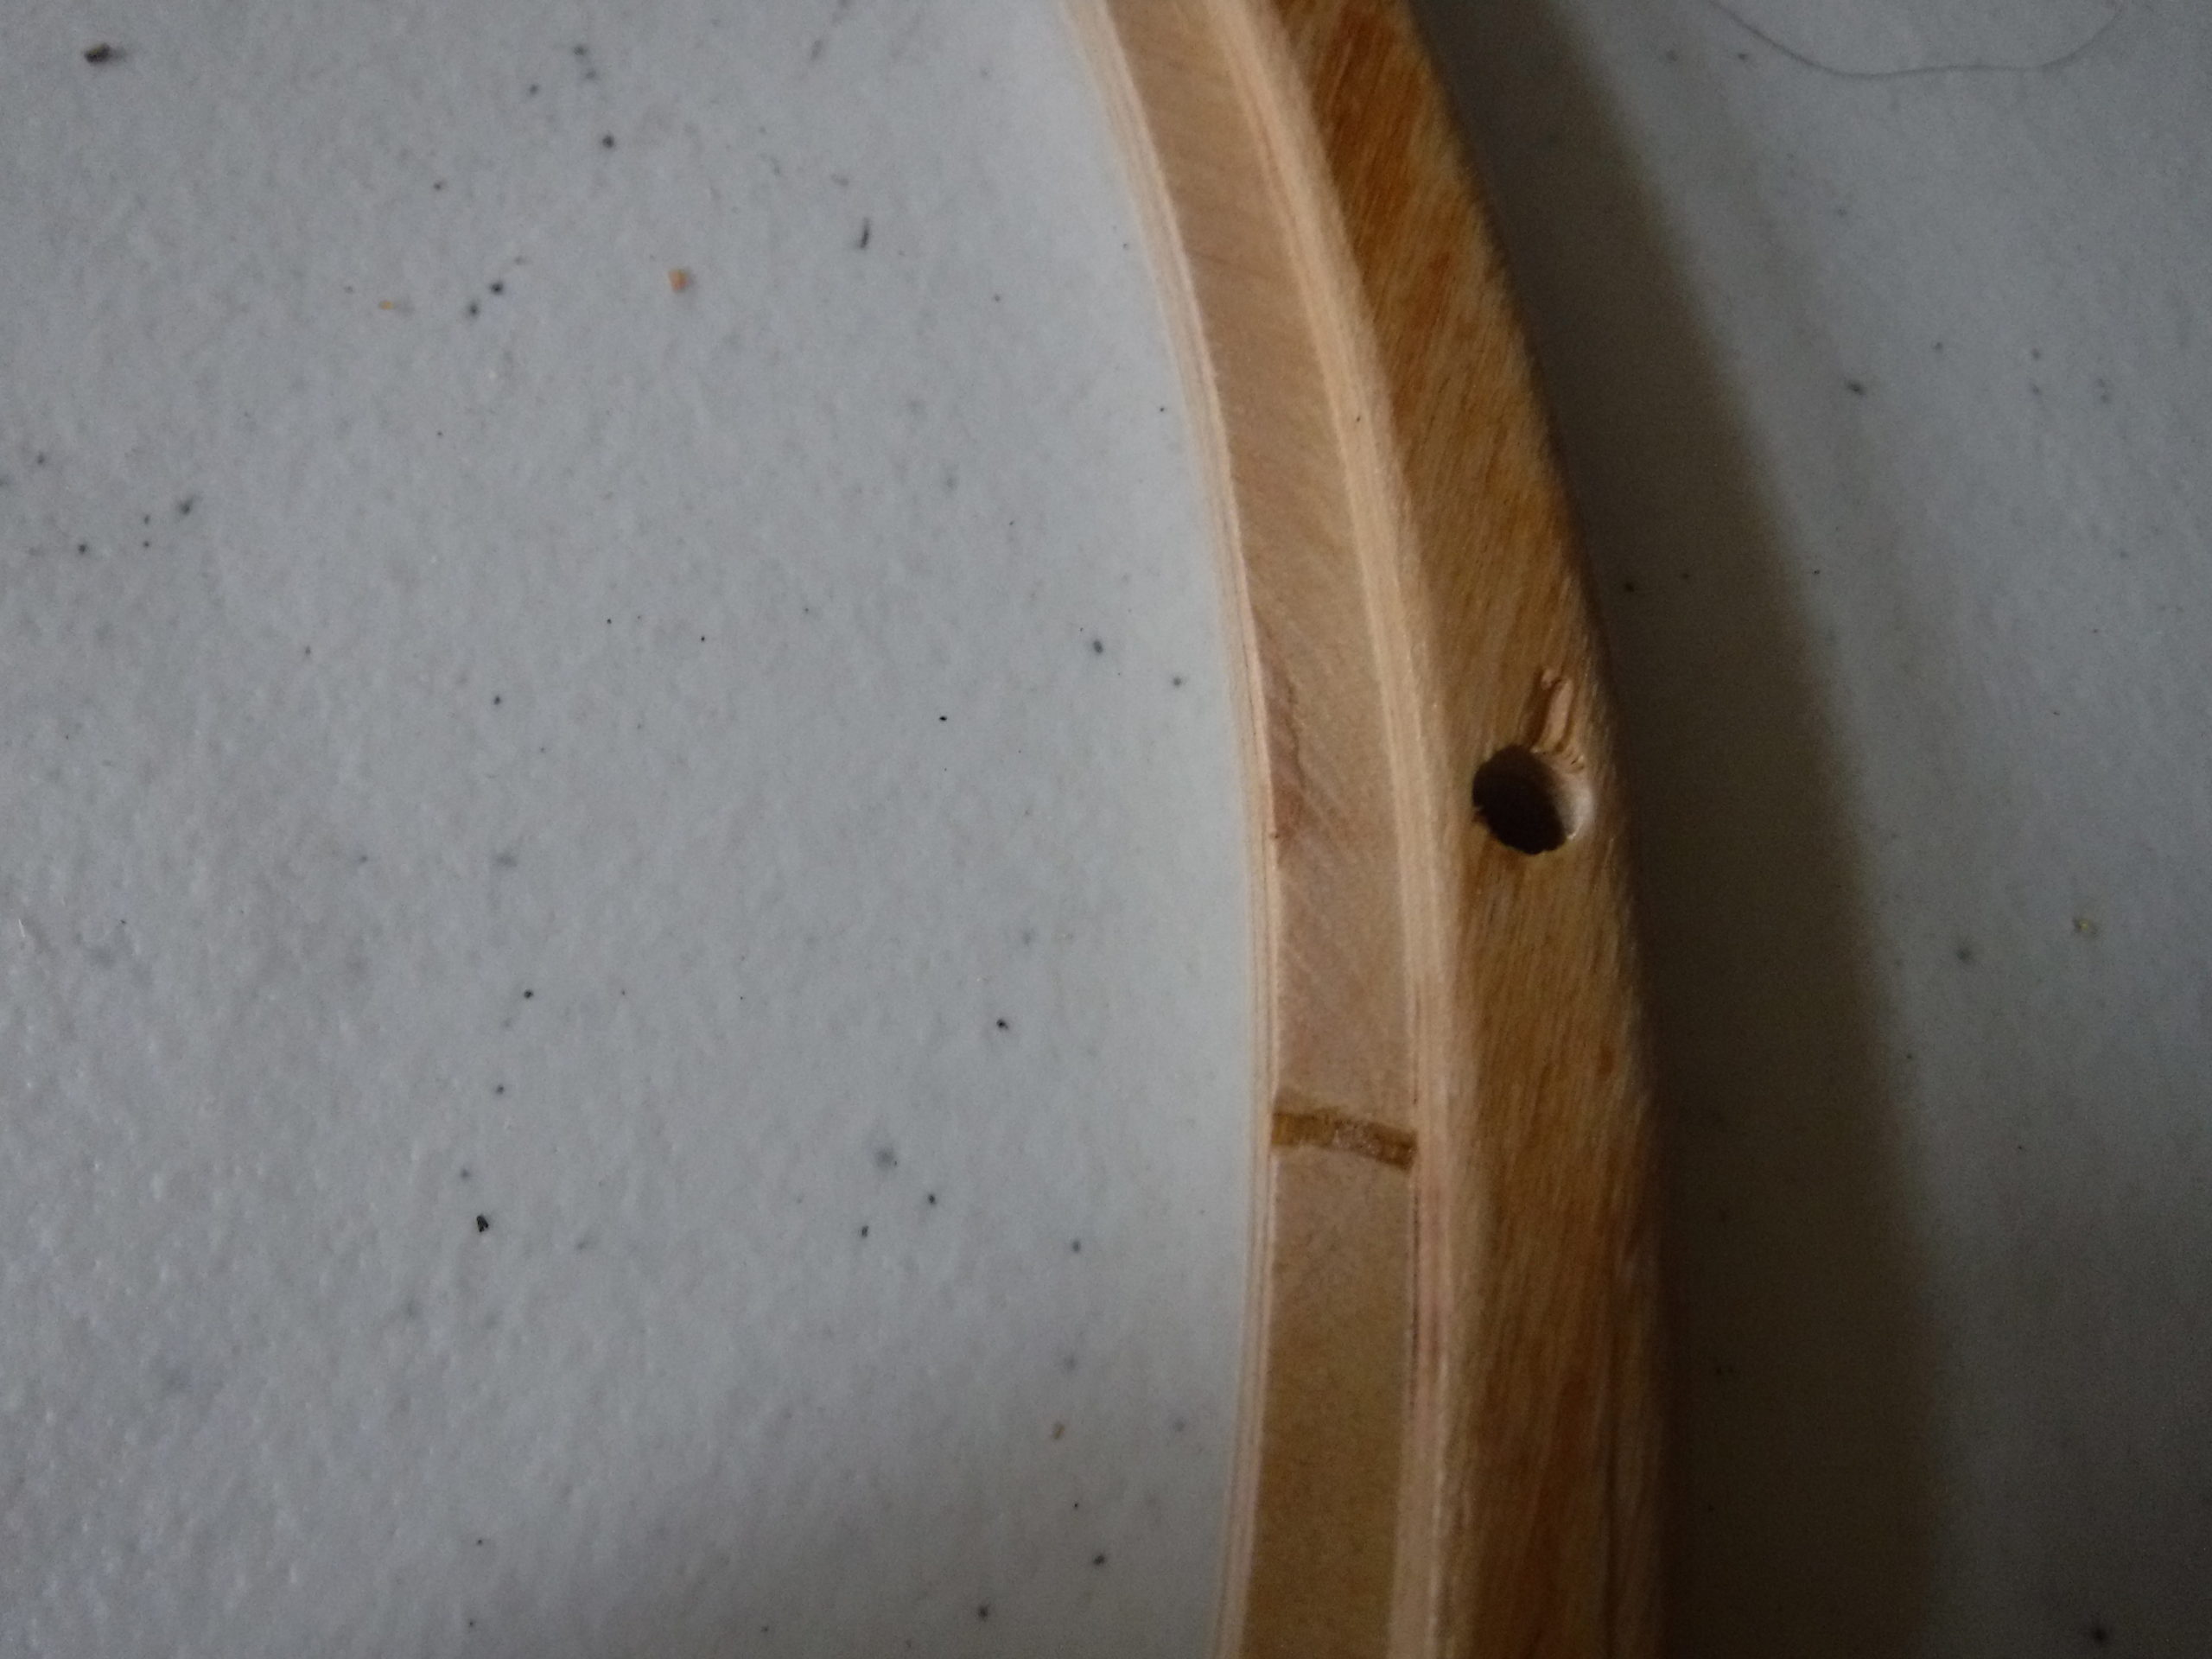
– Flat counter bore 1/2″ diameter .10″ high or just under 1/8″
– 3/16″ radius to finish Inside top, Outside top, outside bottom
Tools Required
– Drill and optionally a drill press
– 1/2″ counter bore or a 1/2″ fostner bit
– 7/32″ drill bit
– Router and optionally a router table
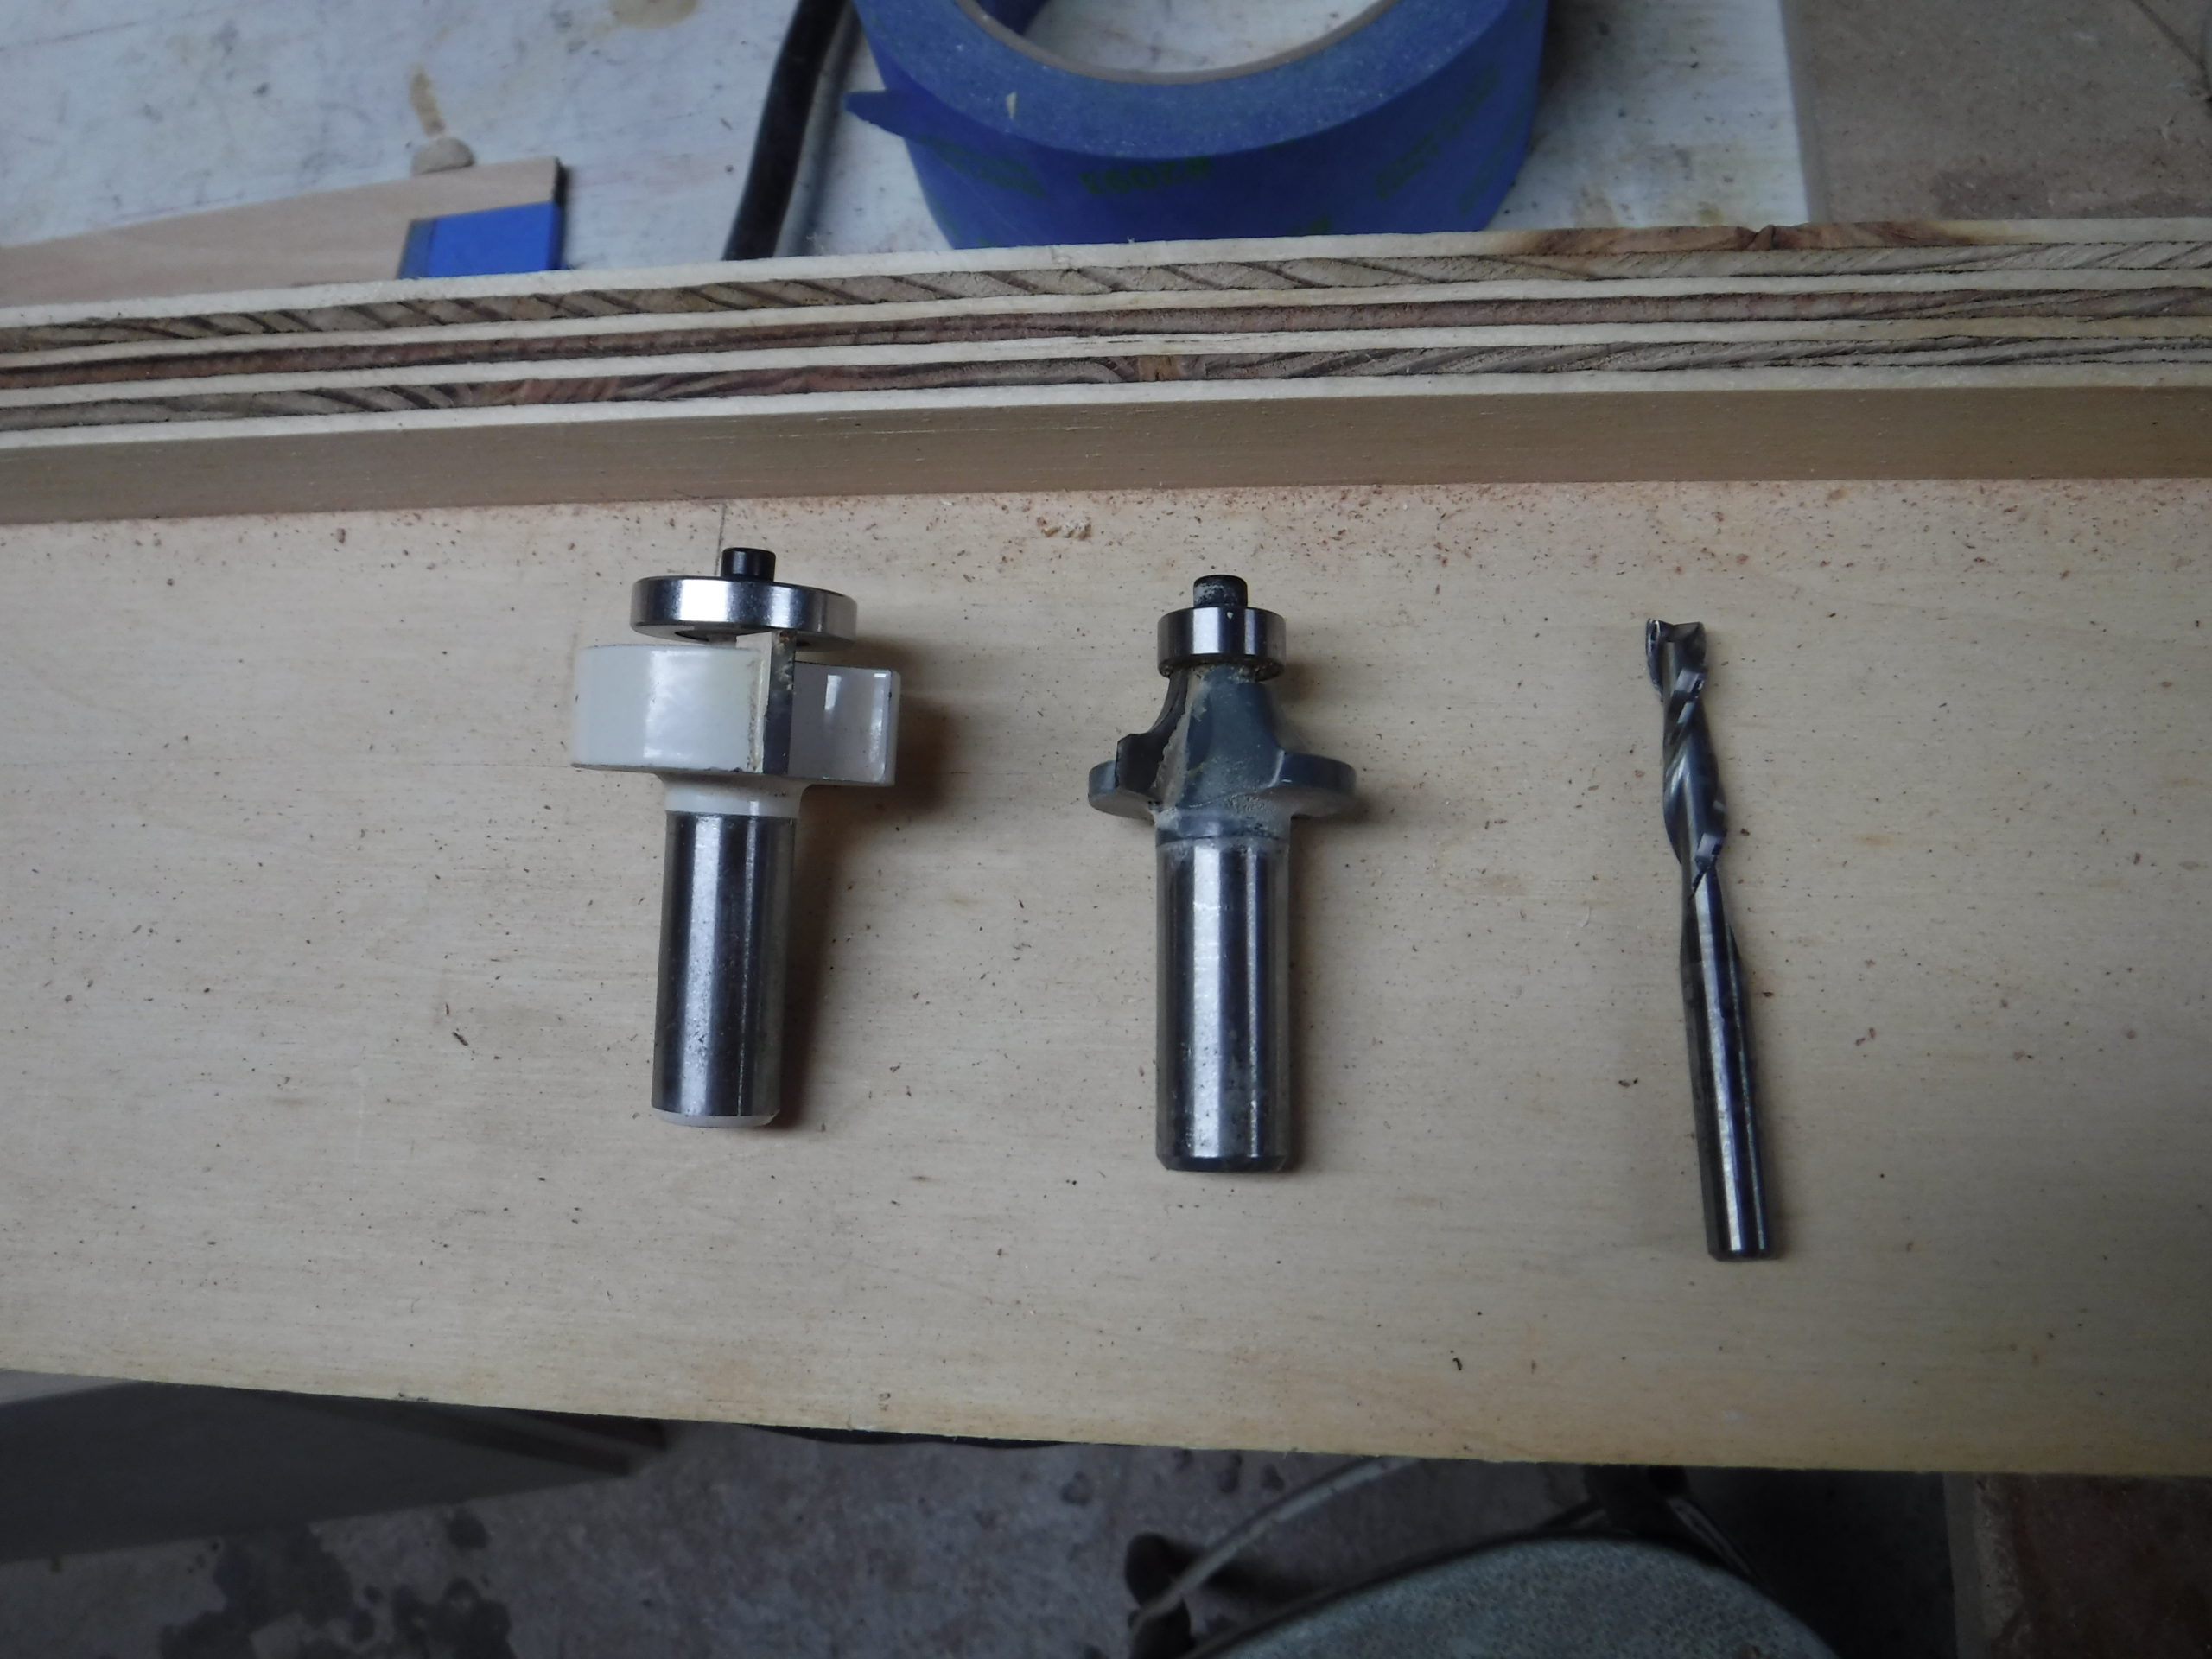
– 3/16″ corner round bit with bearing
– 1/4″ straight bit, spiral down works best to prevent the plywood from splintering
– 1/4″ rabbeting router bit.

Jigs
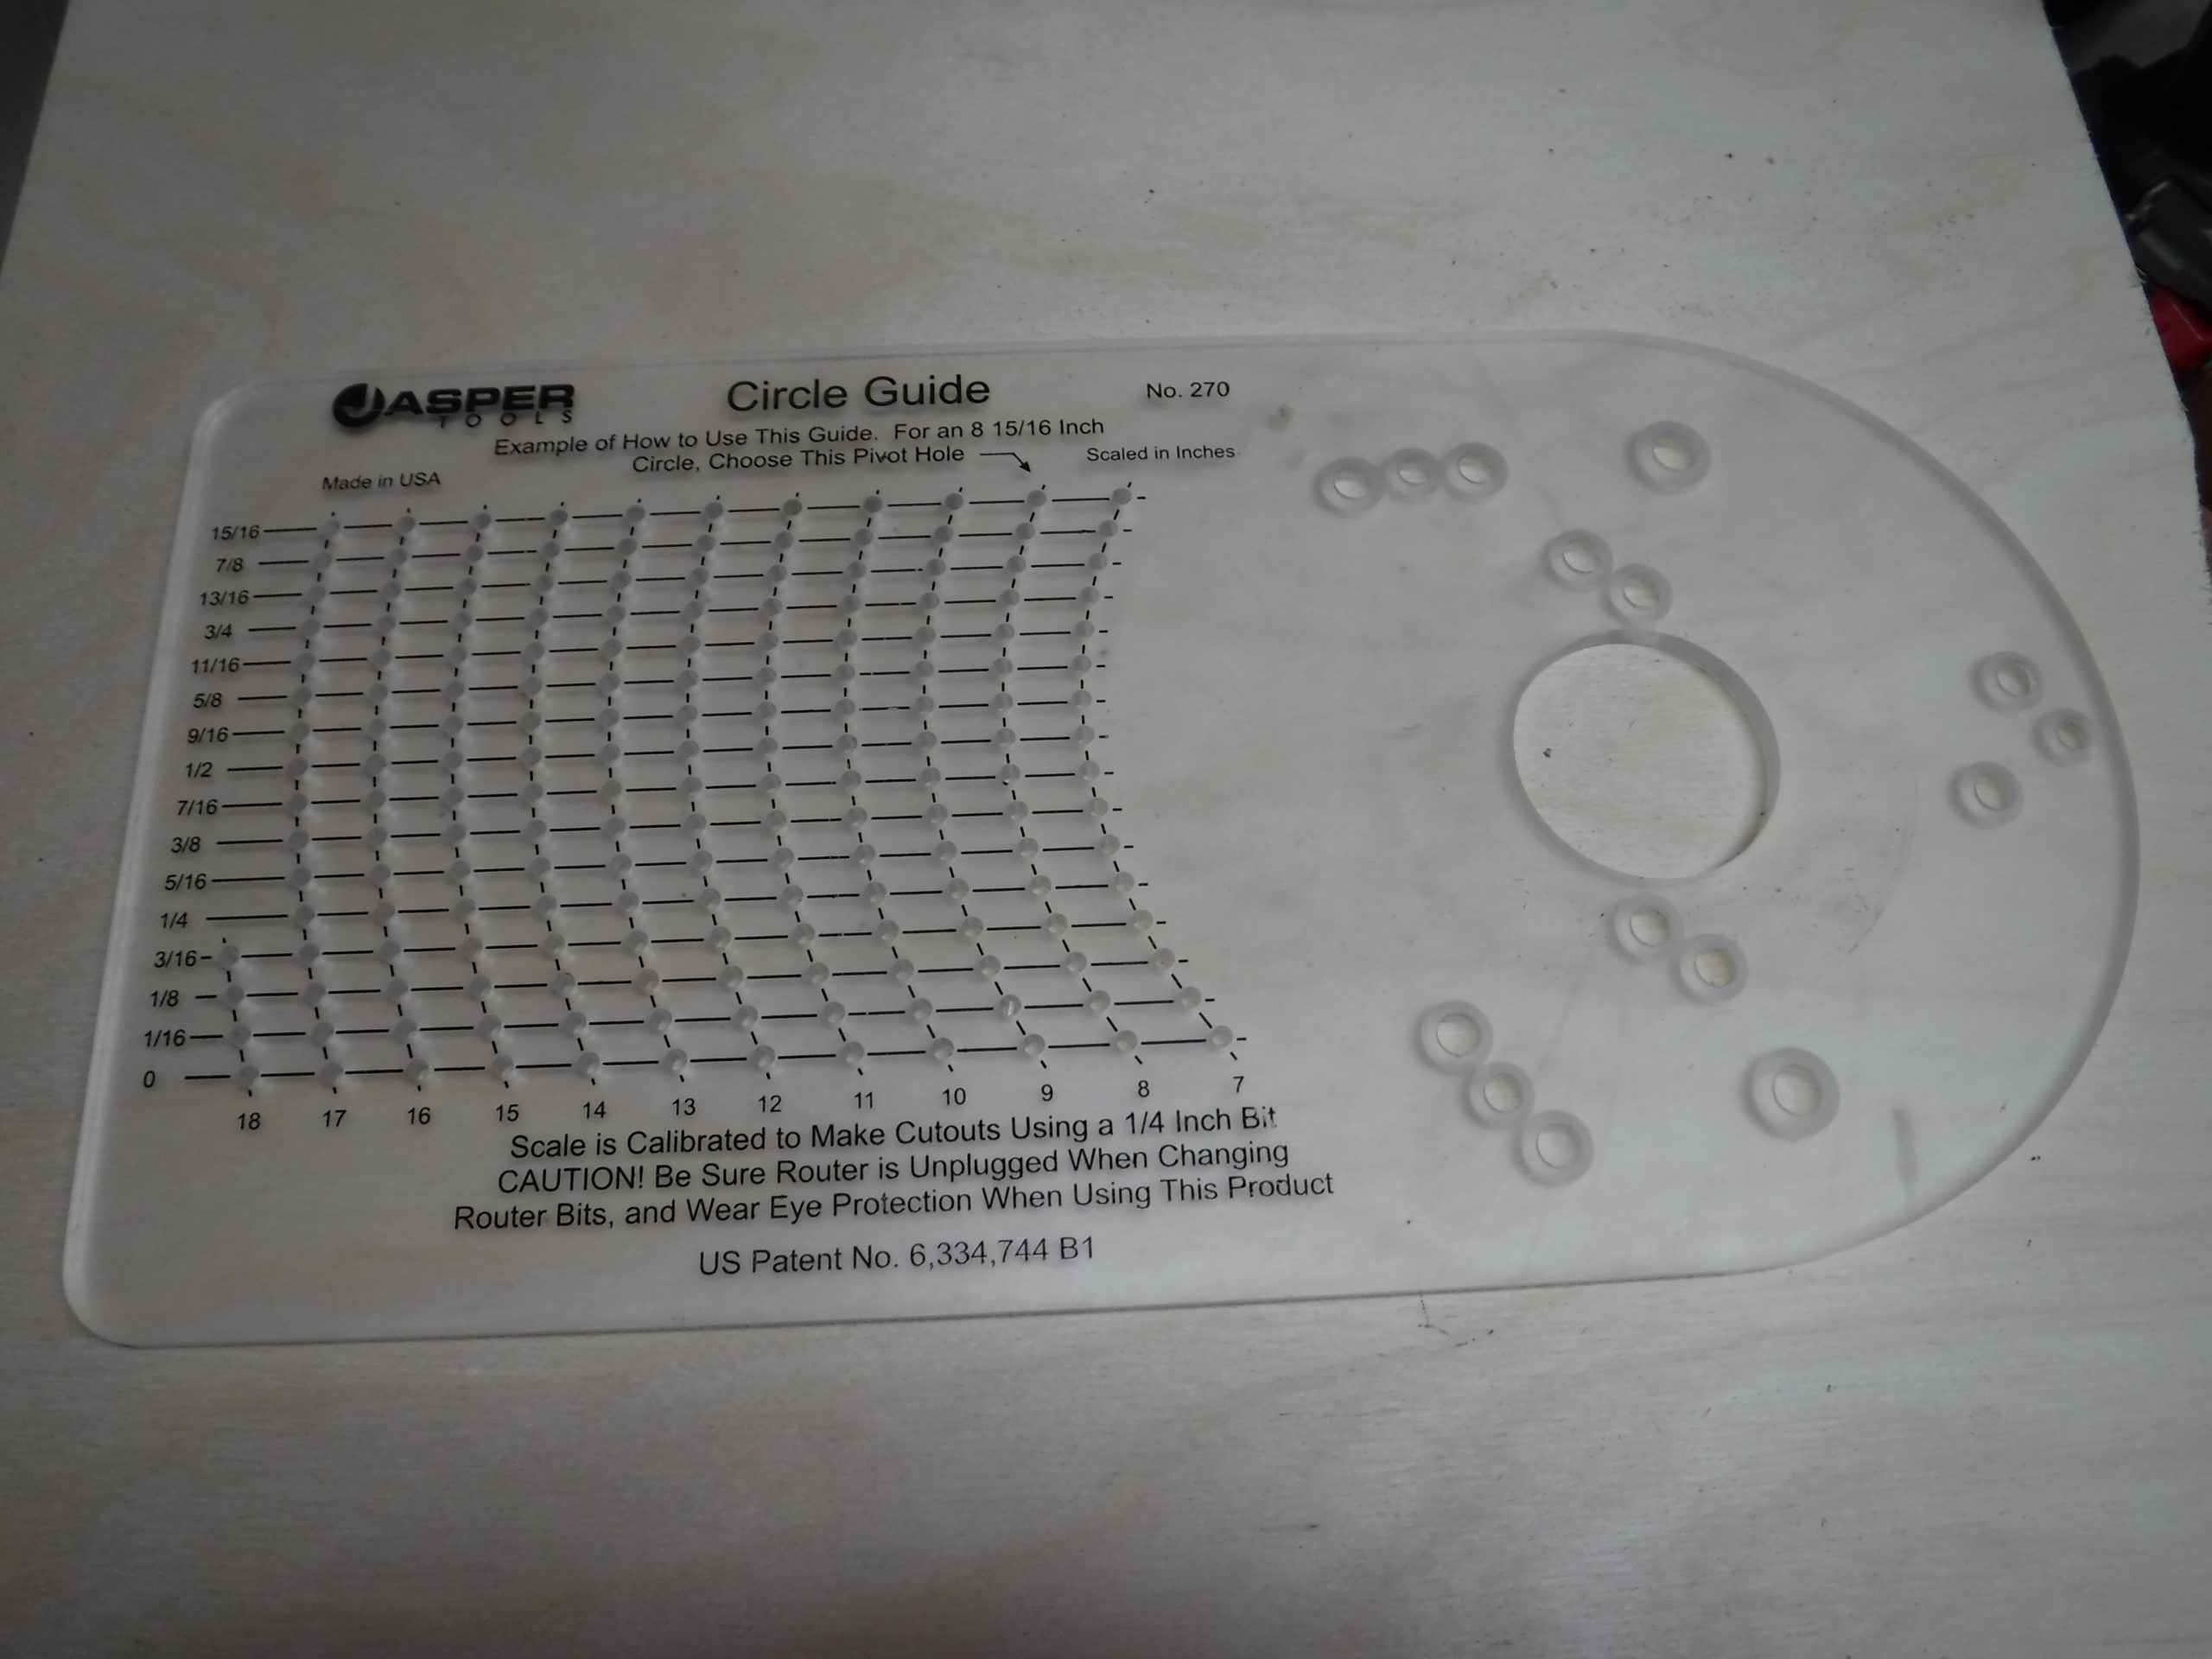
To do this job properly we need two jigs. One is a universal circle cutting jig, the other a carefully measured hole placement pattern.
Construction steps
- Inspect both sides of the plywood. Try to avoid landing the hoop on any plywood faults. If you look at my template above, this would be a problem for our hoop since it has two large knots on the perimeter.
- Using your template mark or drill pilot holes for all of the 18 tension screws. Mark on your rim the selected top face and a hole that will be your reference hole #1 (north). If your hole spacing is not 100% accurate this will save you quite a few headaches.
- Inspect once more that none of the rim falls in a major plywood fault.
- You can go ahead and drill and counter bore all the holes at this time. I do them after routing out the hoop since my small drill press has depth limitations
- Using the circle router guide cut out the outer diameter first
- Then cut out the inside diameter
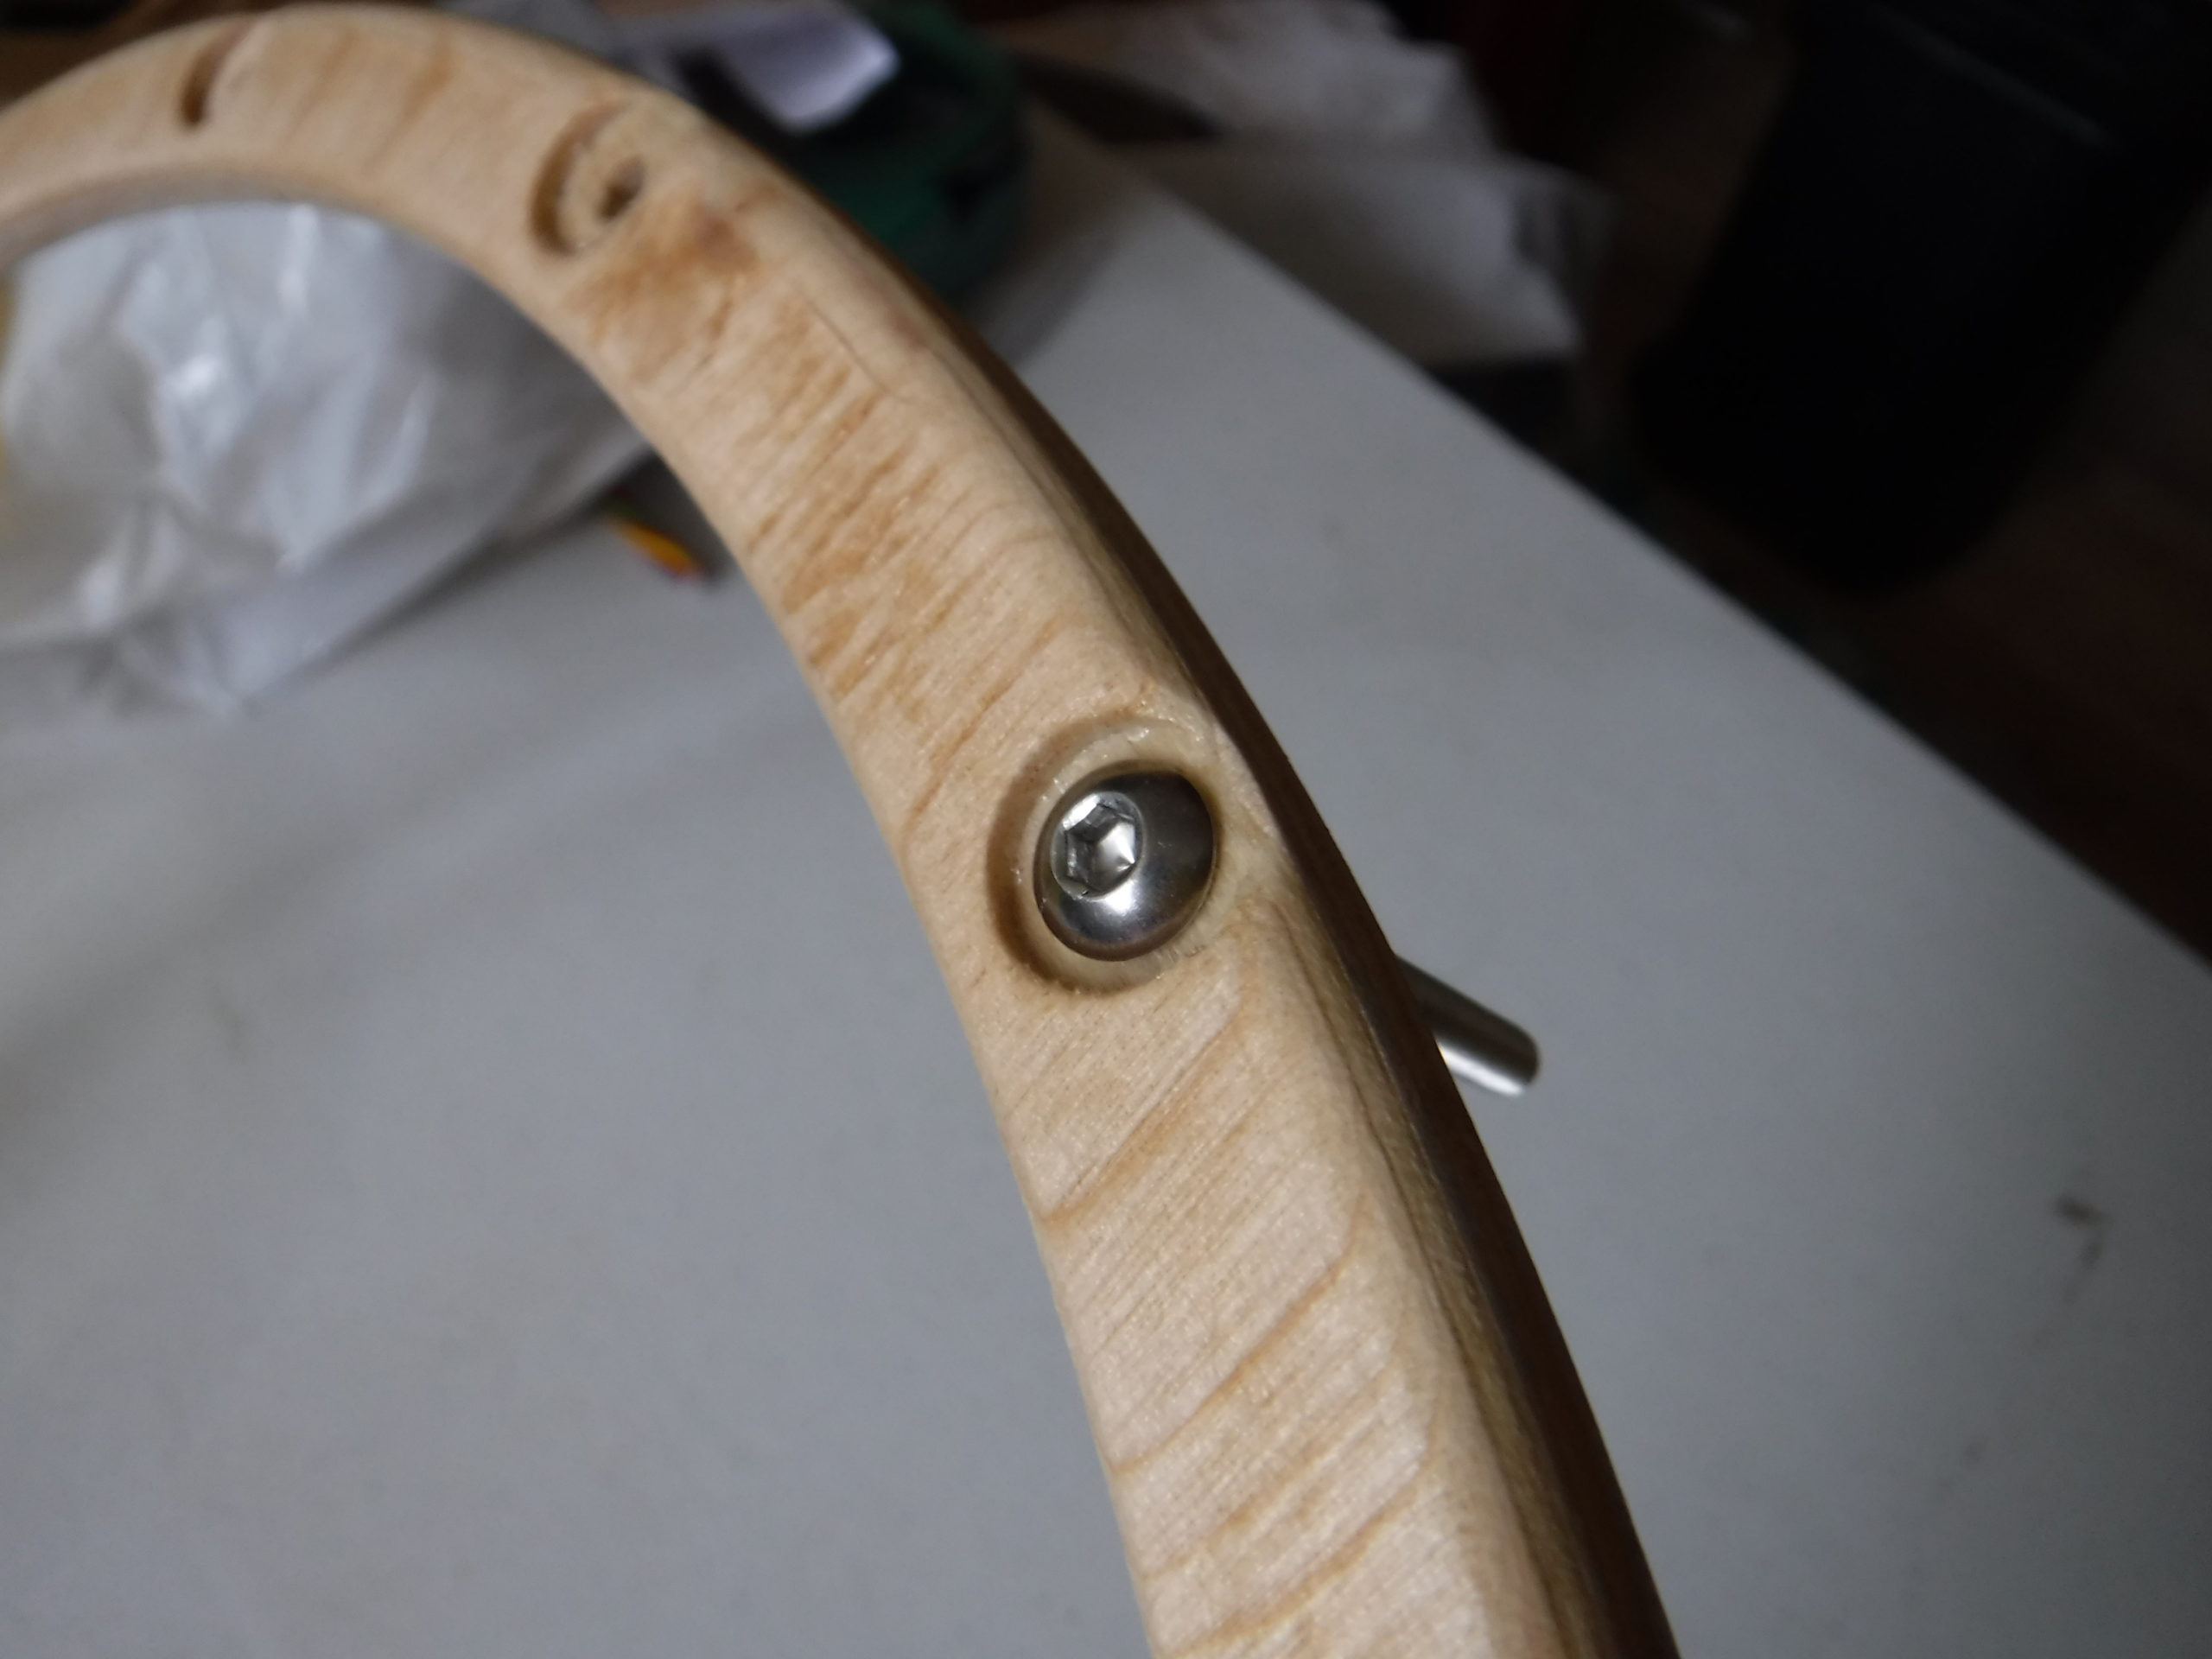
- If you haven’t done so, now is a good time to drill and counterbore the tension screw holes. Be very carefull to not counterbore too deep. Shy of an 1/8″. On way of thinking about this, is that if your plywood has 9 layers only counterbore into the first two.
- Set up your router table with the 3/16″ round bit. Round off the top outer edge, top inner edge and bottom outside edge
- Set up you rabbet bit and carefully adjust the height to leave 1/4″ of plywood above the rabbet. Go ahead and mill out the groove for the drum head. Again in a 9ply plywood you should only remove 4 layers. Note: Before I had a rabbet bit I used the circle template to do this step. If you choose to do this make sure it is done before cutting out the inside diameter.
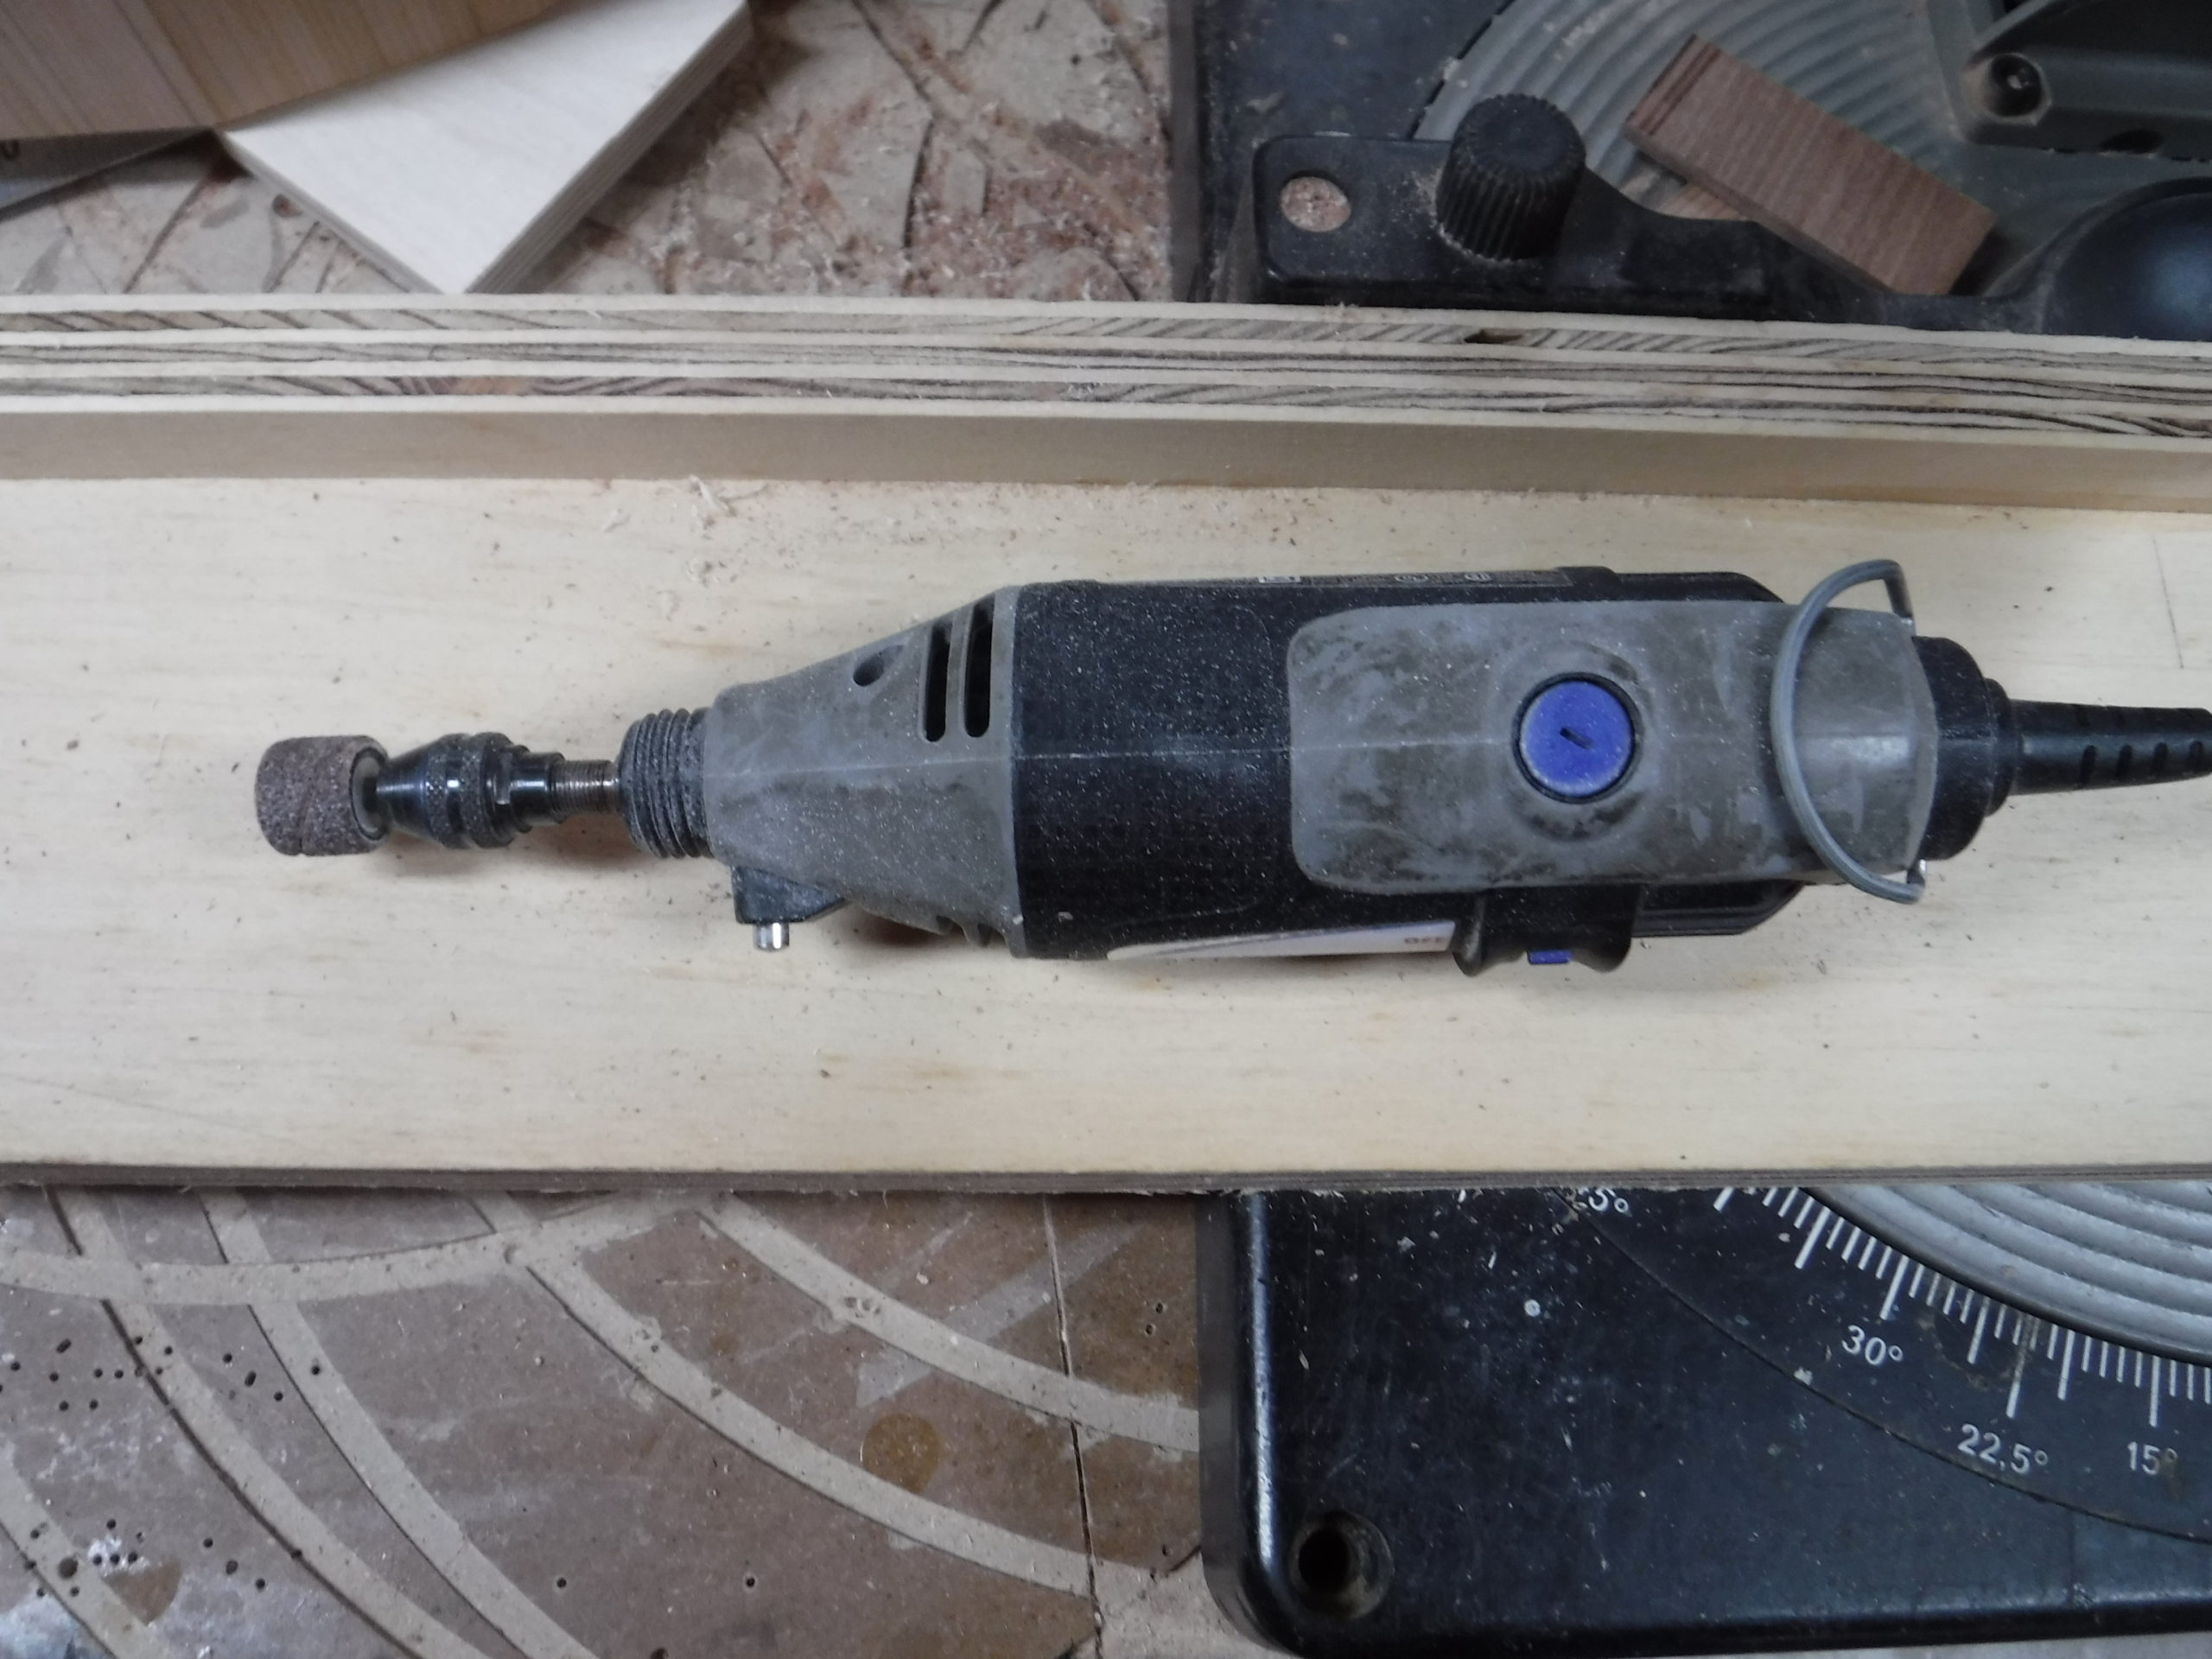
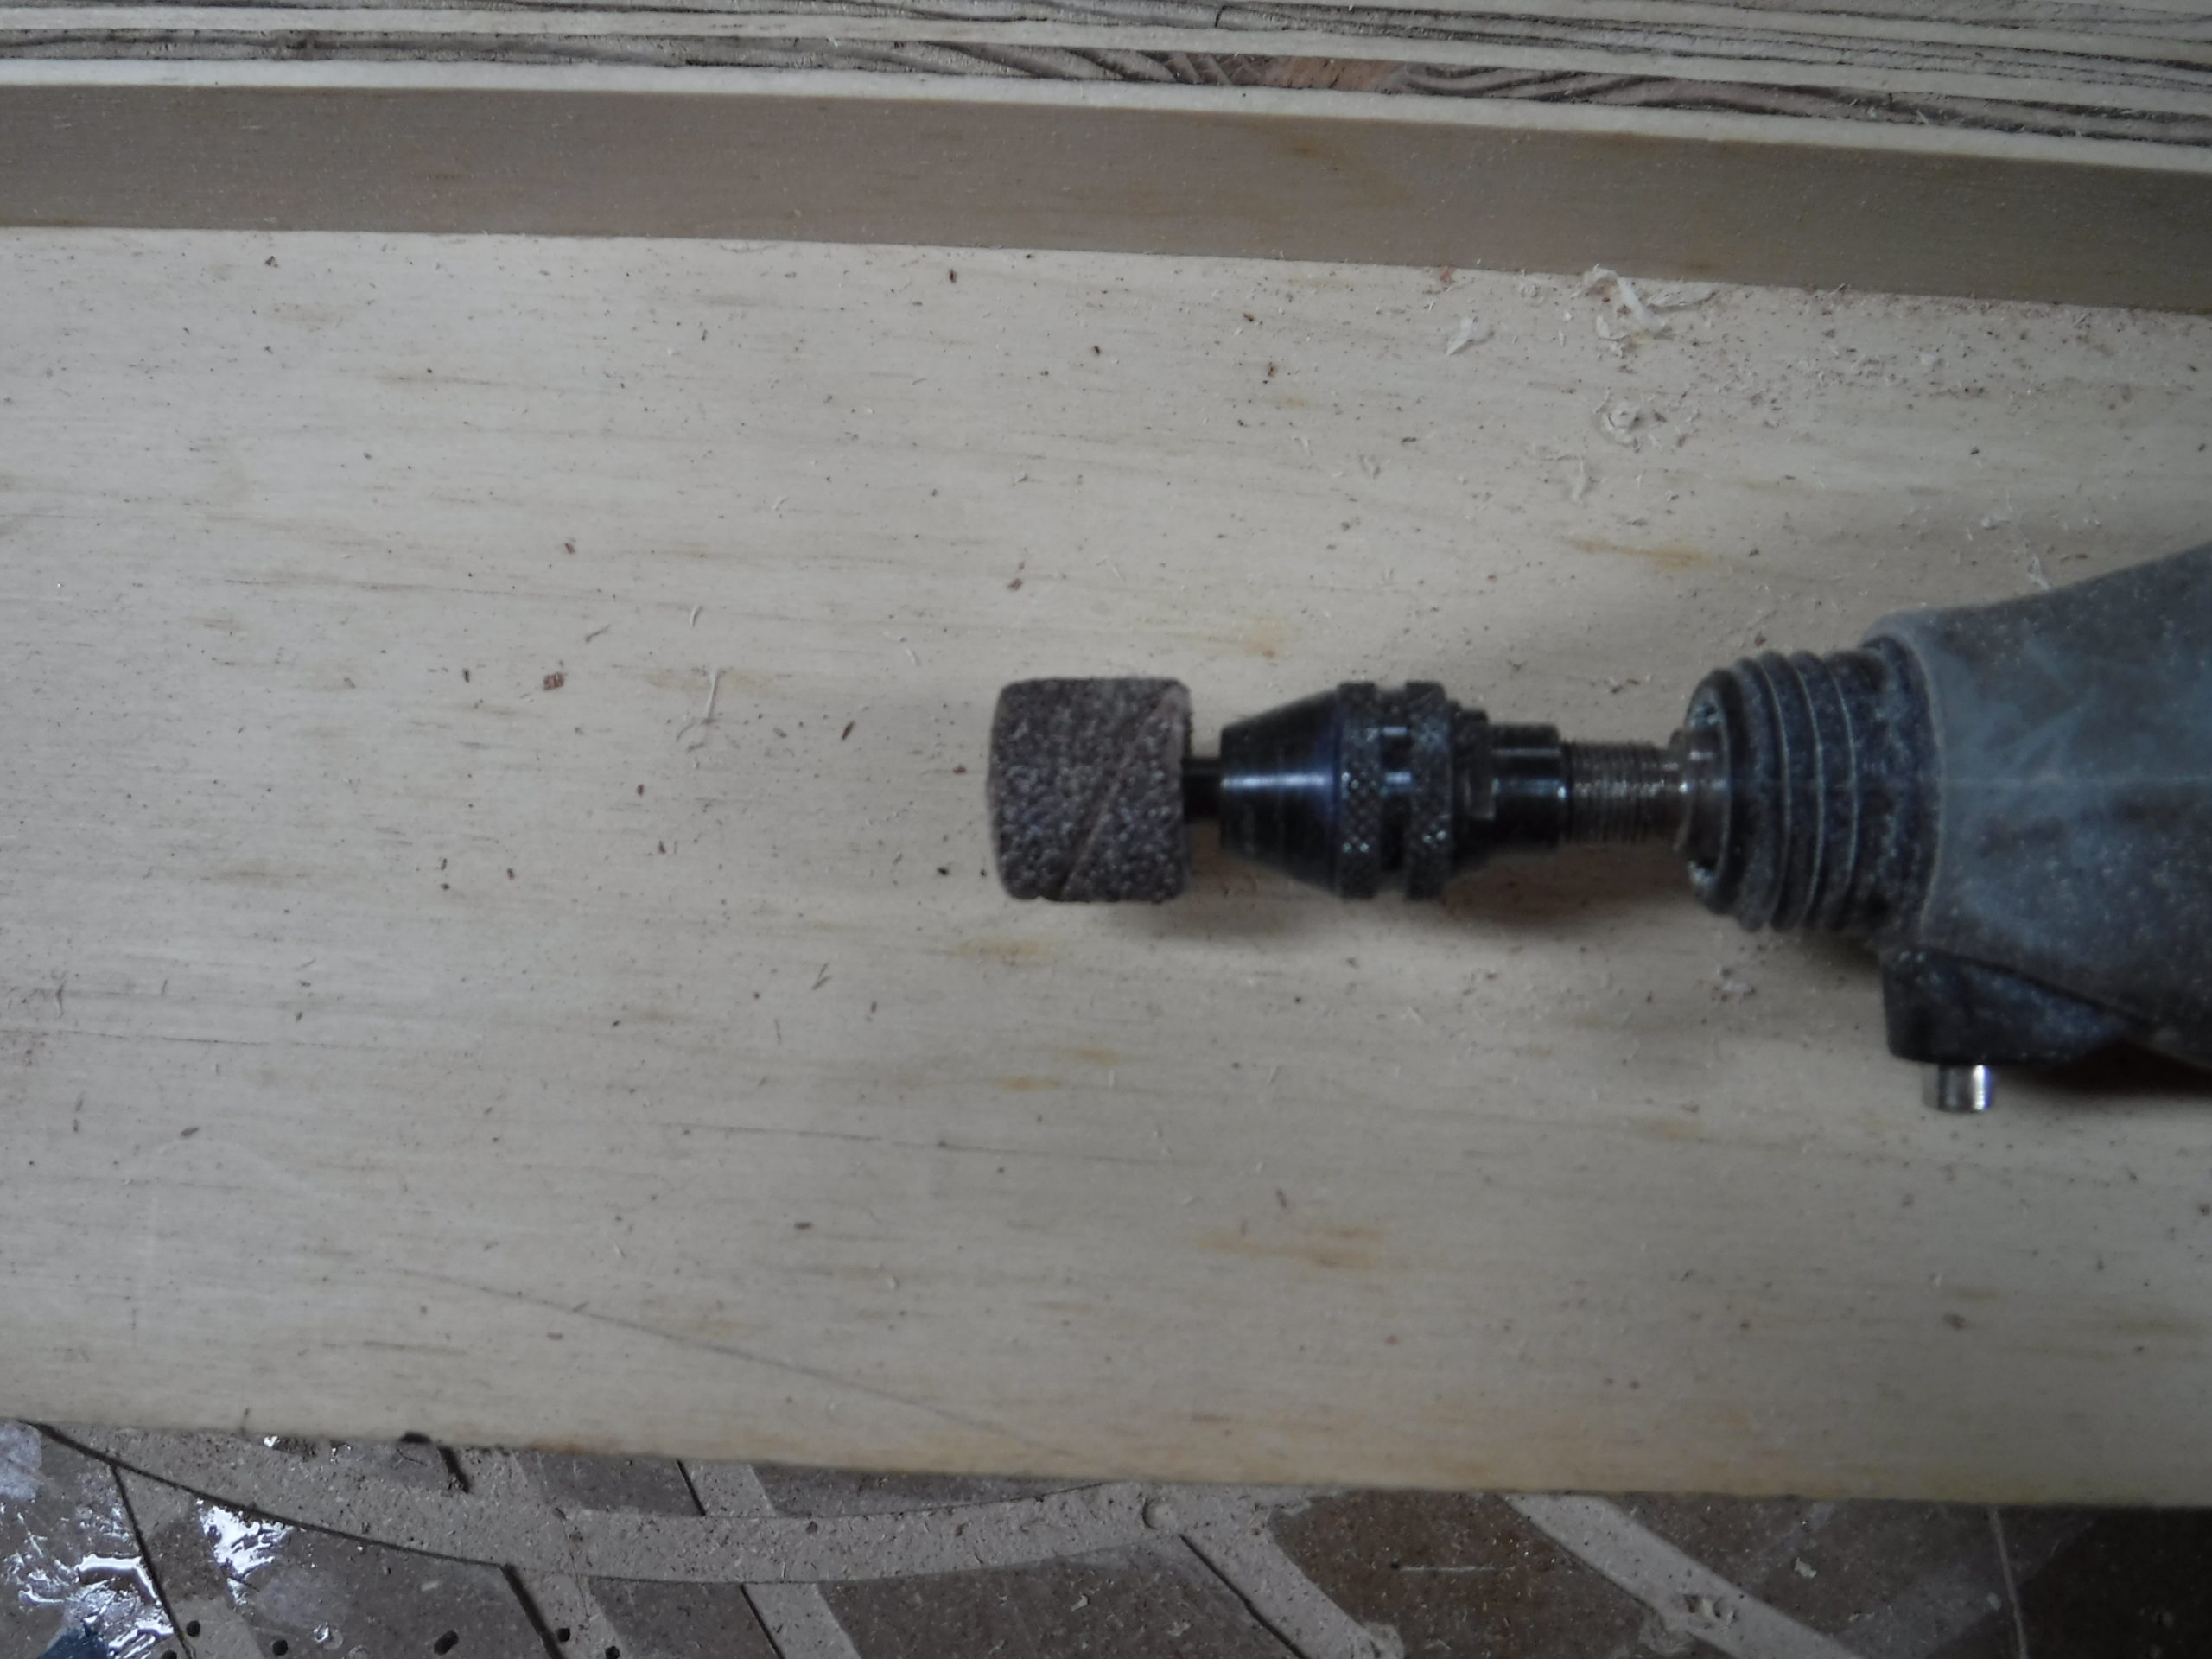
- Sand generously with 120 grit. You might notice in the pictures above that I sand off the small lip between the counterbore and the outside edge. This greatly increases the comfort feel of the rim. I use a dremel tool with a small drum sander accomplish this task.
Recent Comments