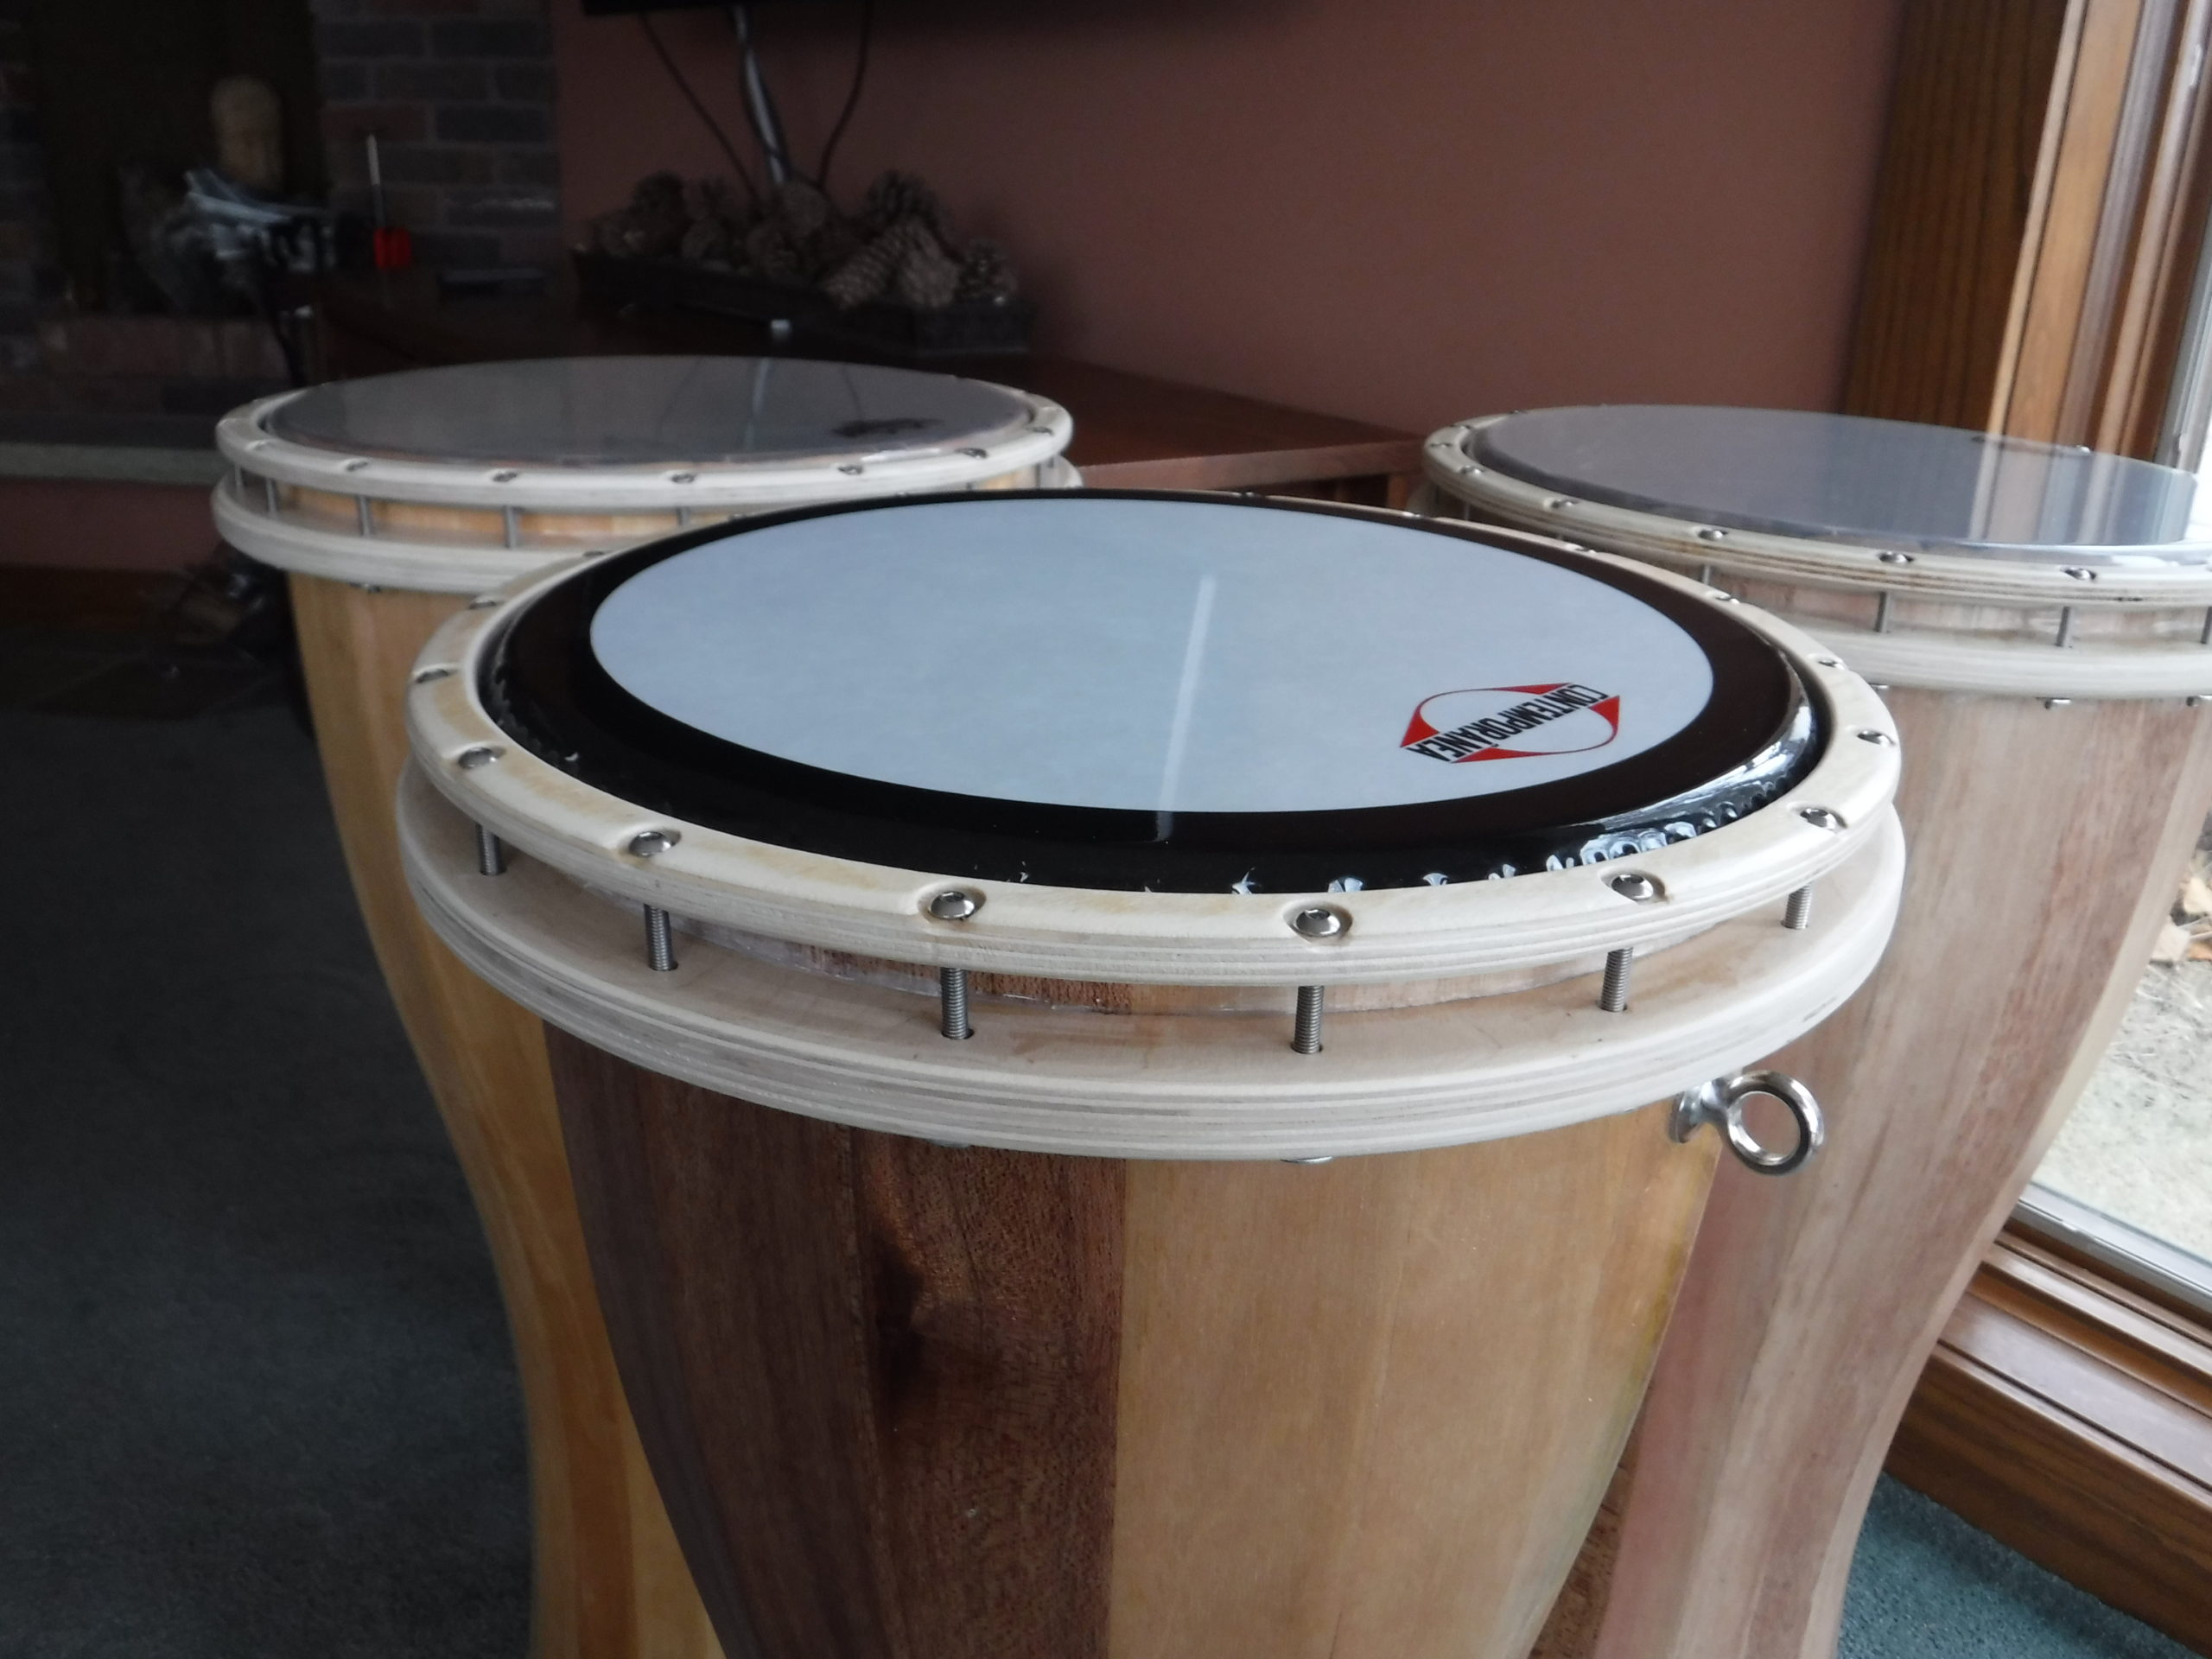
The shape of the staves will determine the shape of the drum. Here you can see the profile of the drum and the corresponding stave shape. Determining this shape is probably the hardest part of stave drum building. The staves like to be cut with a good amount of precision so profile jigs are usually used.
Cutting the blanks
1) Start with a carefully selected piece of lumber.
2) So far I have had good luck with basswood, cheap mahogany and sapeale.
3) If possible get 1/4 sawn lumber to improve your chances of getting flat thin boards
4) No large or loose knots
5) Straight grain is a plus
You will need 18 boards 3/16″ X 2.5″ X 32″ (Actual)
A 1″ X 6″ X 9ft (nominal) board will do the trick if you are making your own staves.
It does not hurt to cut some extra blanks in case something goes wrong when milling the staves.
Resawing with a thin kerf table saw blade I can get 3 boards out of a 3/4″ in board
If I have a 4/4″ board I can get 4 boards using a band saw.
The boards don’t have to be precisely the same thickness, but the closer they are, assembly will be easier and the nicer your stave edges will look once assembled.
I have access to a drum sander and I will get them close to each other, but if I get a skinny one, I will not attempt to make all of them skinnier.
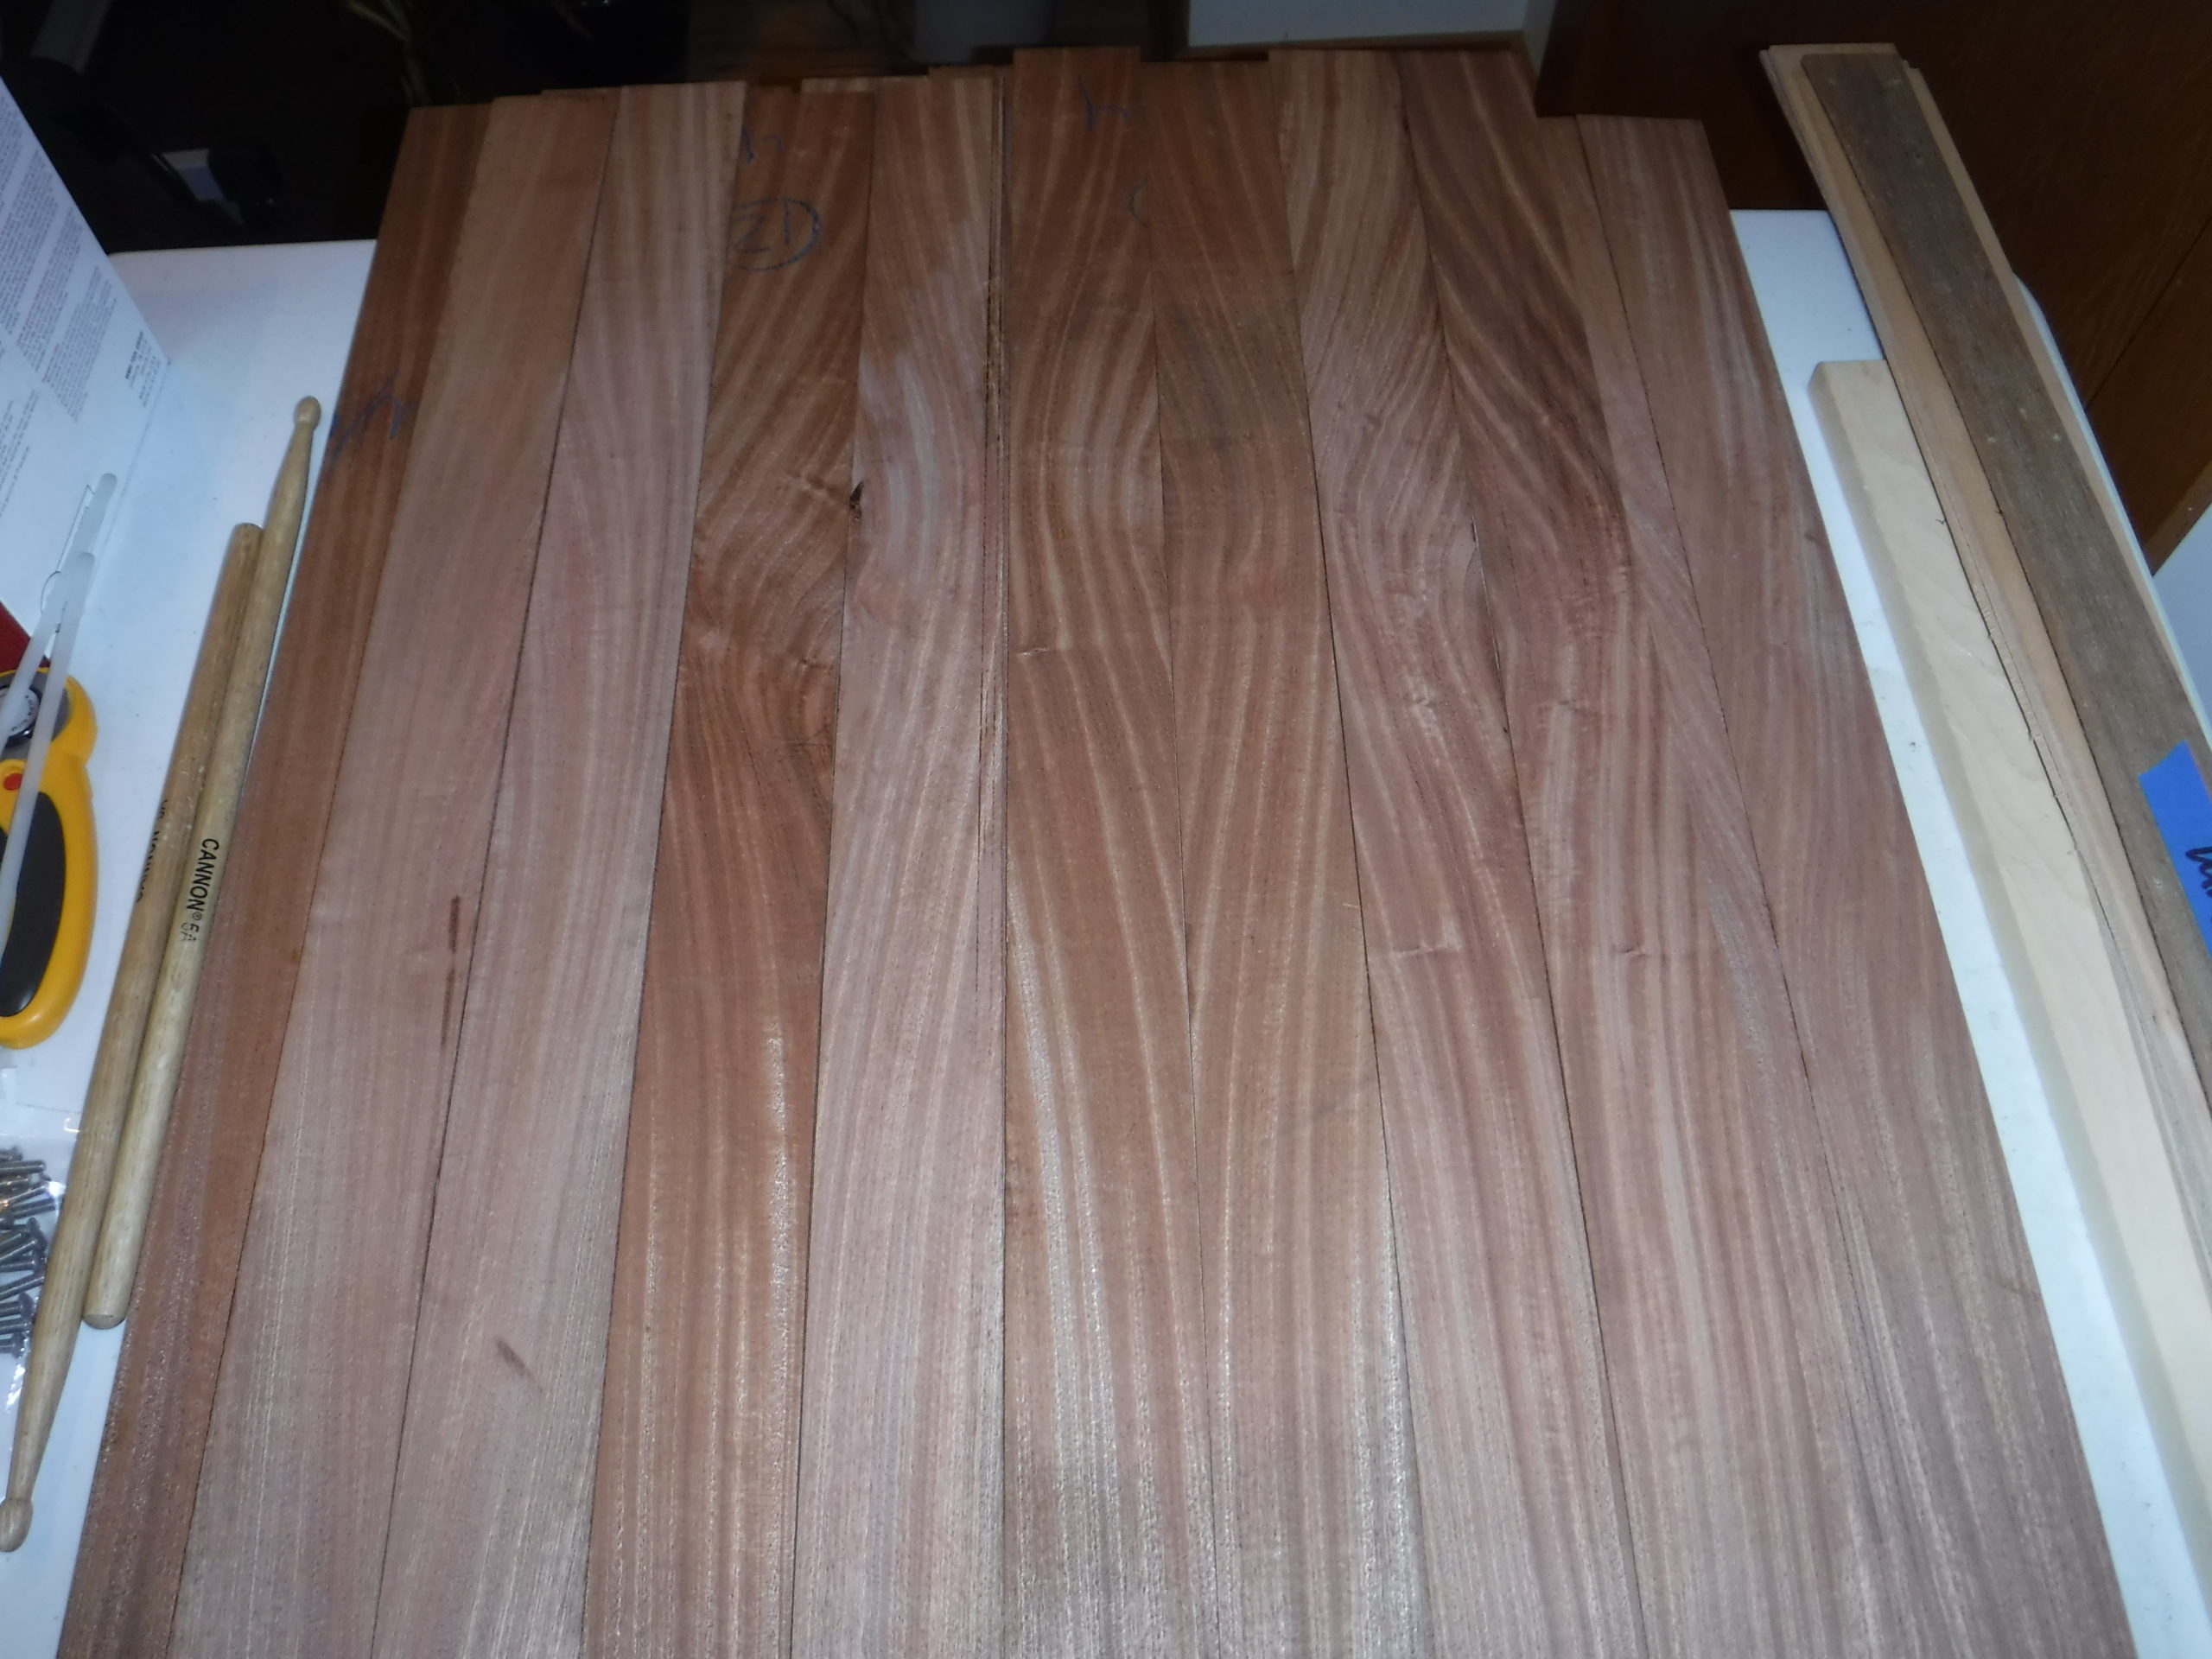
Hear is an example of a nice straight grain sapeale board. No visible knots. 1/4 sawn. 4/4 (full 1 inch) thick.
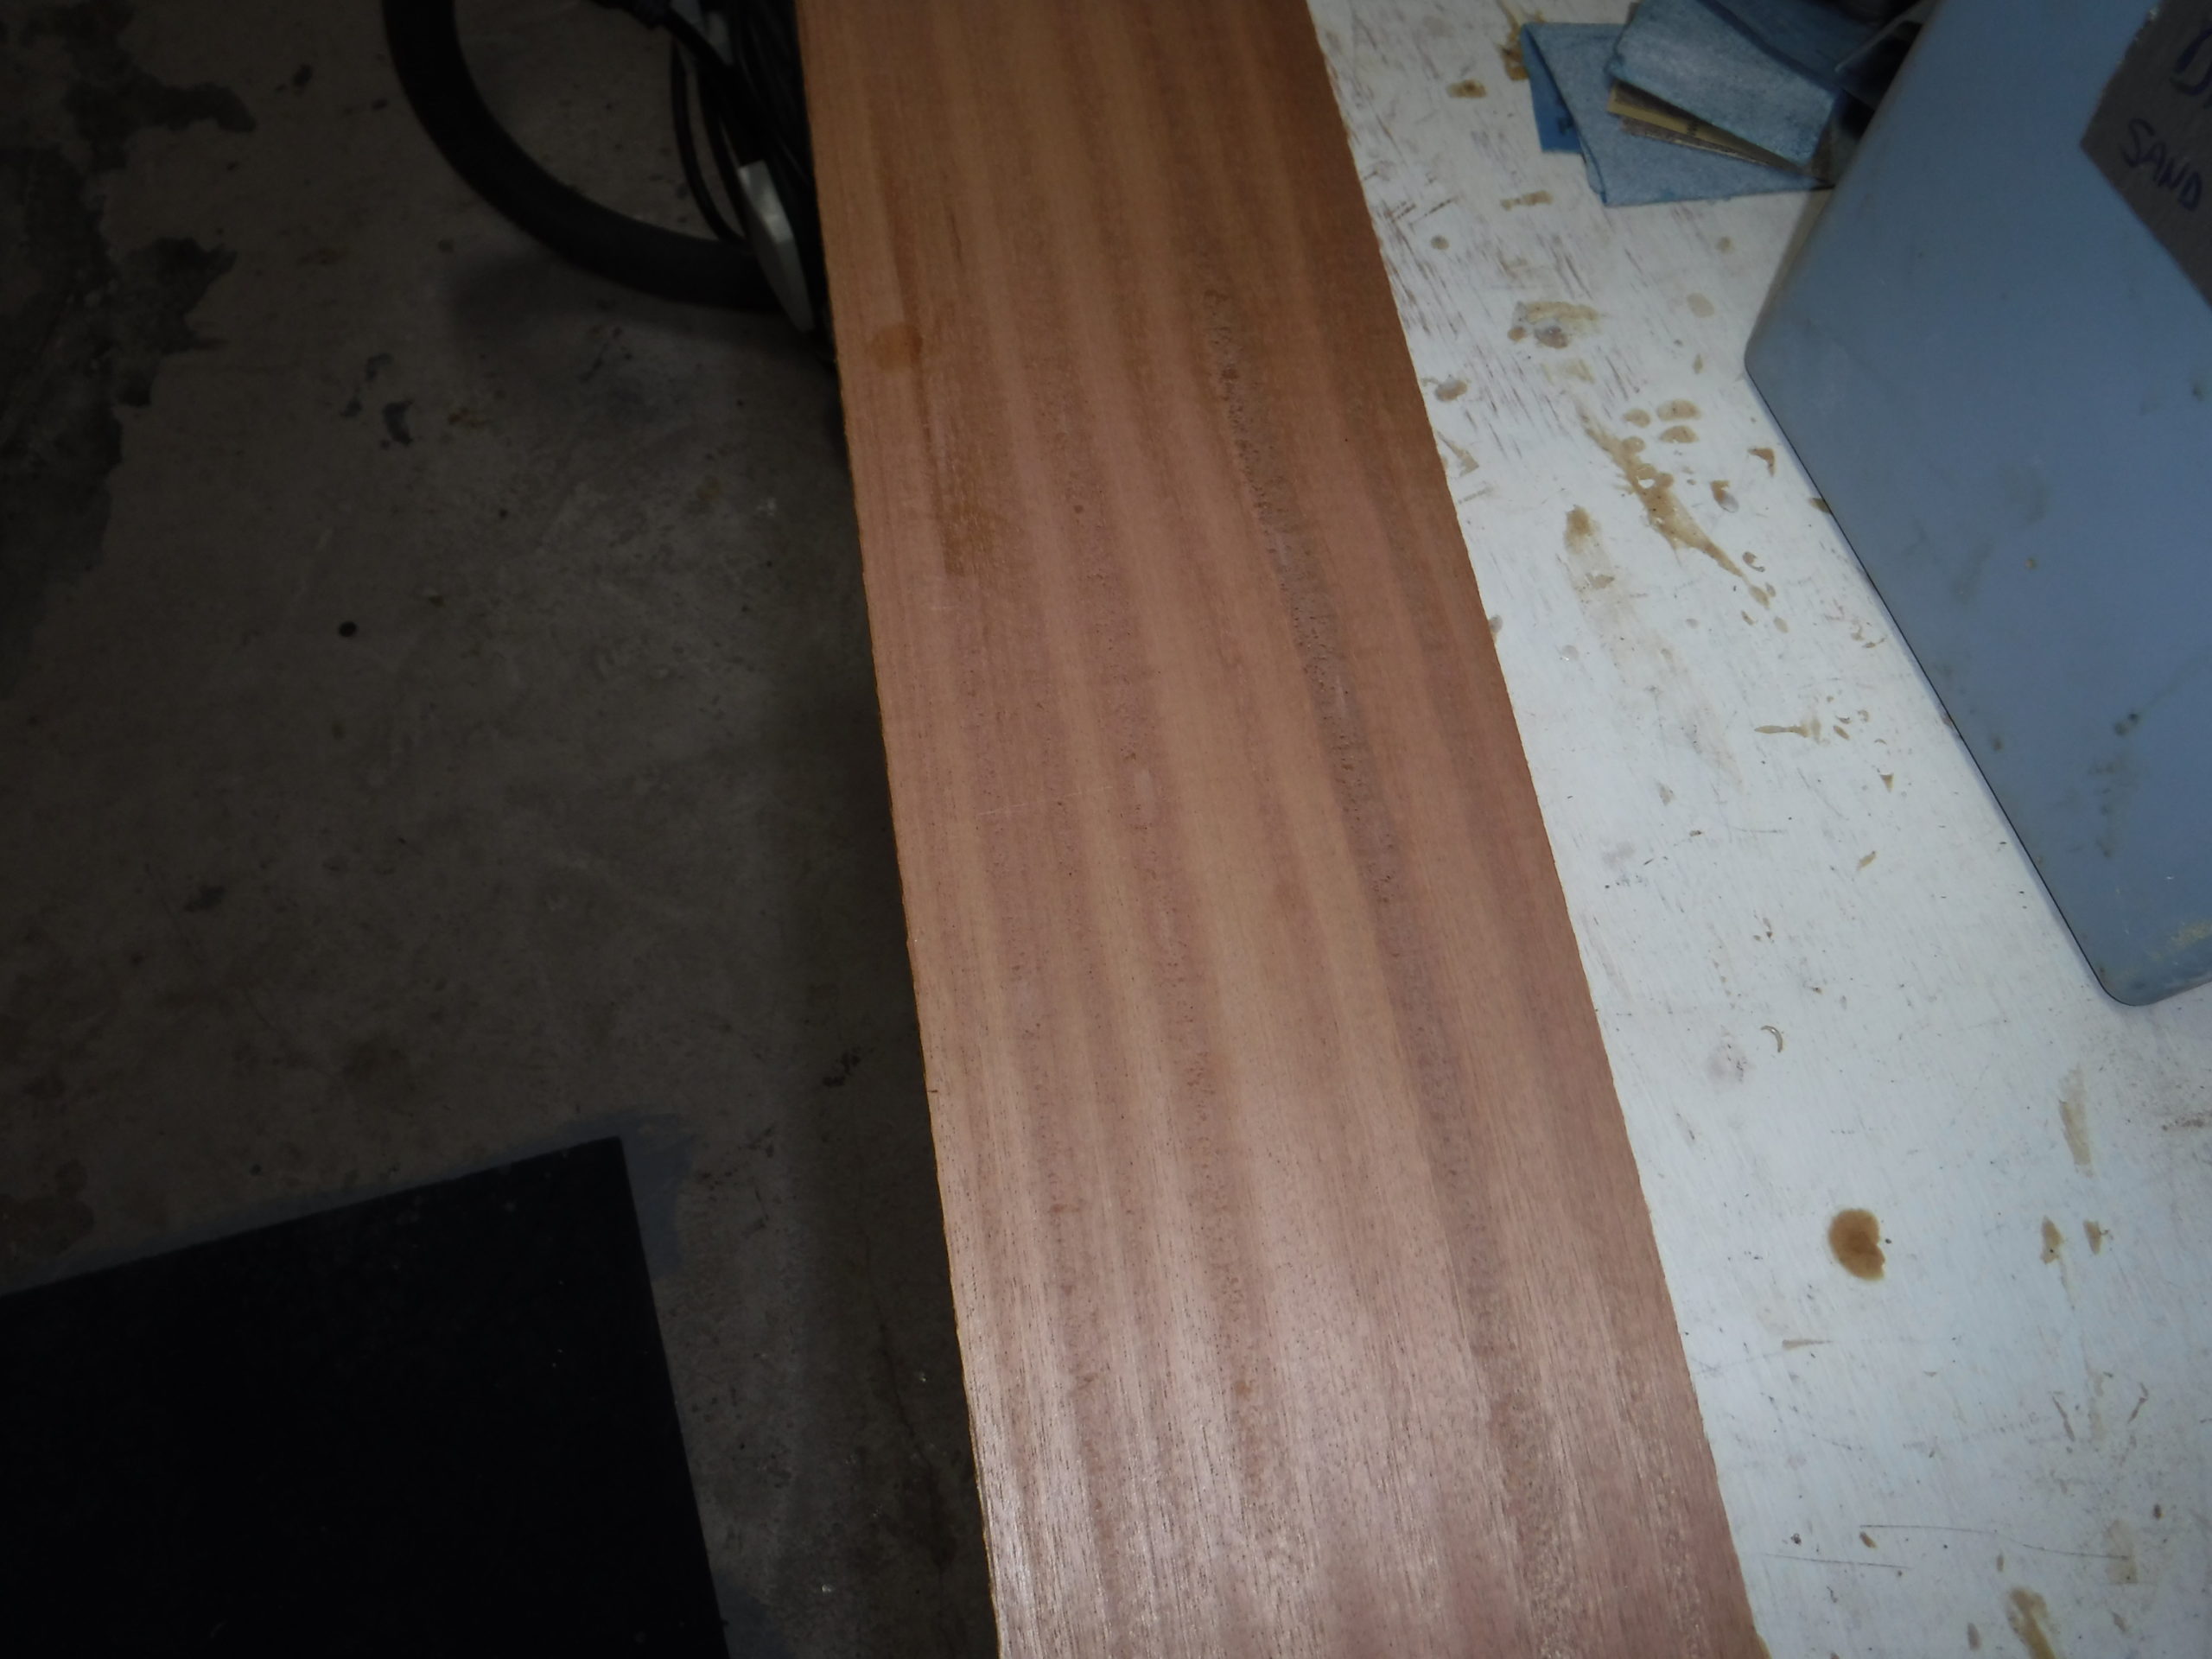
This board has a nice grain pattern so I will carefully label all the staves as they come out to help put the staves in a visually appealing order.
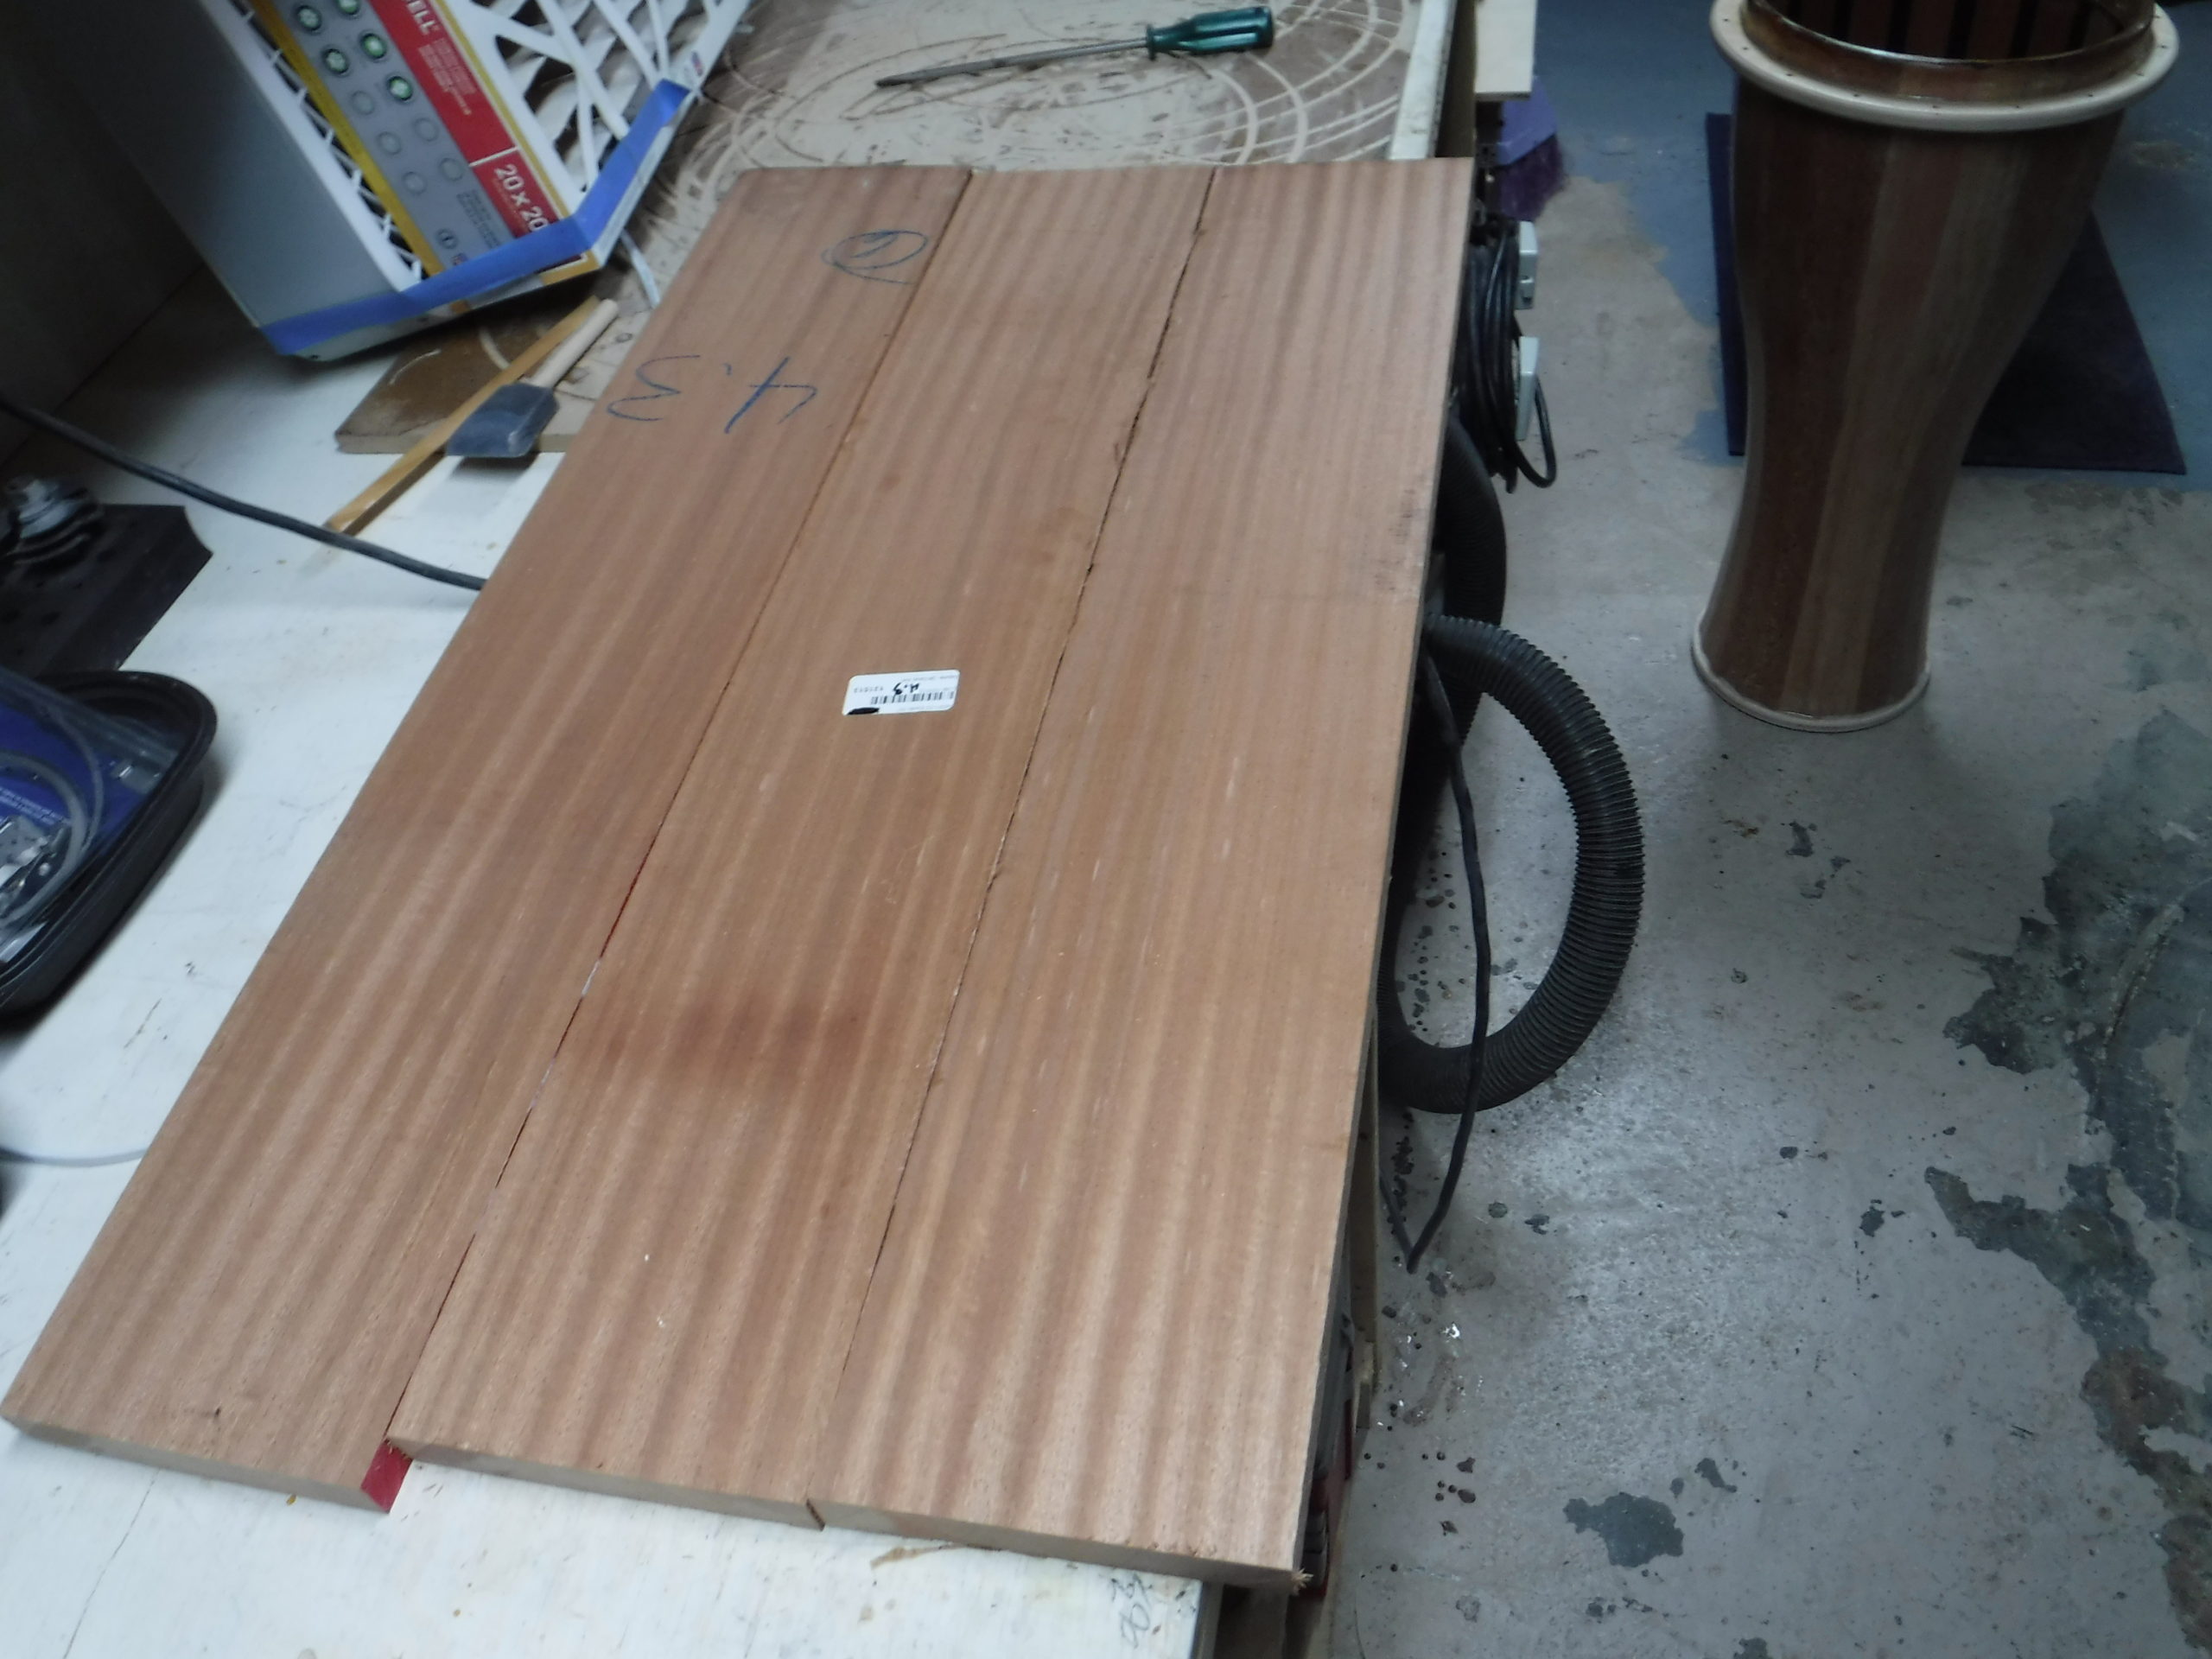
I find it easier to manipulates shorter boards so I will usually cut them to shorter pieces. We need 32″ but If I can go longer by a few inches I will, cutting them to length at a later stage.

A joiner will help flattening two of the sides for cutting the board into staves
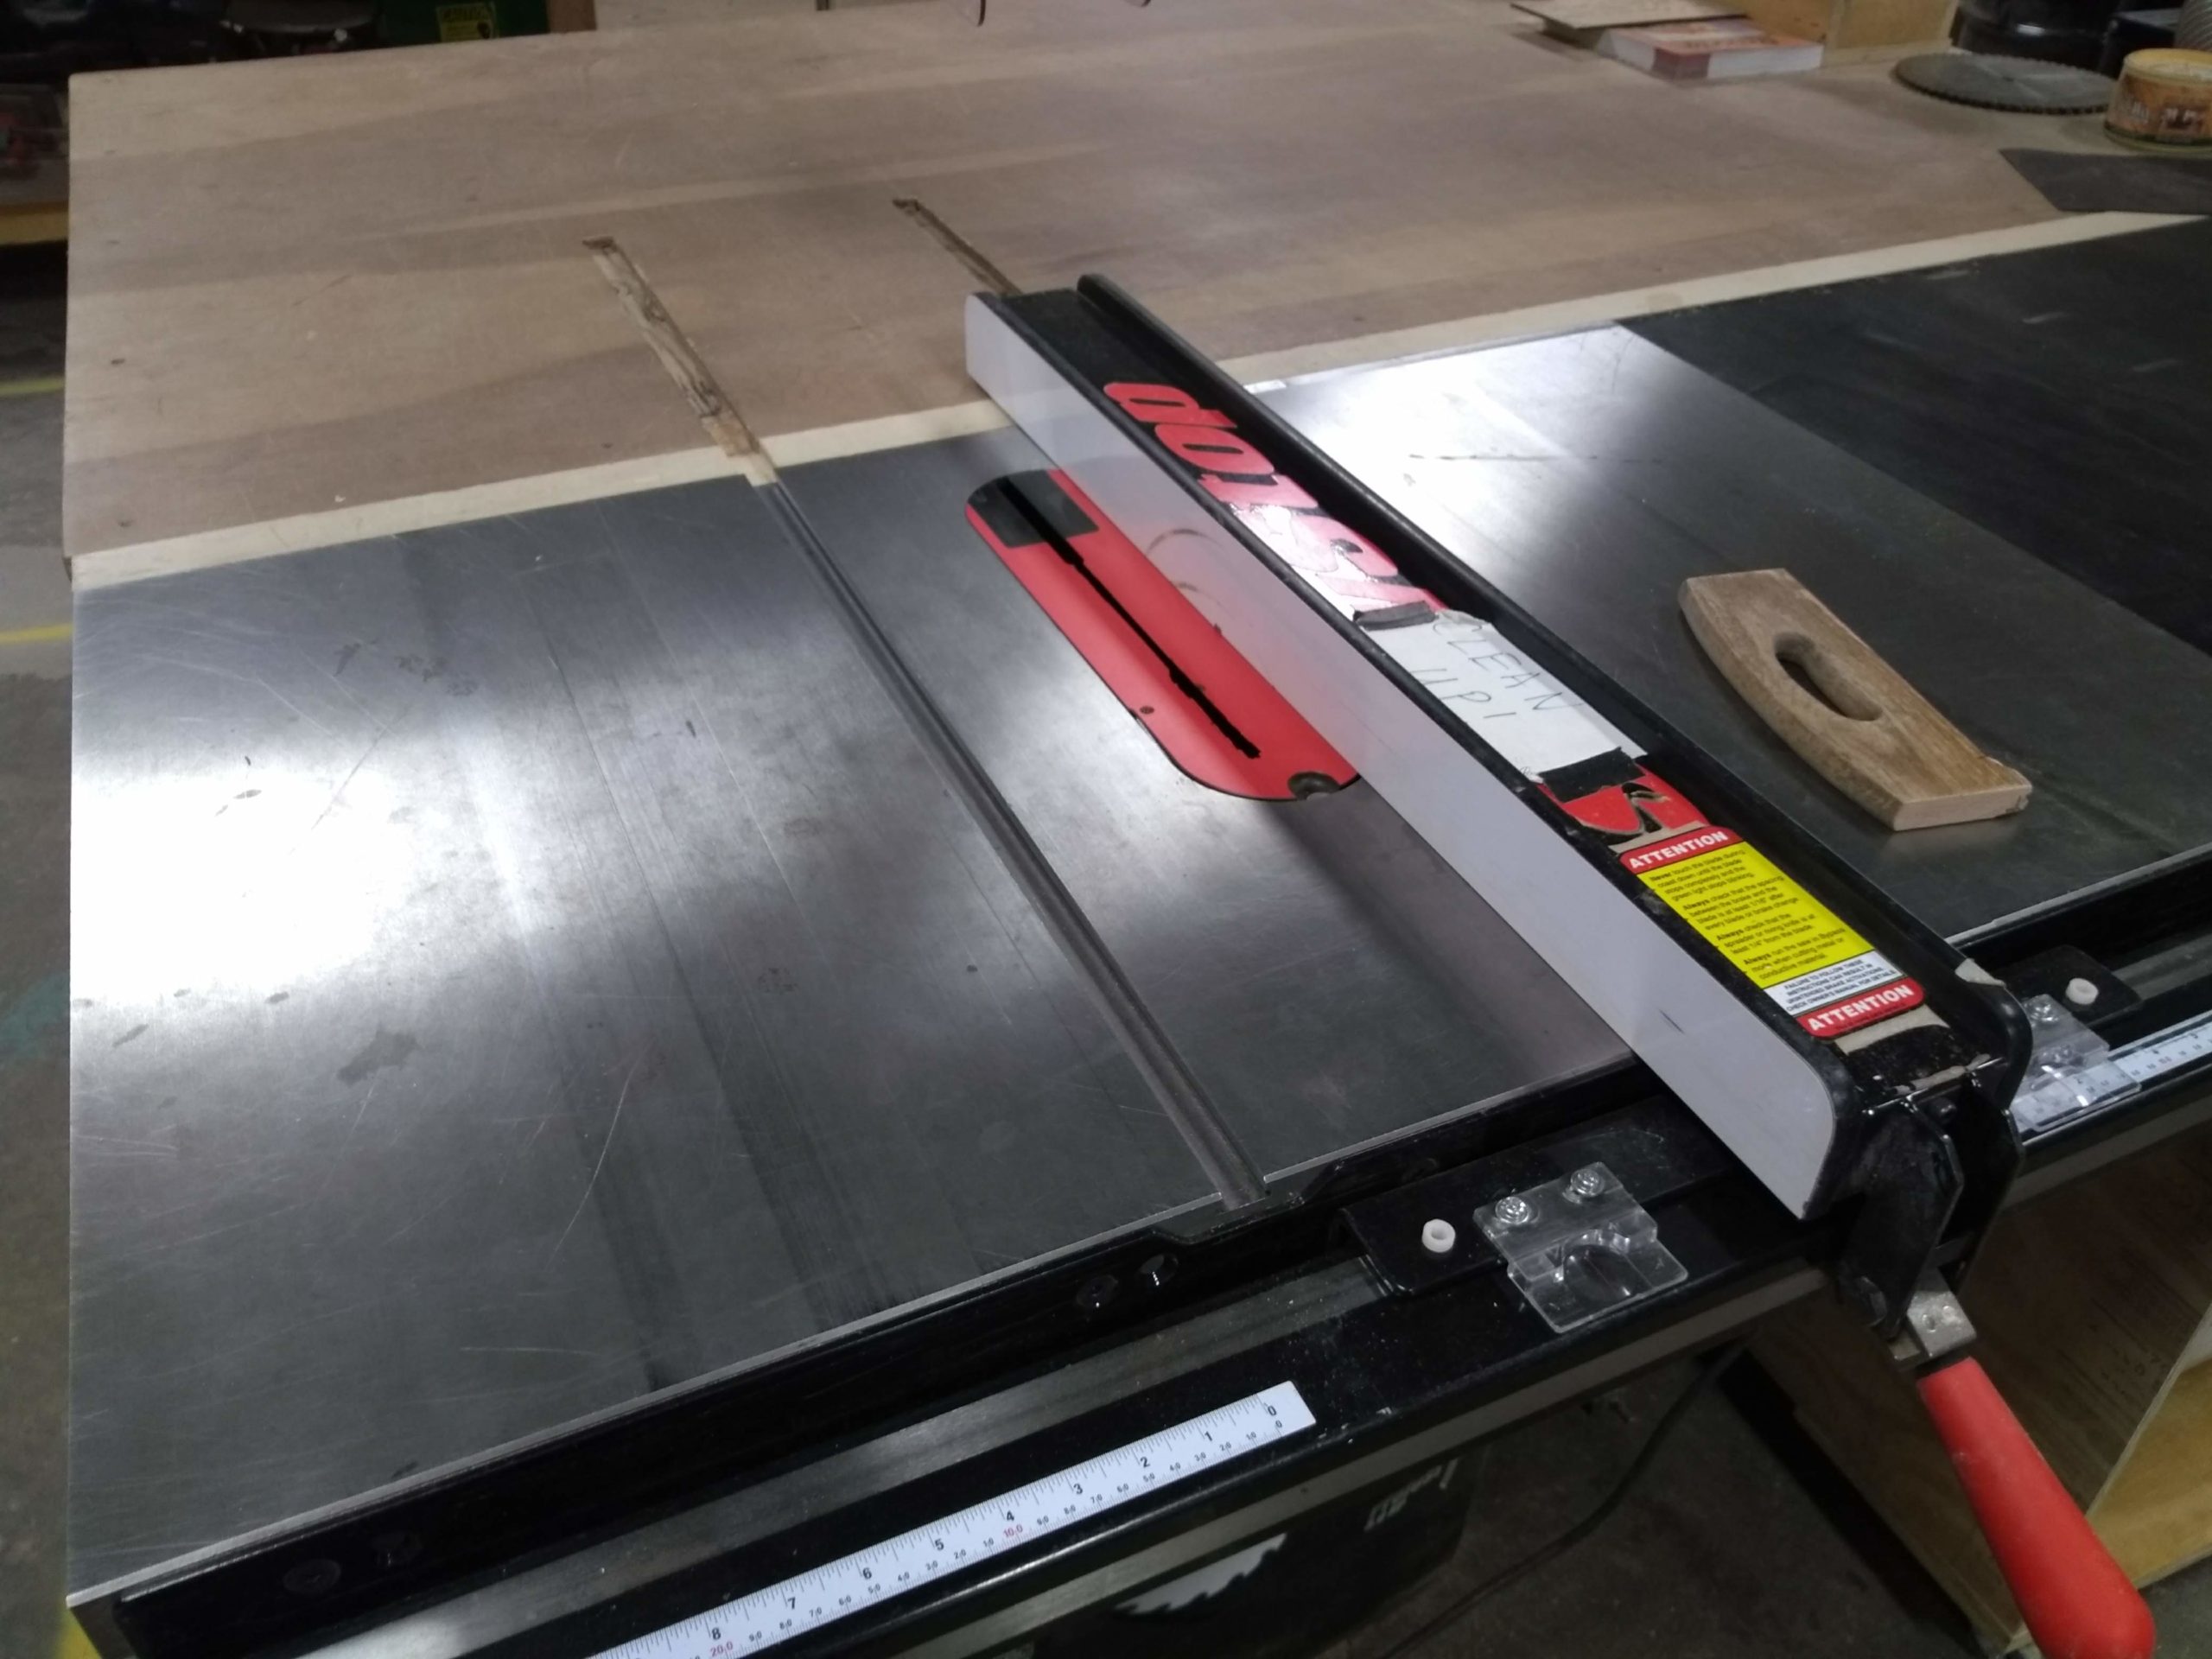
Resawing can be done with a table saw. You will loose about 1/8″ per cut.
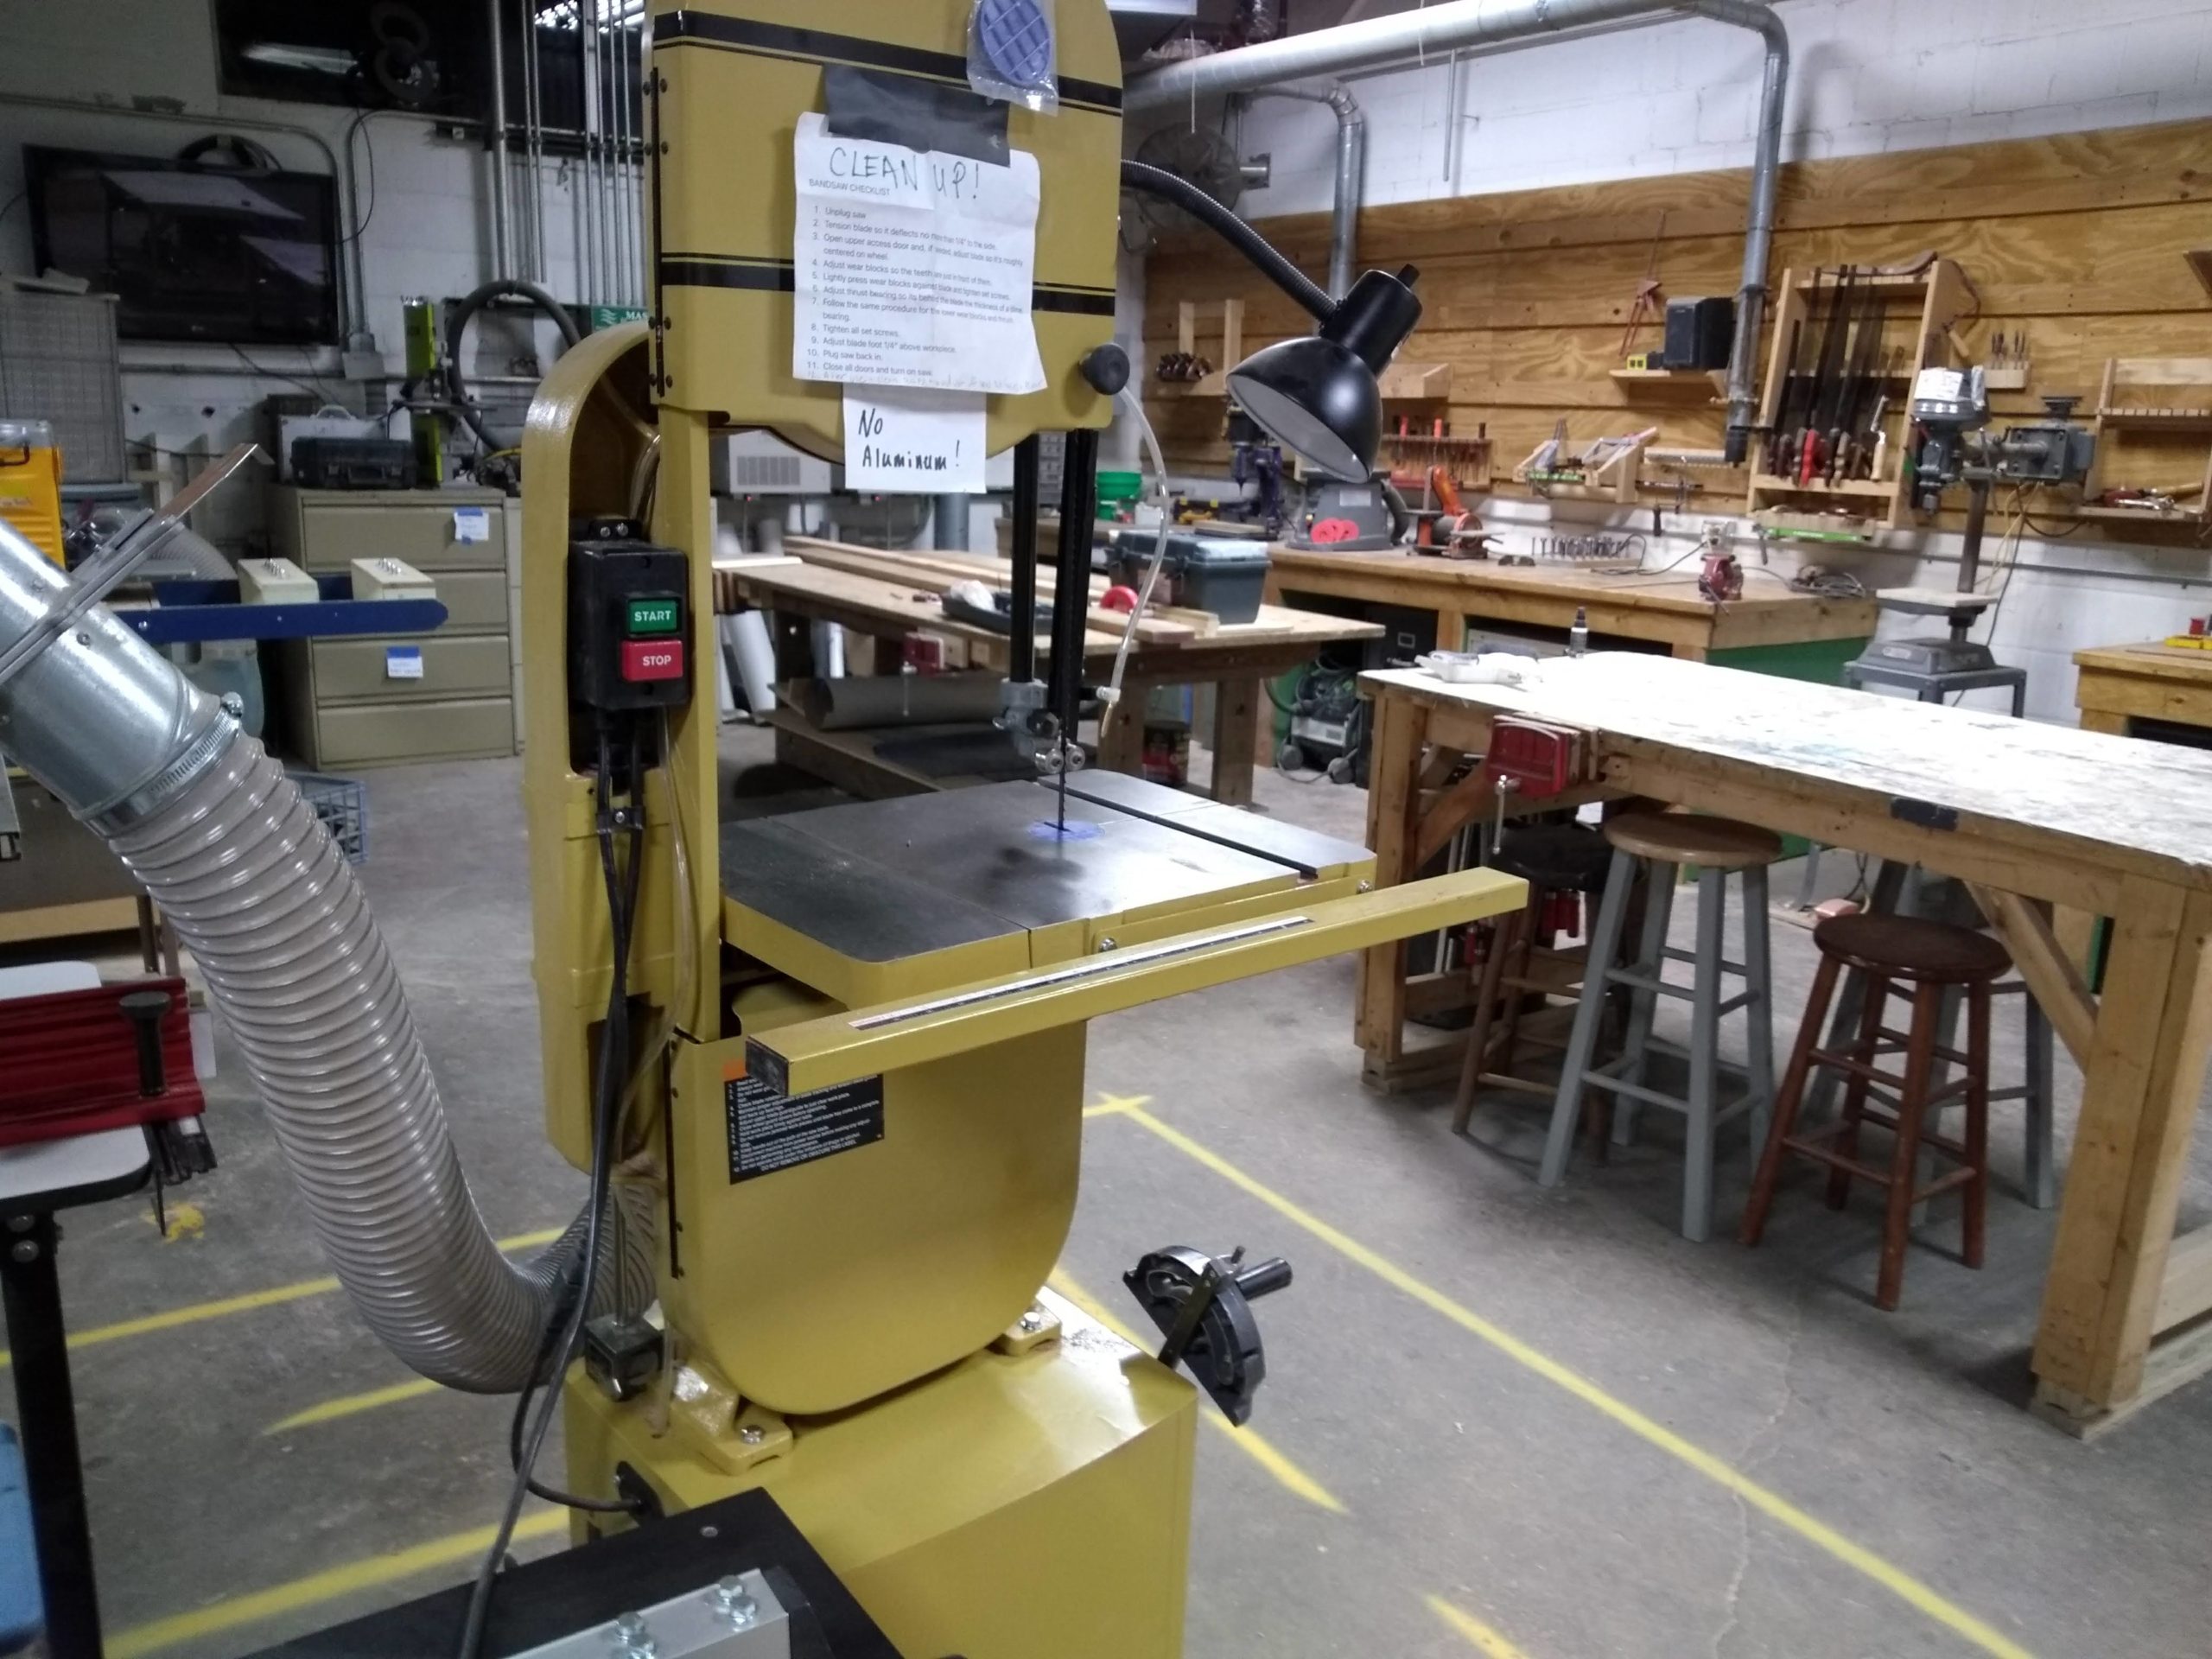
A band saw is my preffered way to resaw the boards to thickness. The loss is much smaller, but most importantly I feel it is a much safer operation.
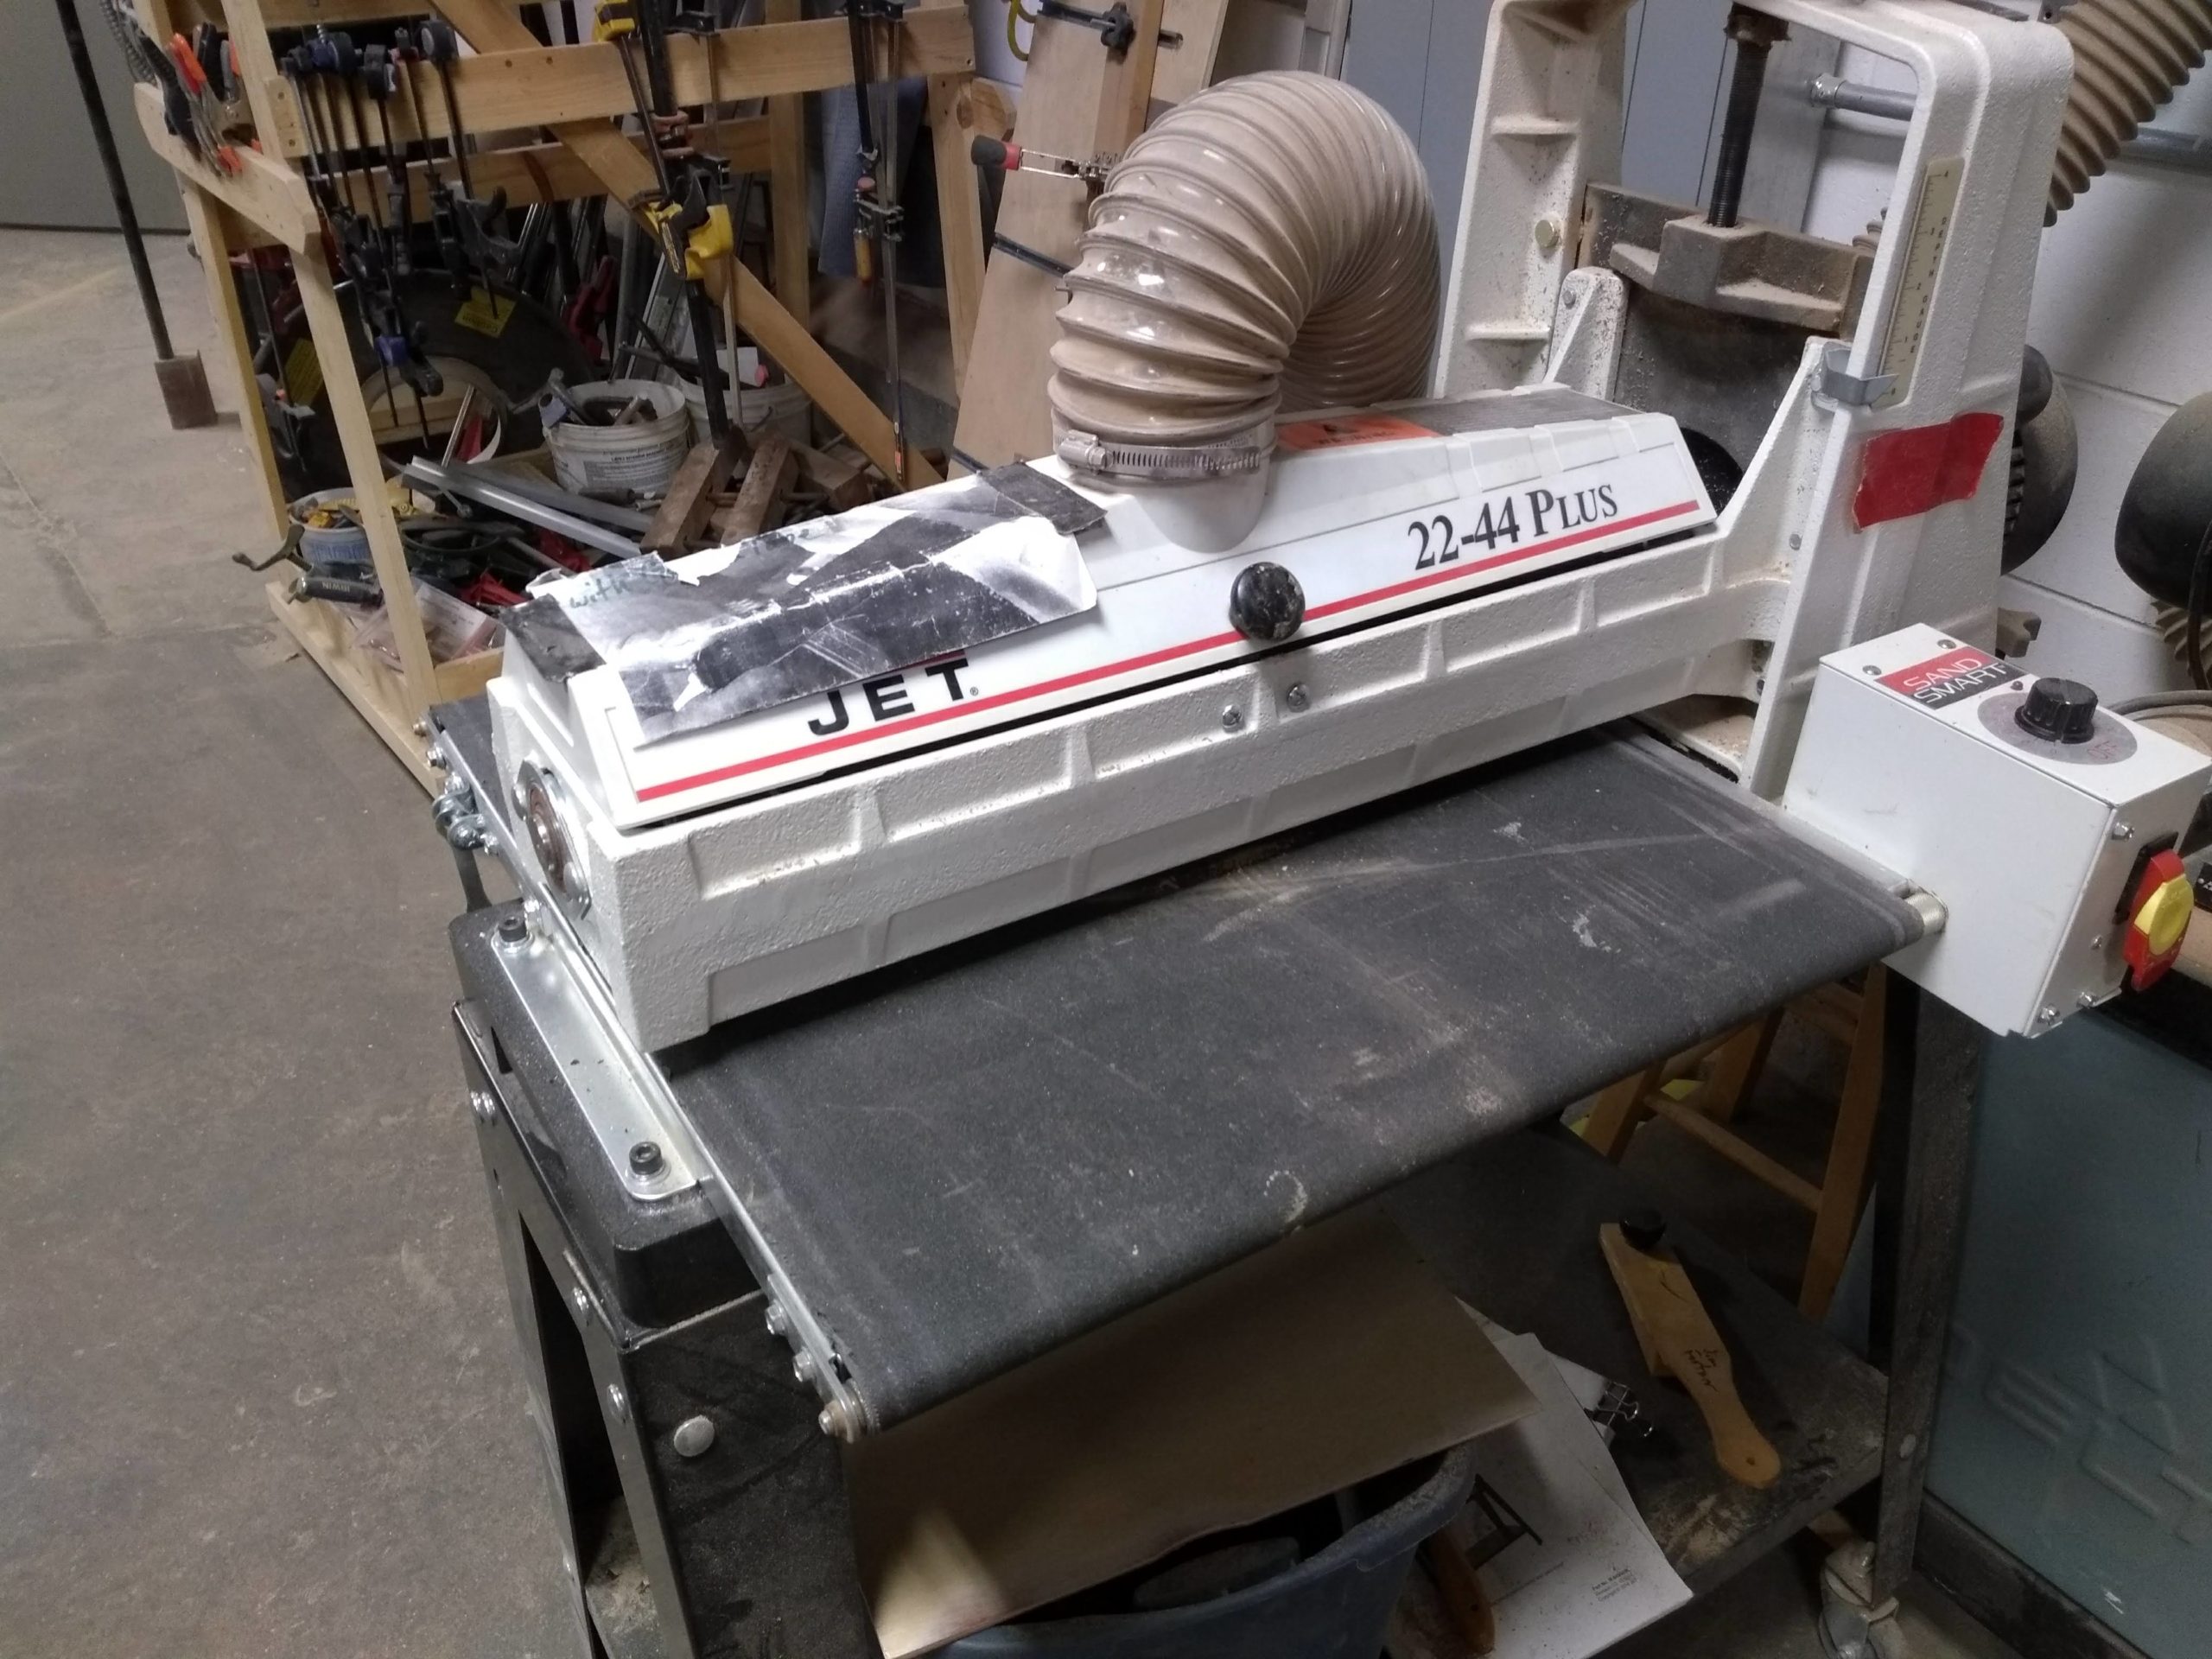
Having acces to a drum sander really help to get all the staves down to a common thickness. This is not necessary but makes the drum look nicer on the glued edges.
Planning the look
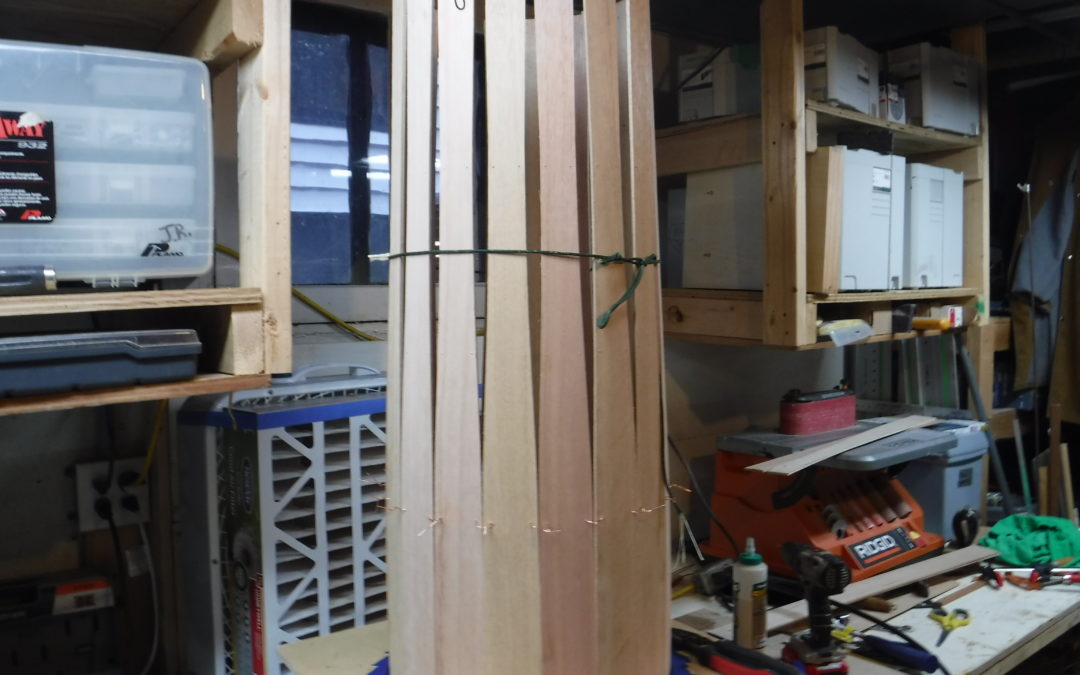
After sanding both sides to 120grit and before shaping the staves, take your time to imagine the final look of the drum. Get a good understanding of what might be the interior and exterior of the drum and top and bottom of each stave. Carefully plan the order of the staves. If you have staves that are bowed try to keep the bow to the outside.
Backing blocks
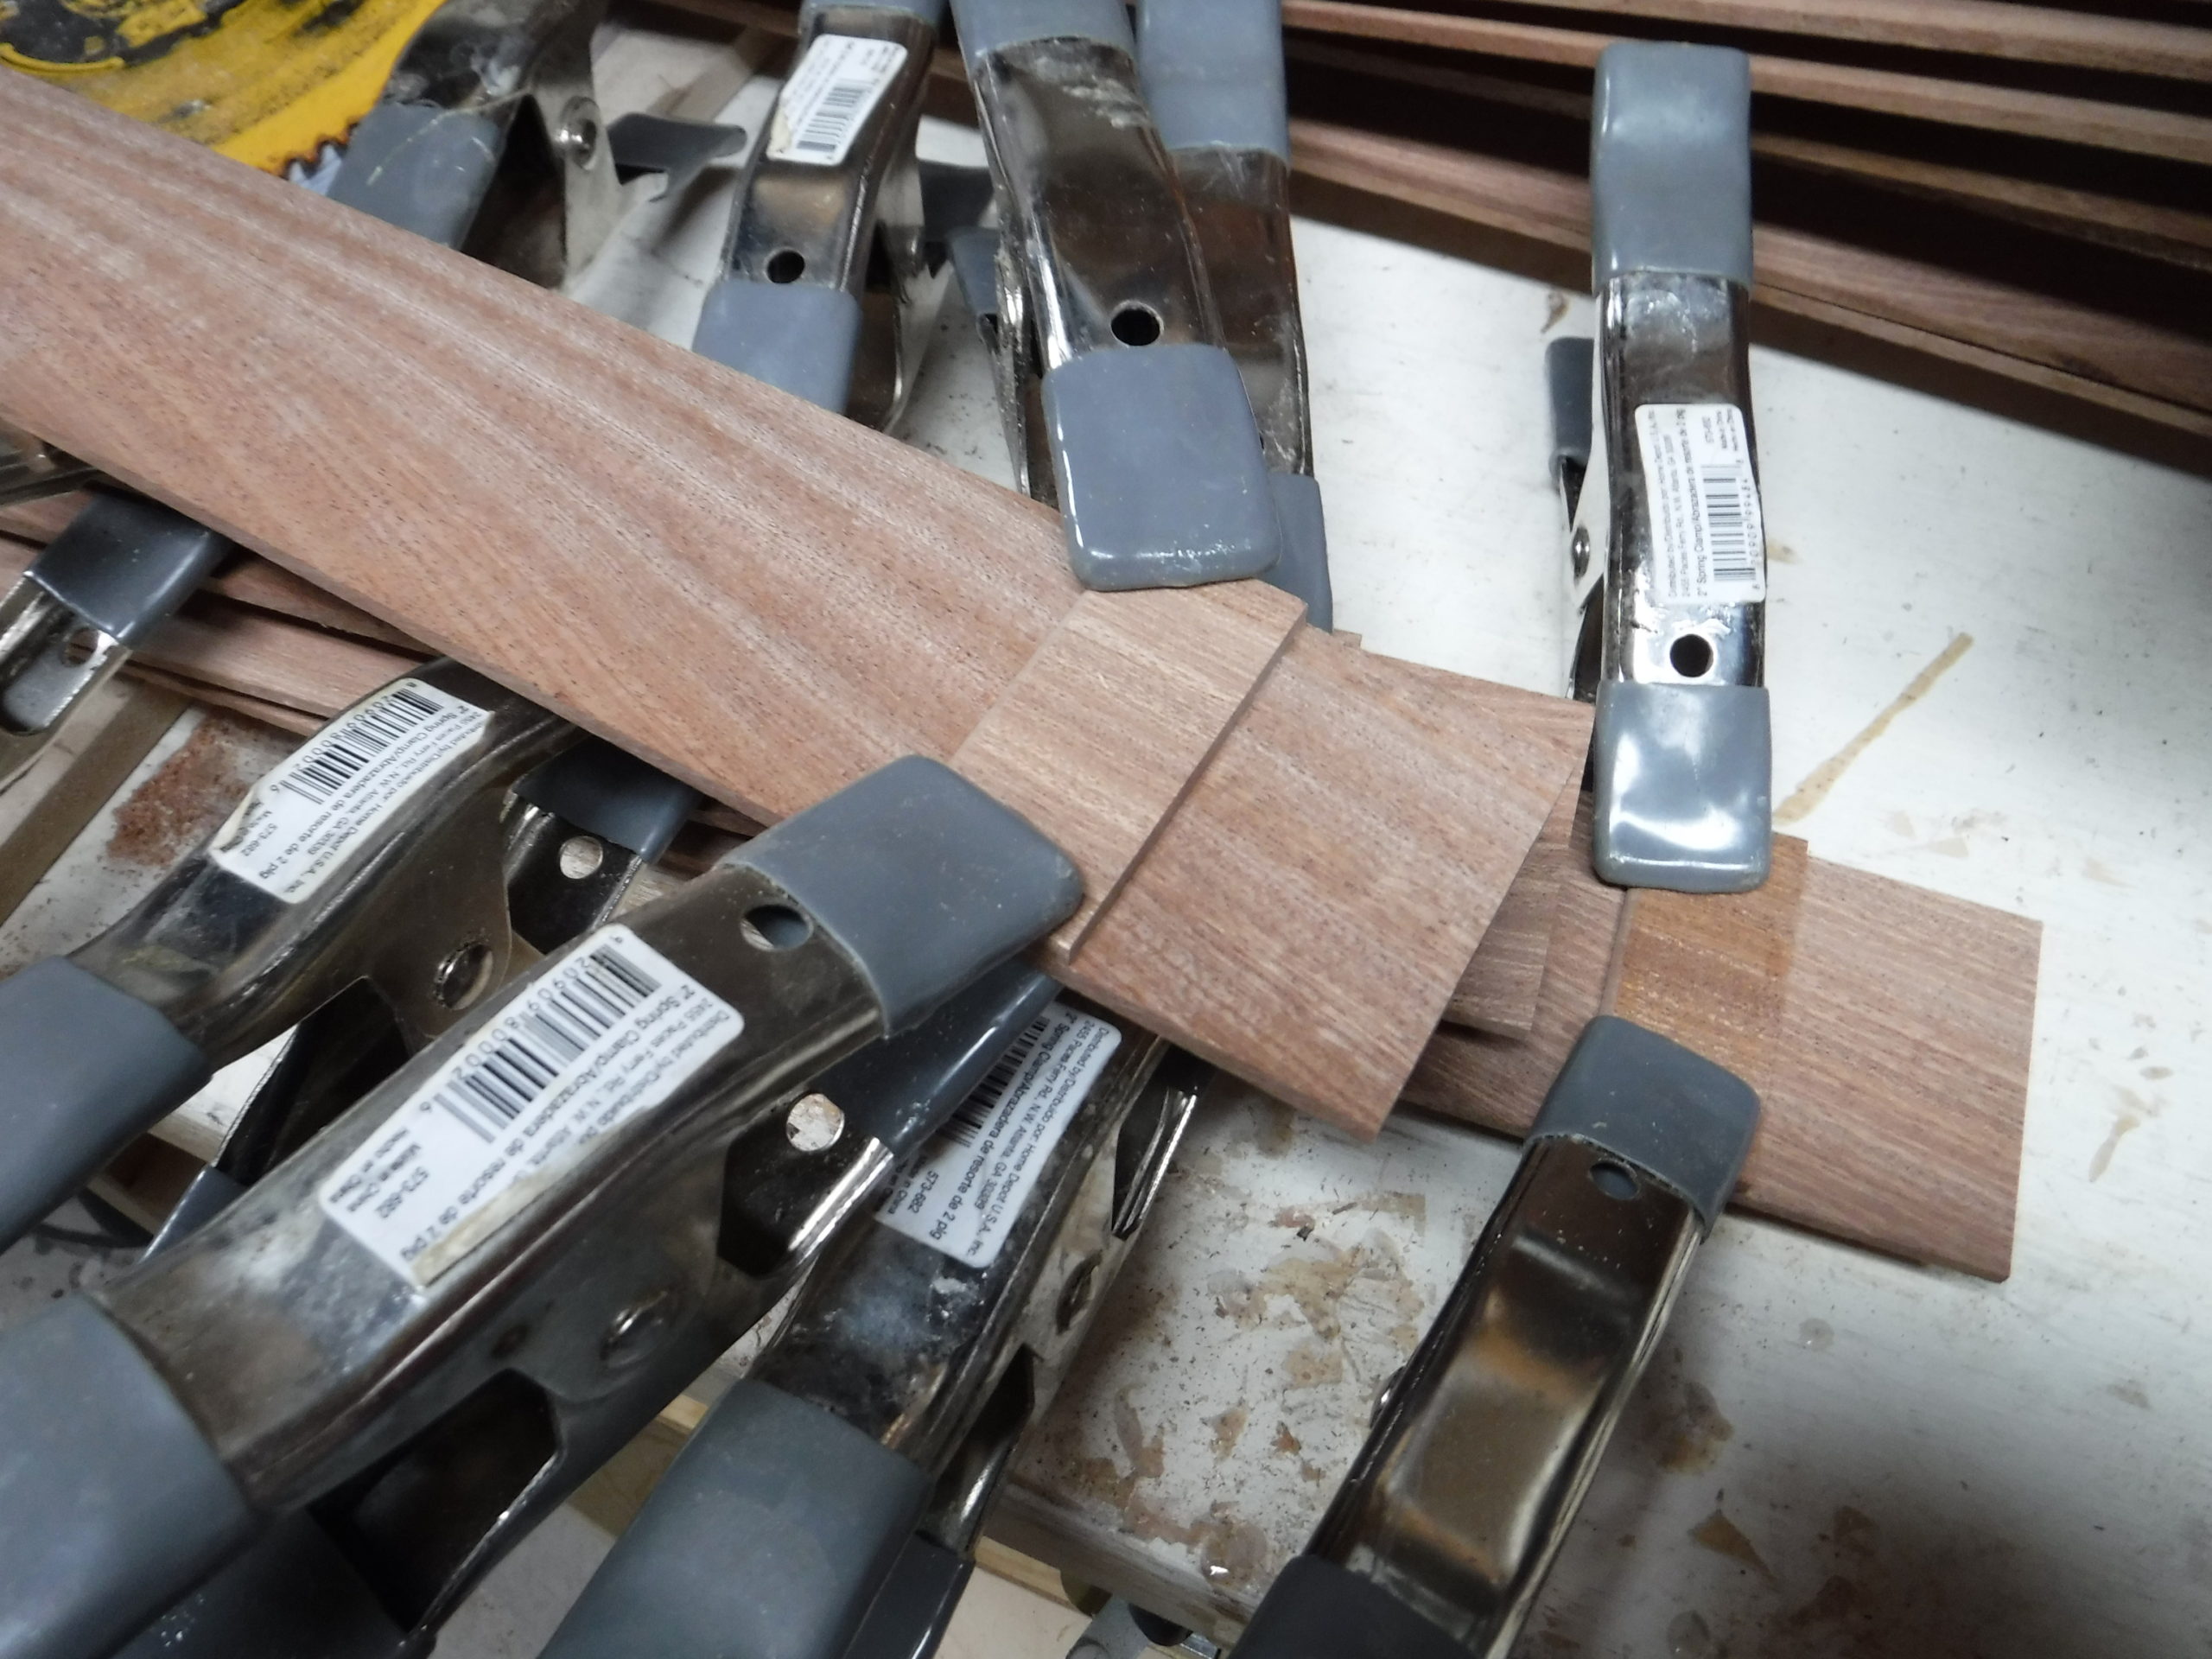
In newer drums I now glue a small wood piece to help align the eventual glueing process of the staves. This small piece is carefully glued with yet another jig to place tthe top edge of the stave just above the top edge of the bearing edge assembly. This little piece serves a couple other functions. It gives a little more support for the bearing edge, it makes the glueup look a lot nicer and finally one of the pieces will be used to add strength to the strap eye bolt. They are glued to the back side of the stave. By adding them at this stage they get milled to size with the stave. They are the same thickness and width as the stave blanks and are offcuts of the same.
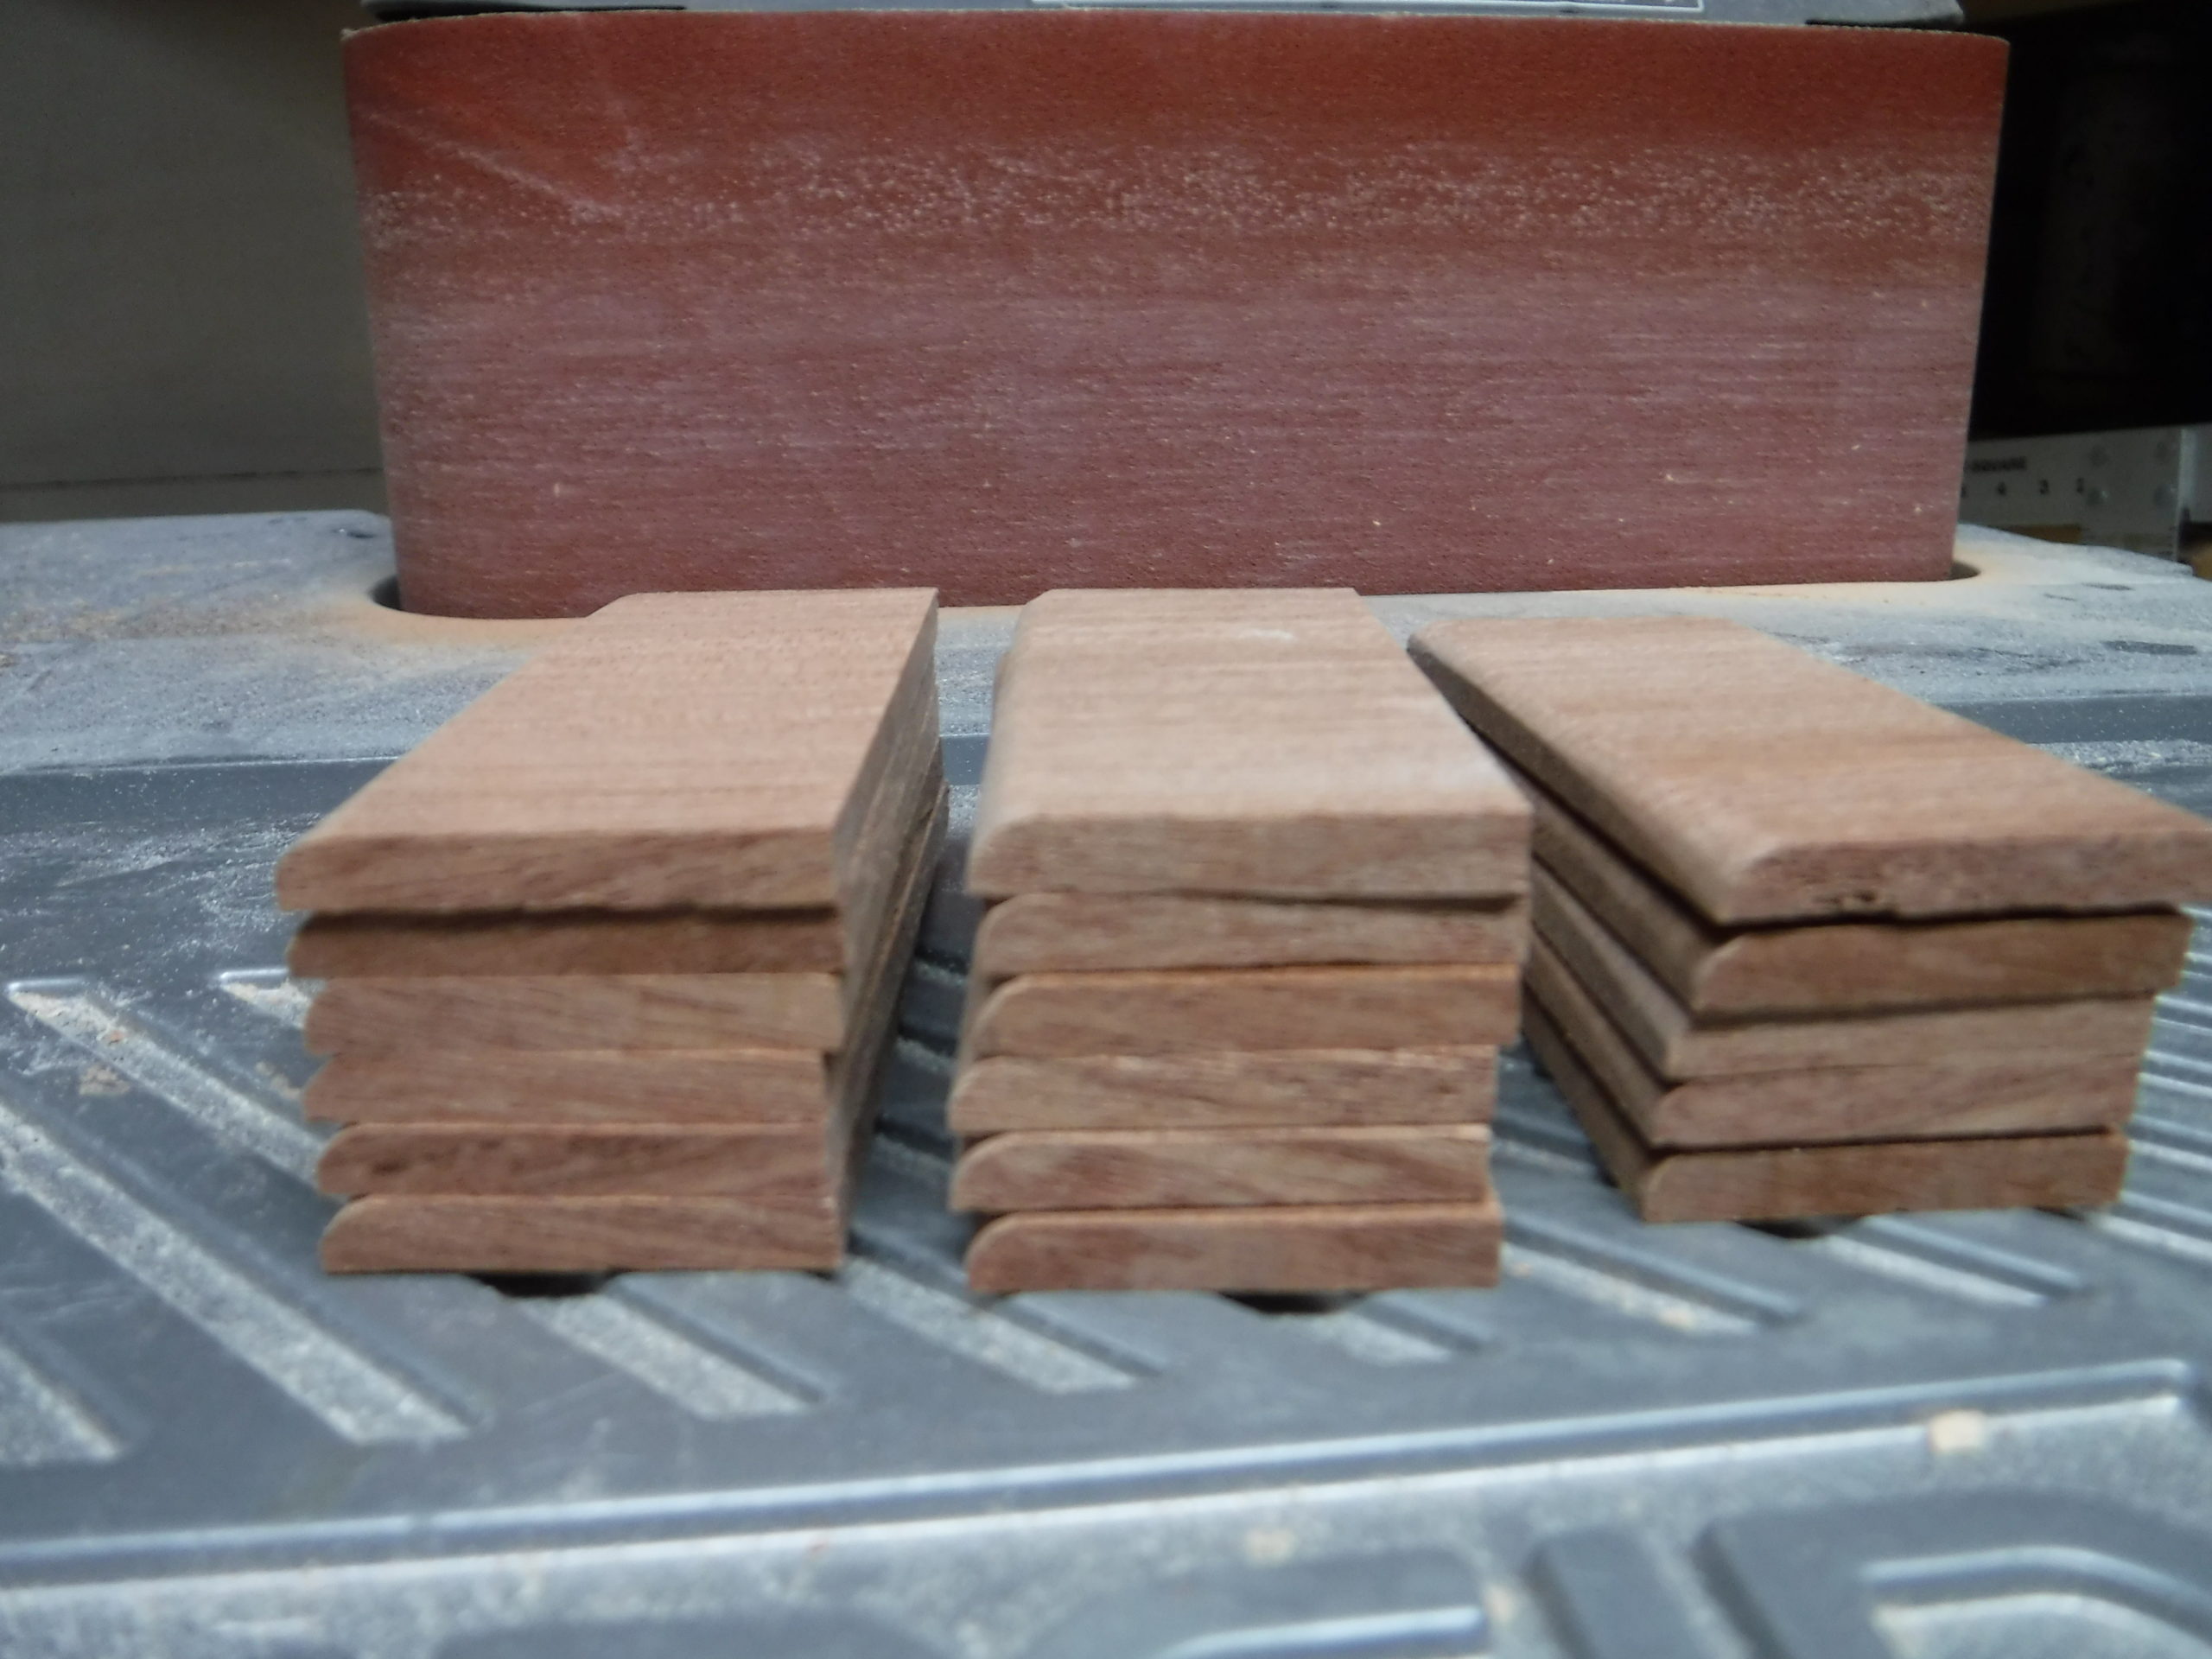
Simple backing pieces cut out from the same stock as the stave blanks. These are about 1 1/4″ long. Round off the bottom edge for a nice glueup look.
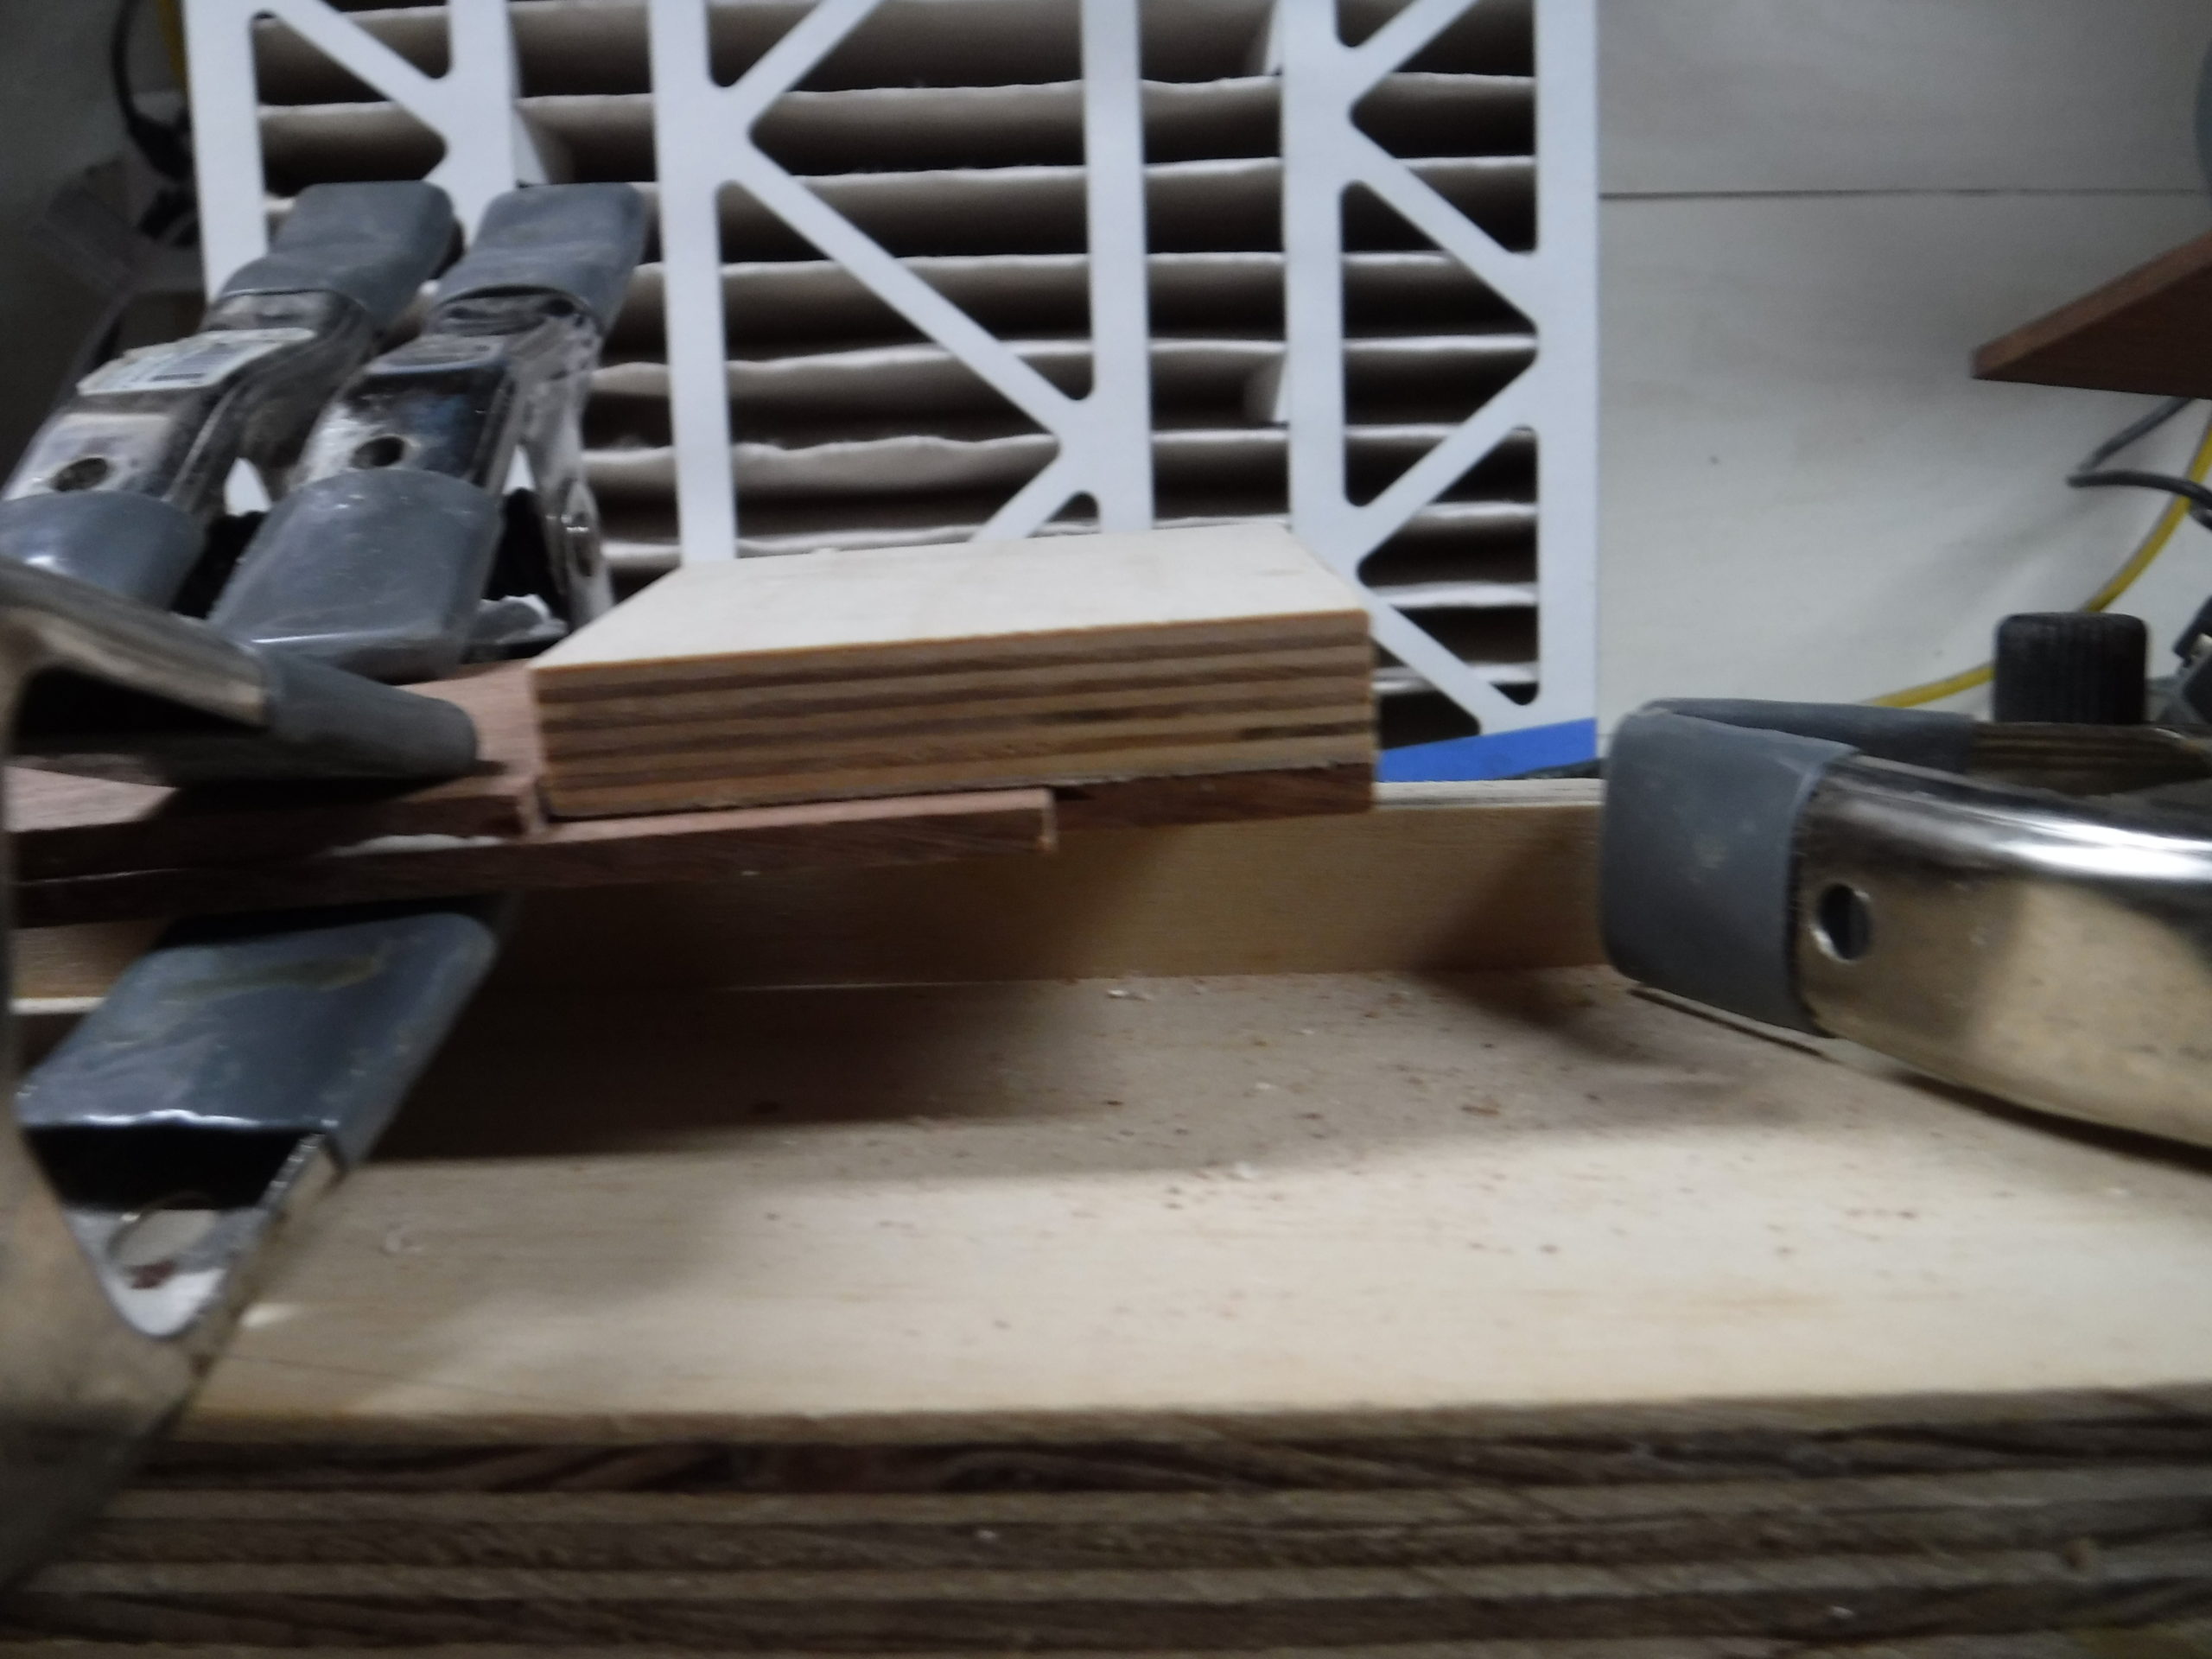
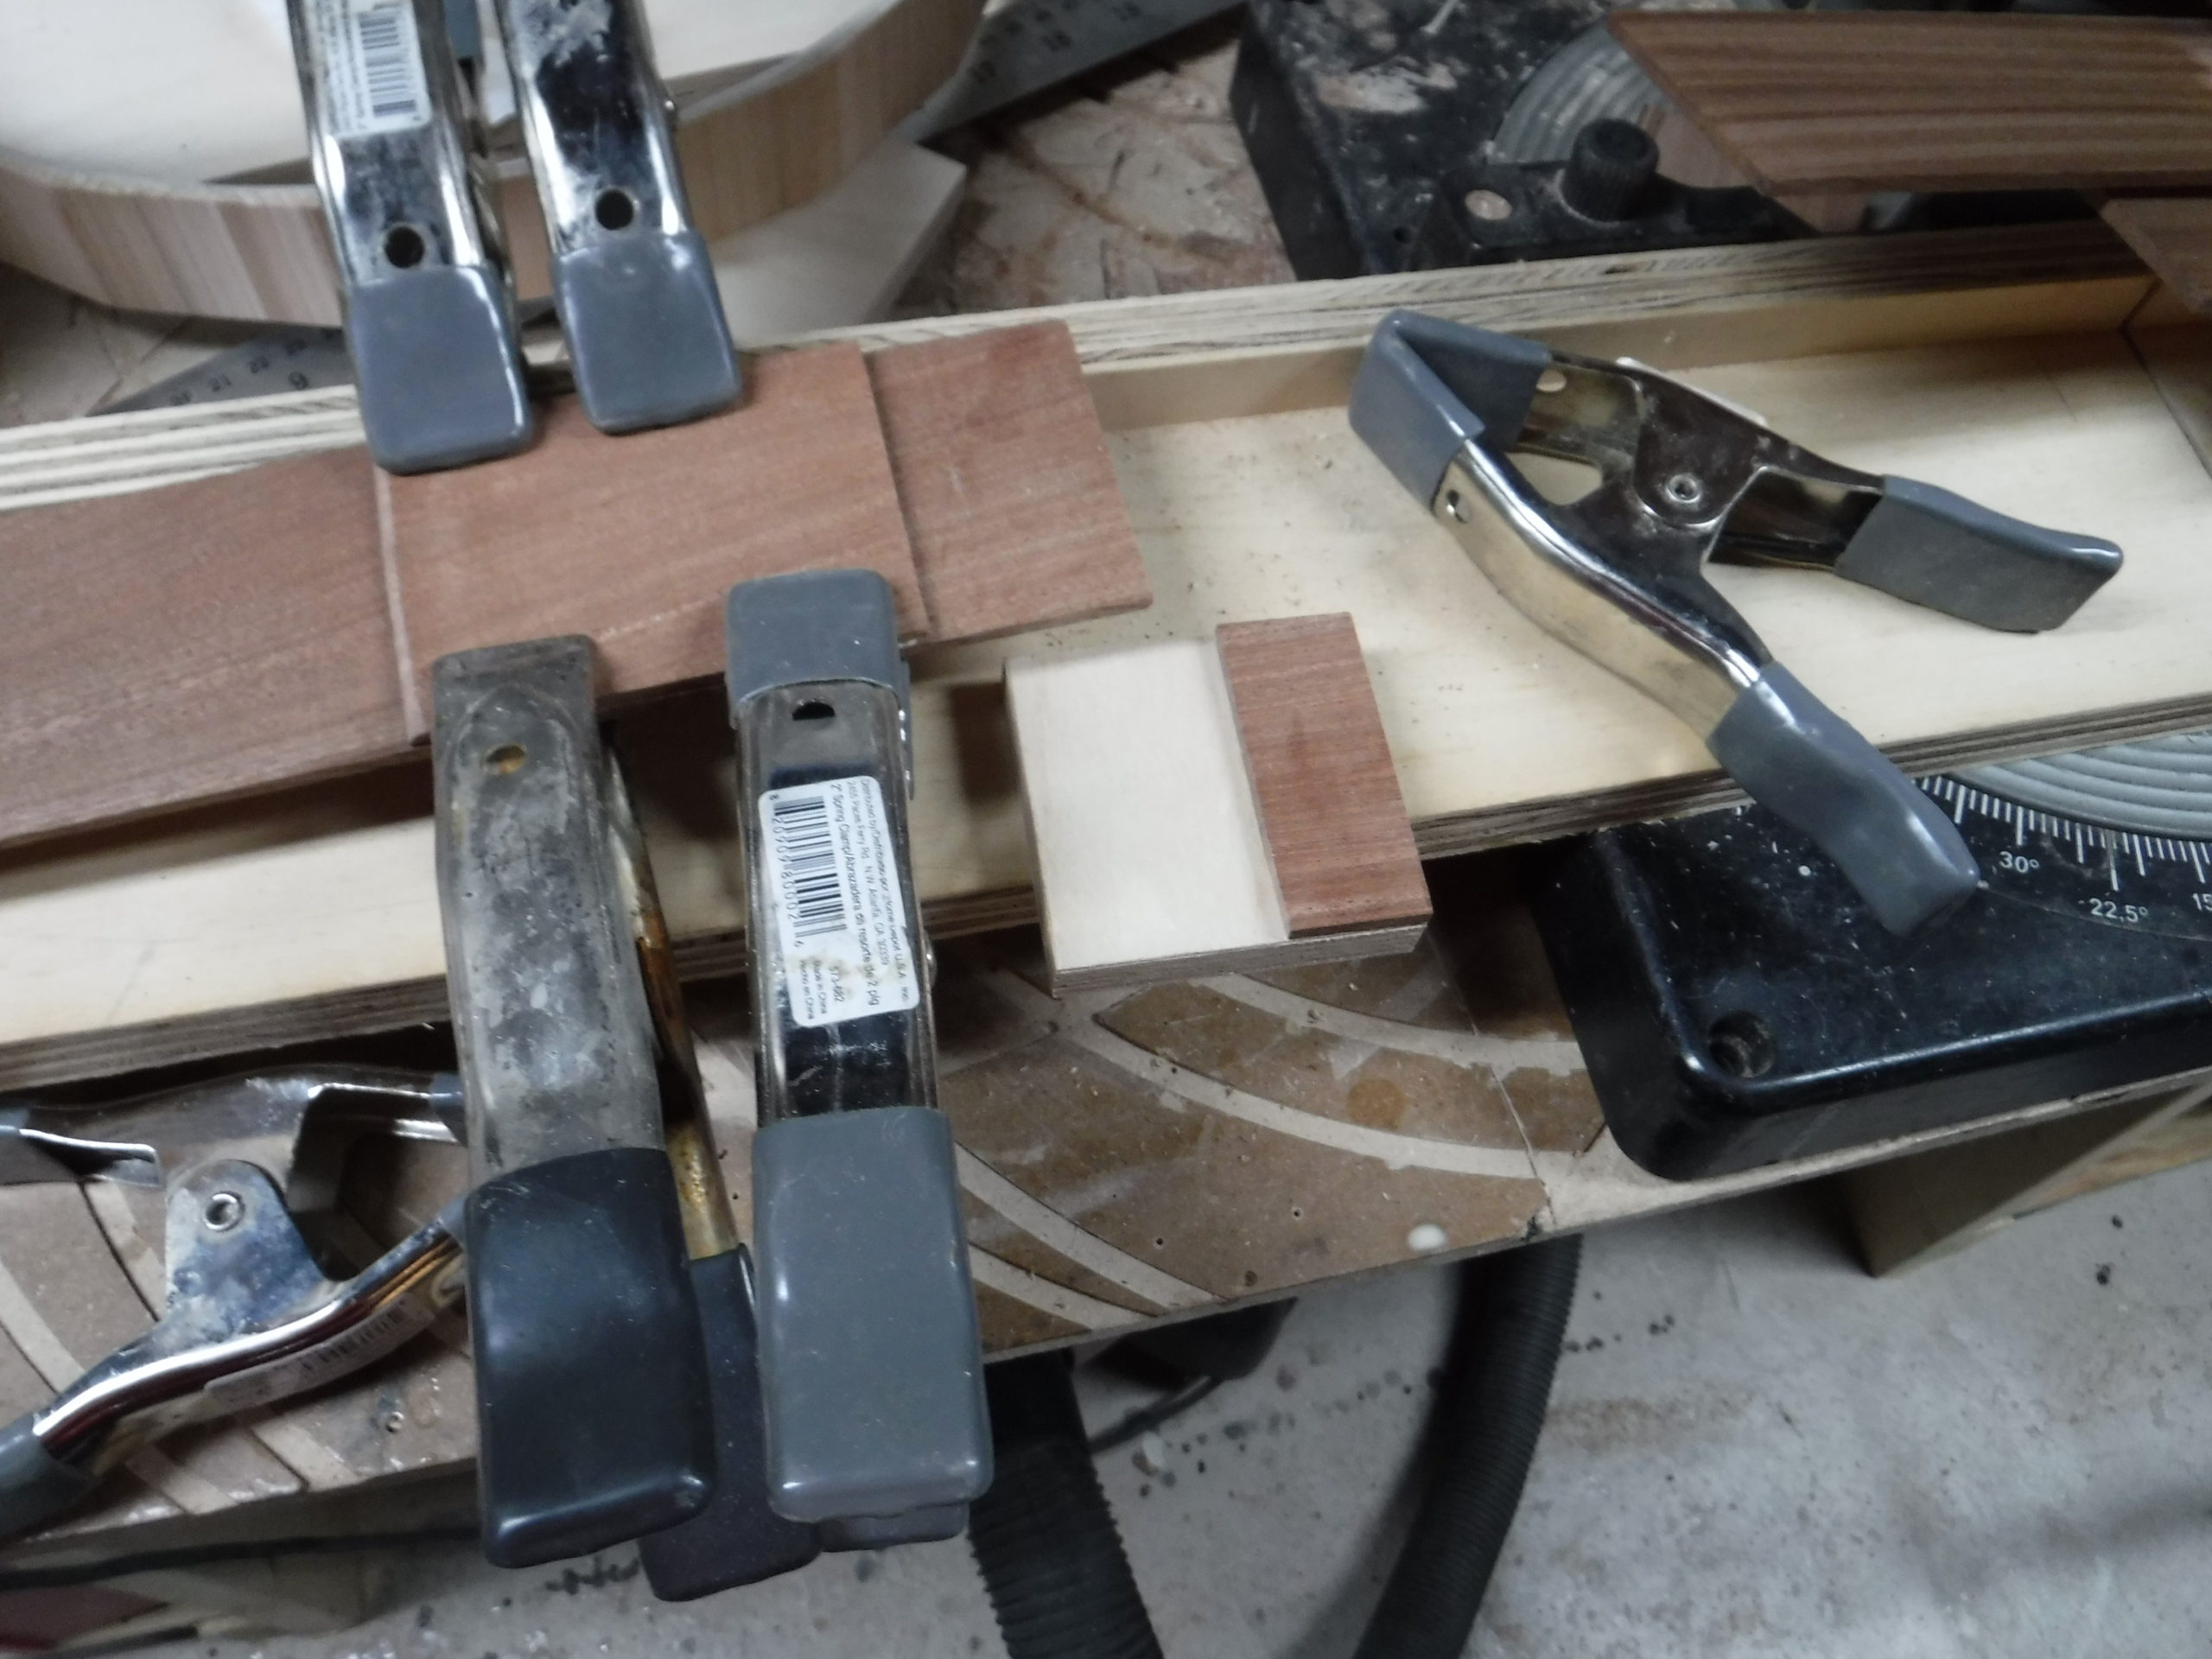
A simple jig to make sure the backing piece is square and the same distance from the top edge of each stave.
Some of the backing plates drying up after glueing
This is the longer backing piece for the eye bolt. About 3 1/2″ long. You only need one like this. Glue it to the stave you selected as the one facing the drummer.
Now to the milling.
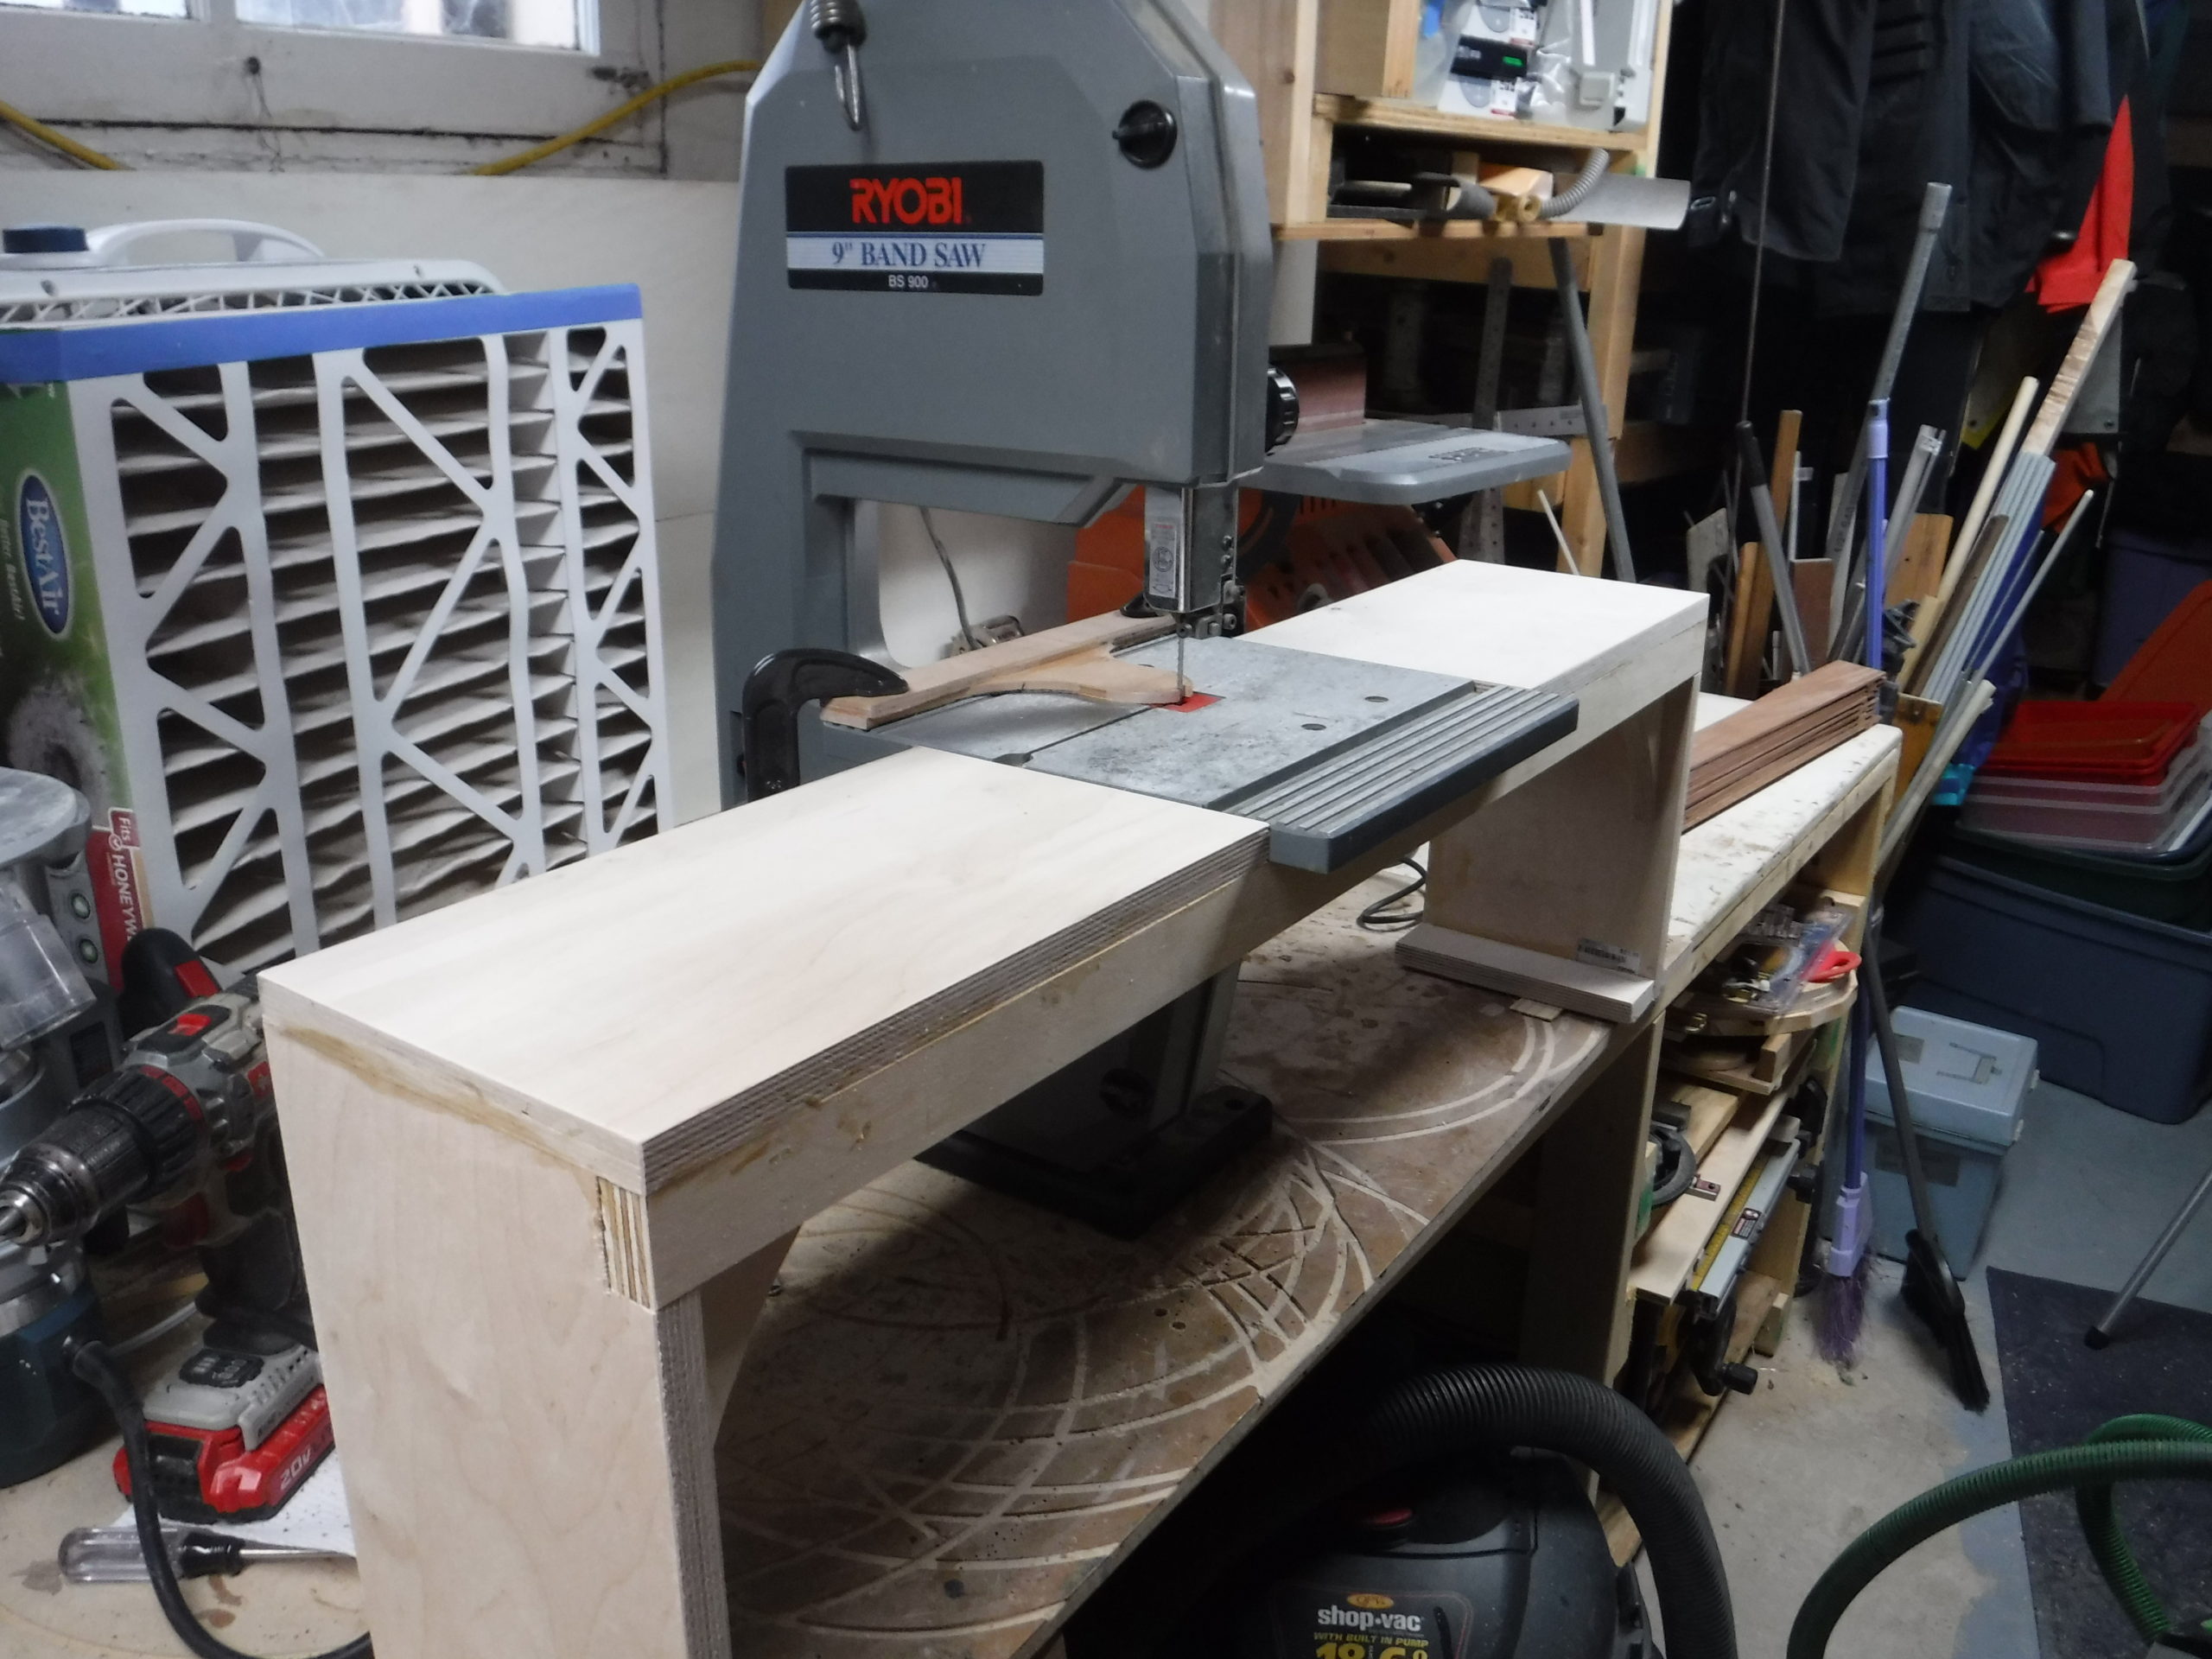
Use a bandsaw with the pattern jig to cut the excess
Now take jig to the router to finish the edge
Repeat for the other side.
Repeat for all 18 pieces. Note: I always try have extra blanks in case something goes wrong here.

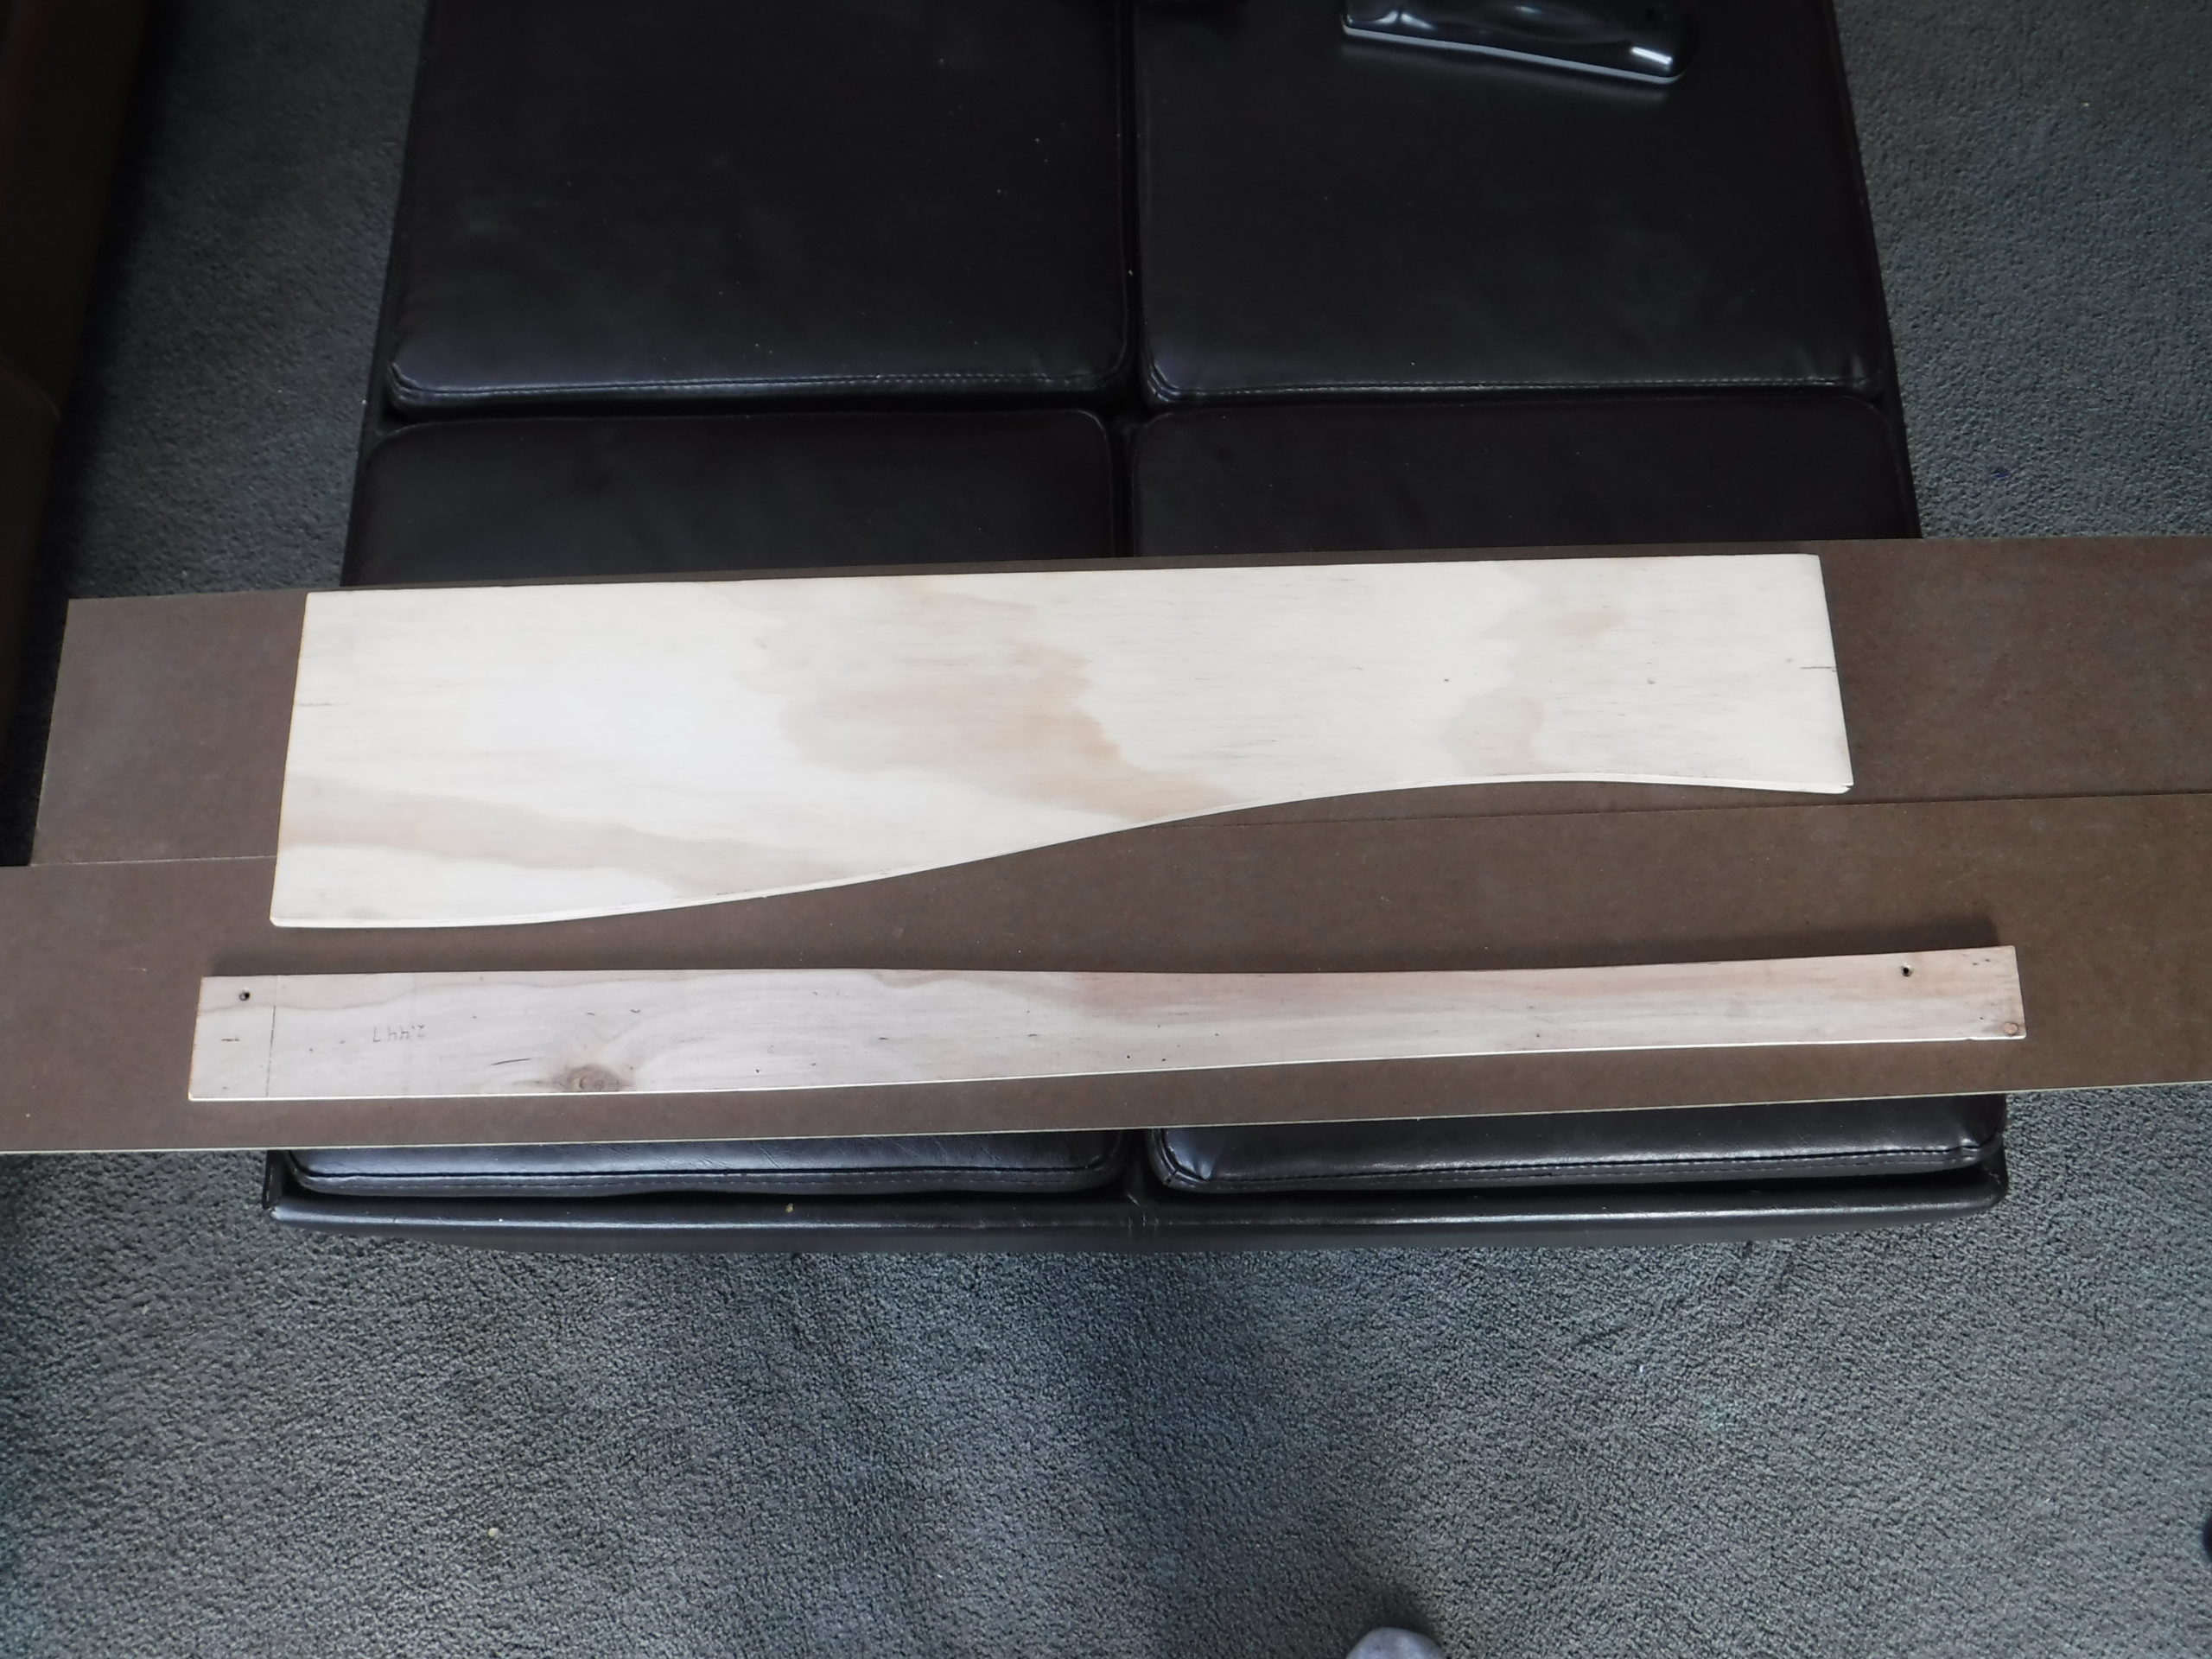
Profiles
The profile jigs are essential for controlling the correct shape and dimension of the stave. I use a left and right hand jig. They are symetrical and you need two due to the 10 degree angle that we have on the edges. My patterns assume we are milling face down.
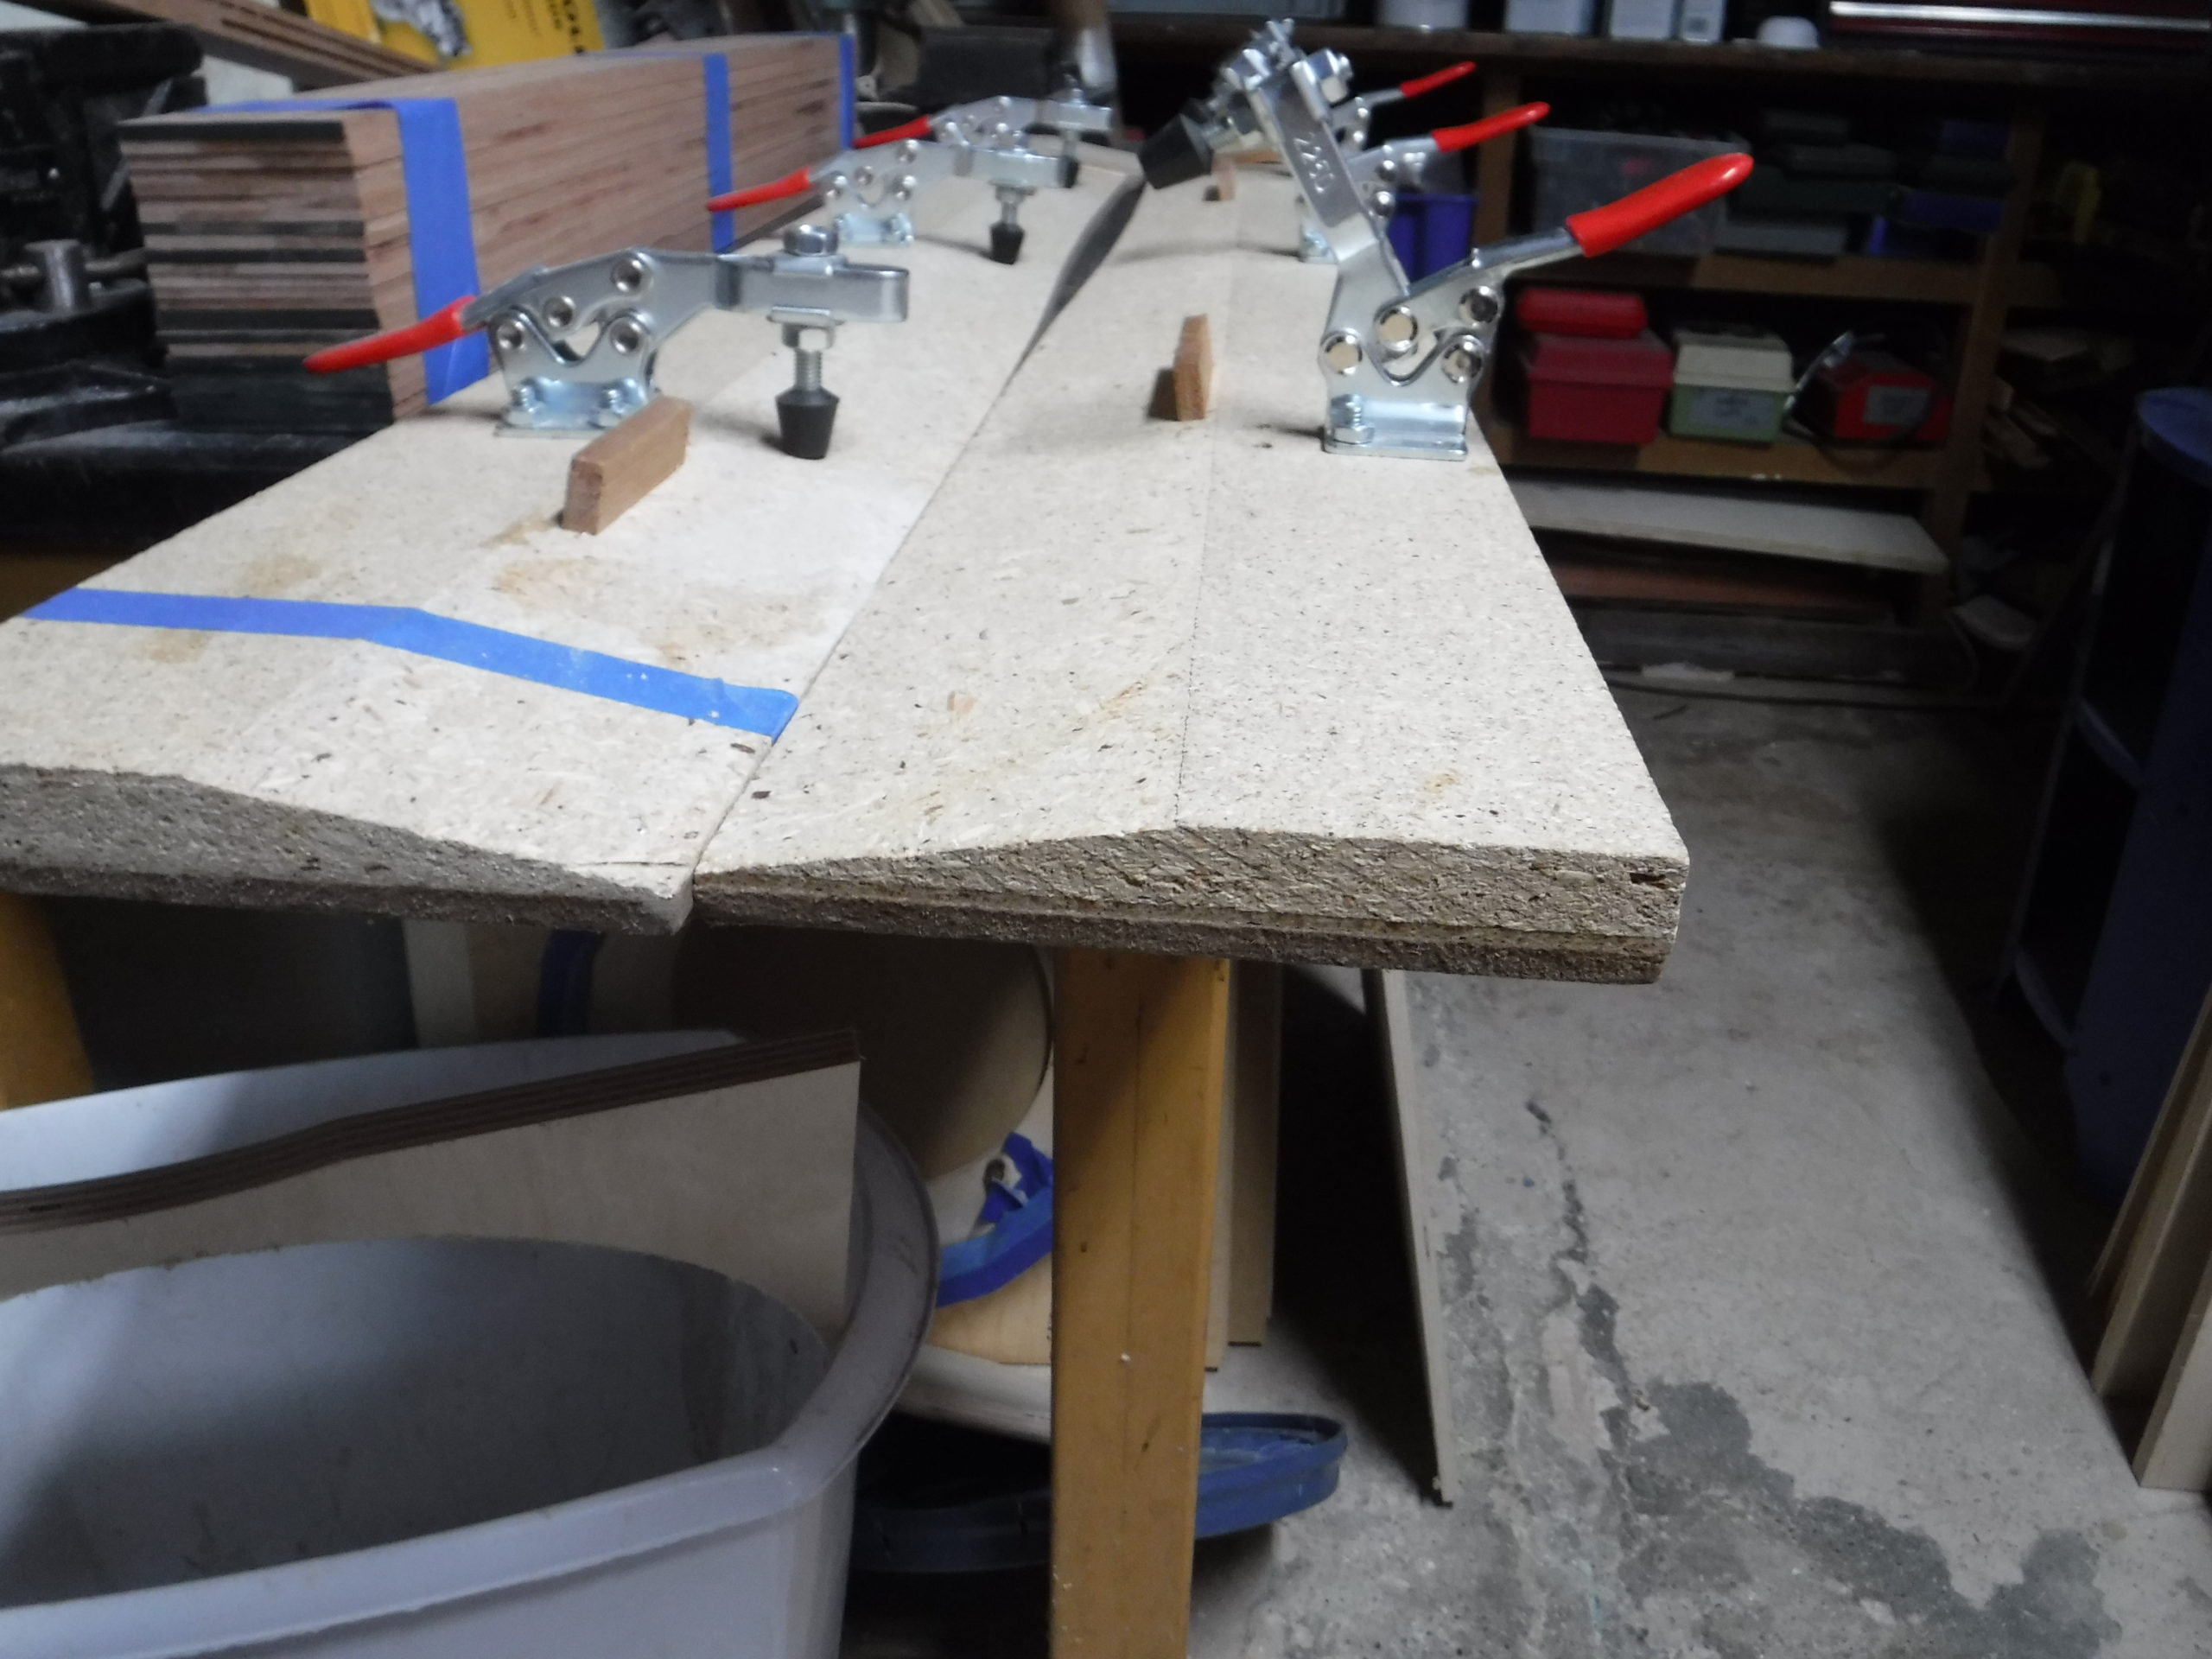
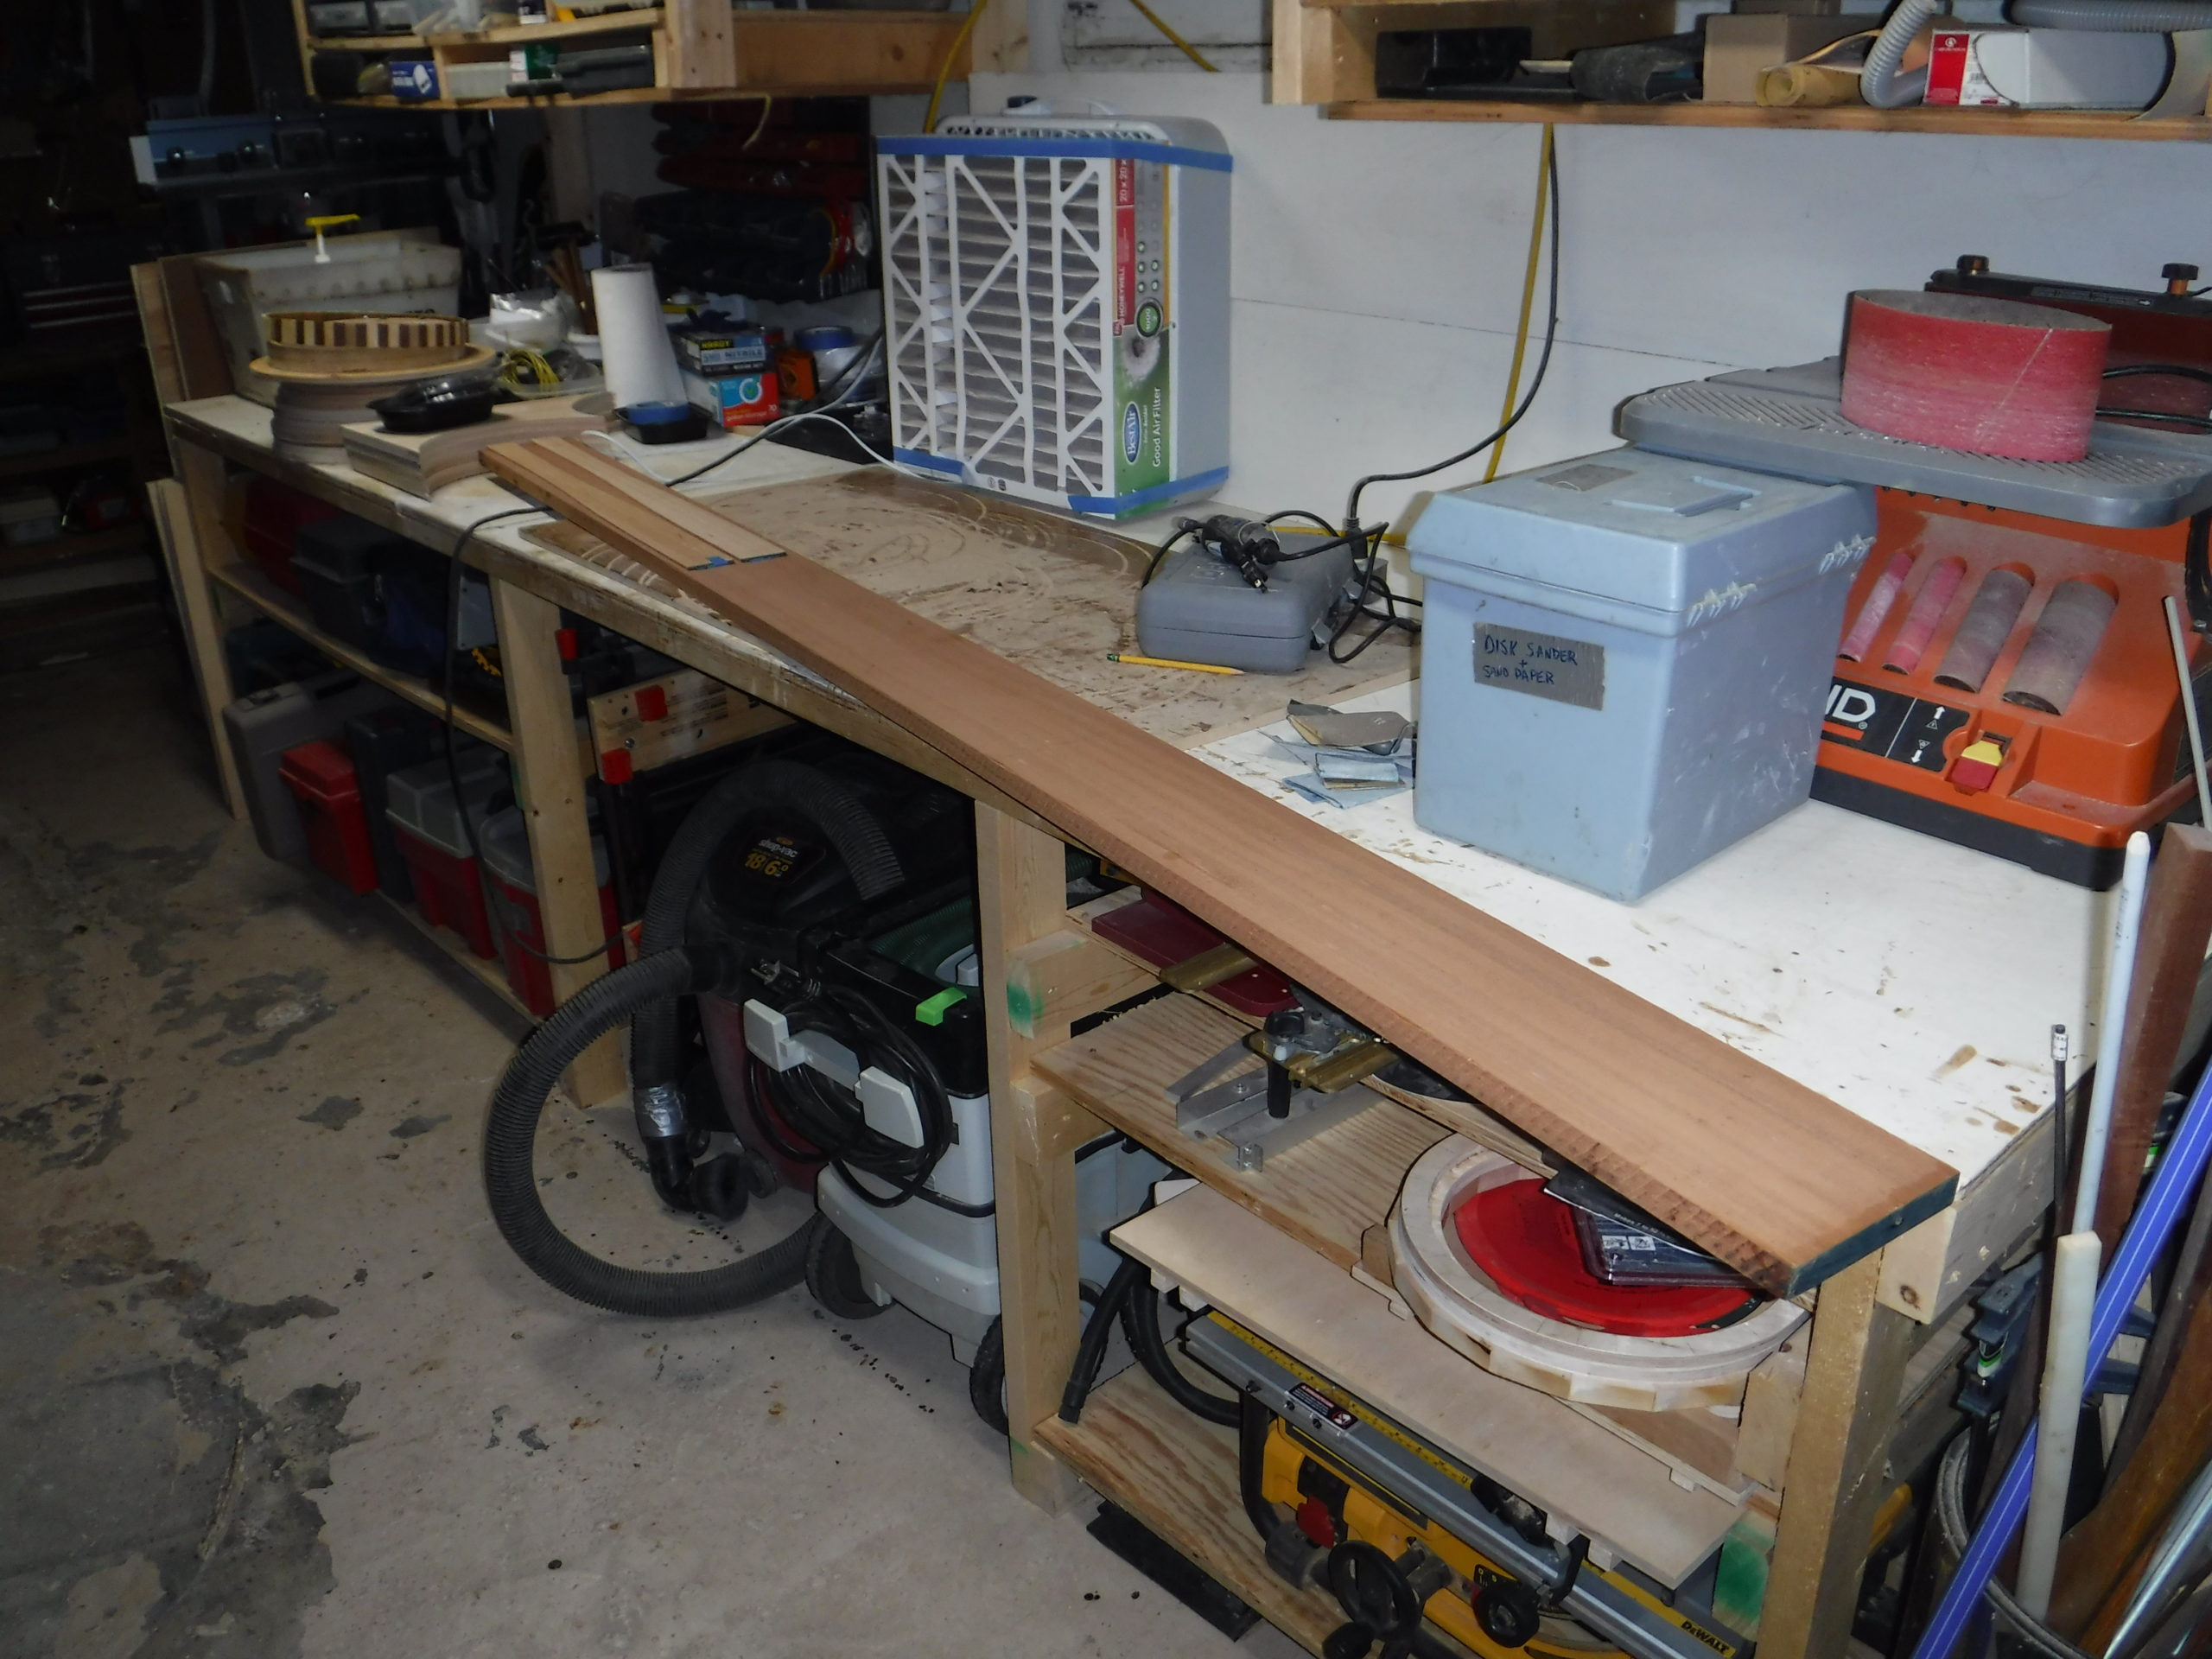
This is my setup for the band saw pattern jig. It allows me to cut the excess before running the pattern thru the pattern router bit. This saves wear and tear on the bit, but most importantly the thin boards are prone to splitting along the grain when you try to rout off too much material at once. With this setup I can consistently and safely cut to about 3/16″ from the final edge.
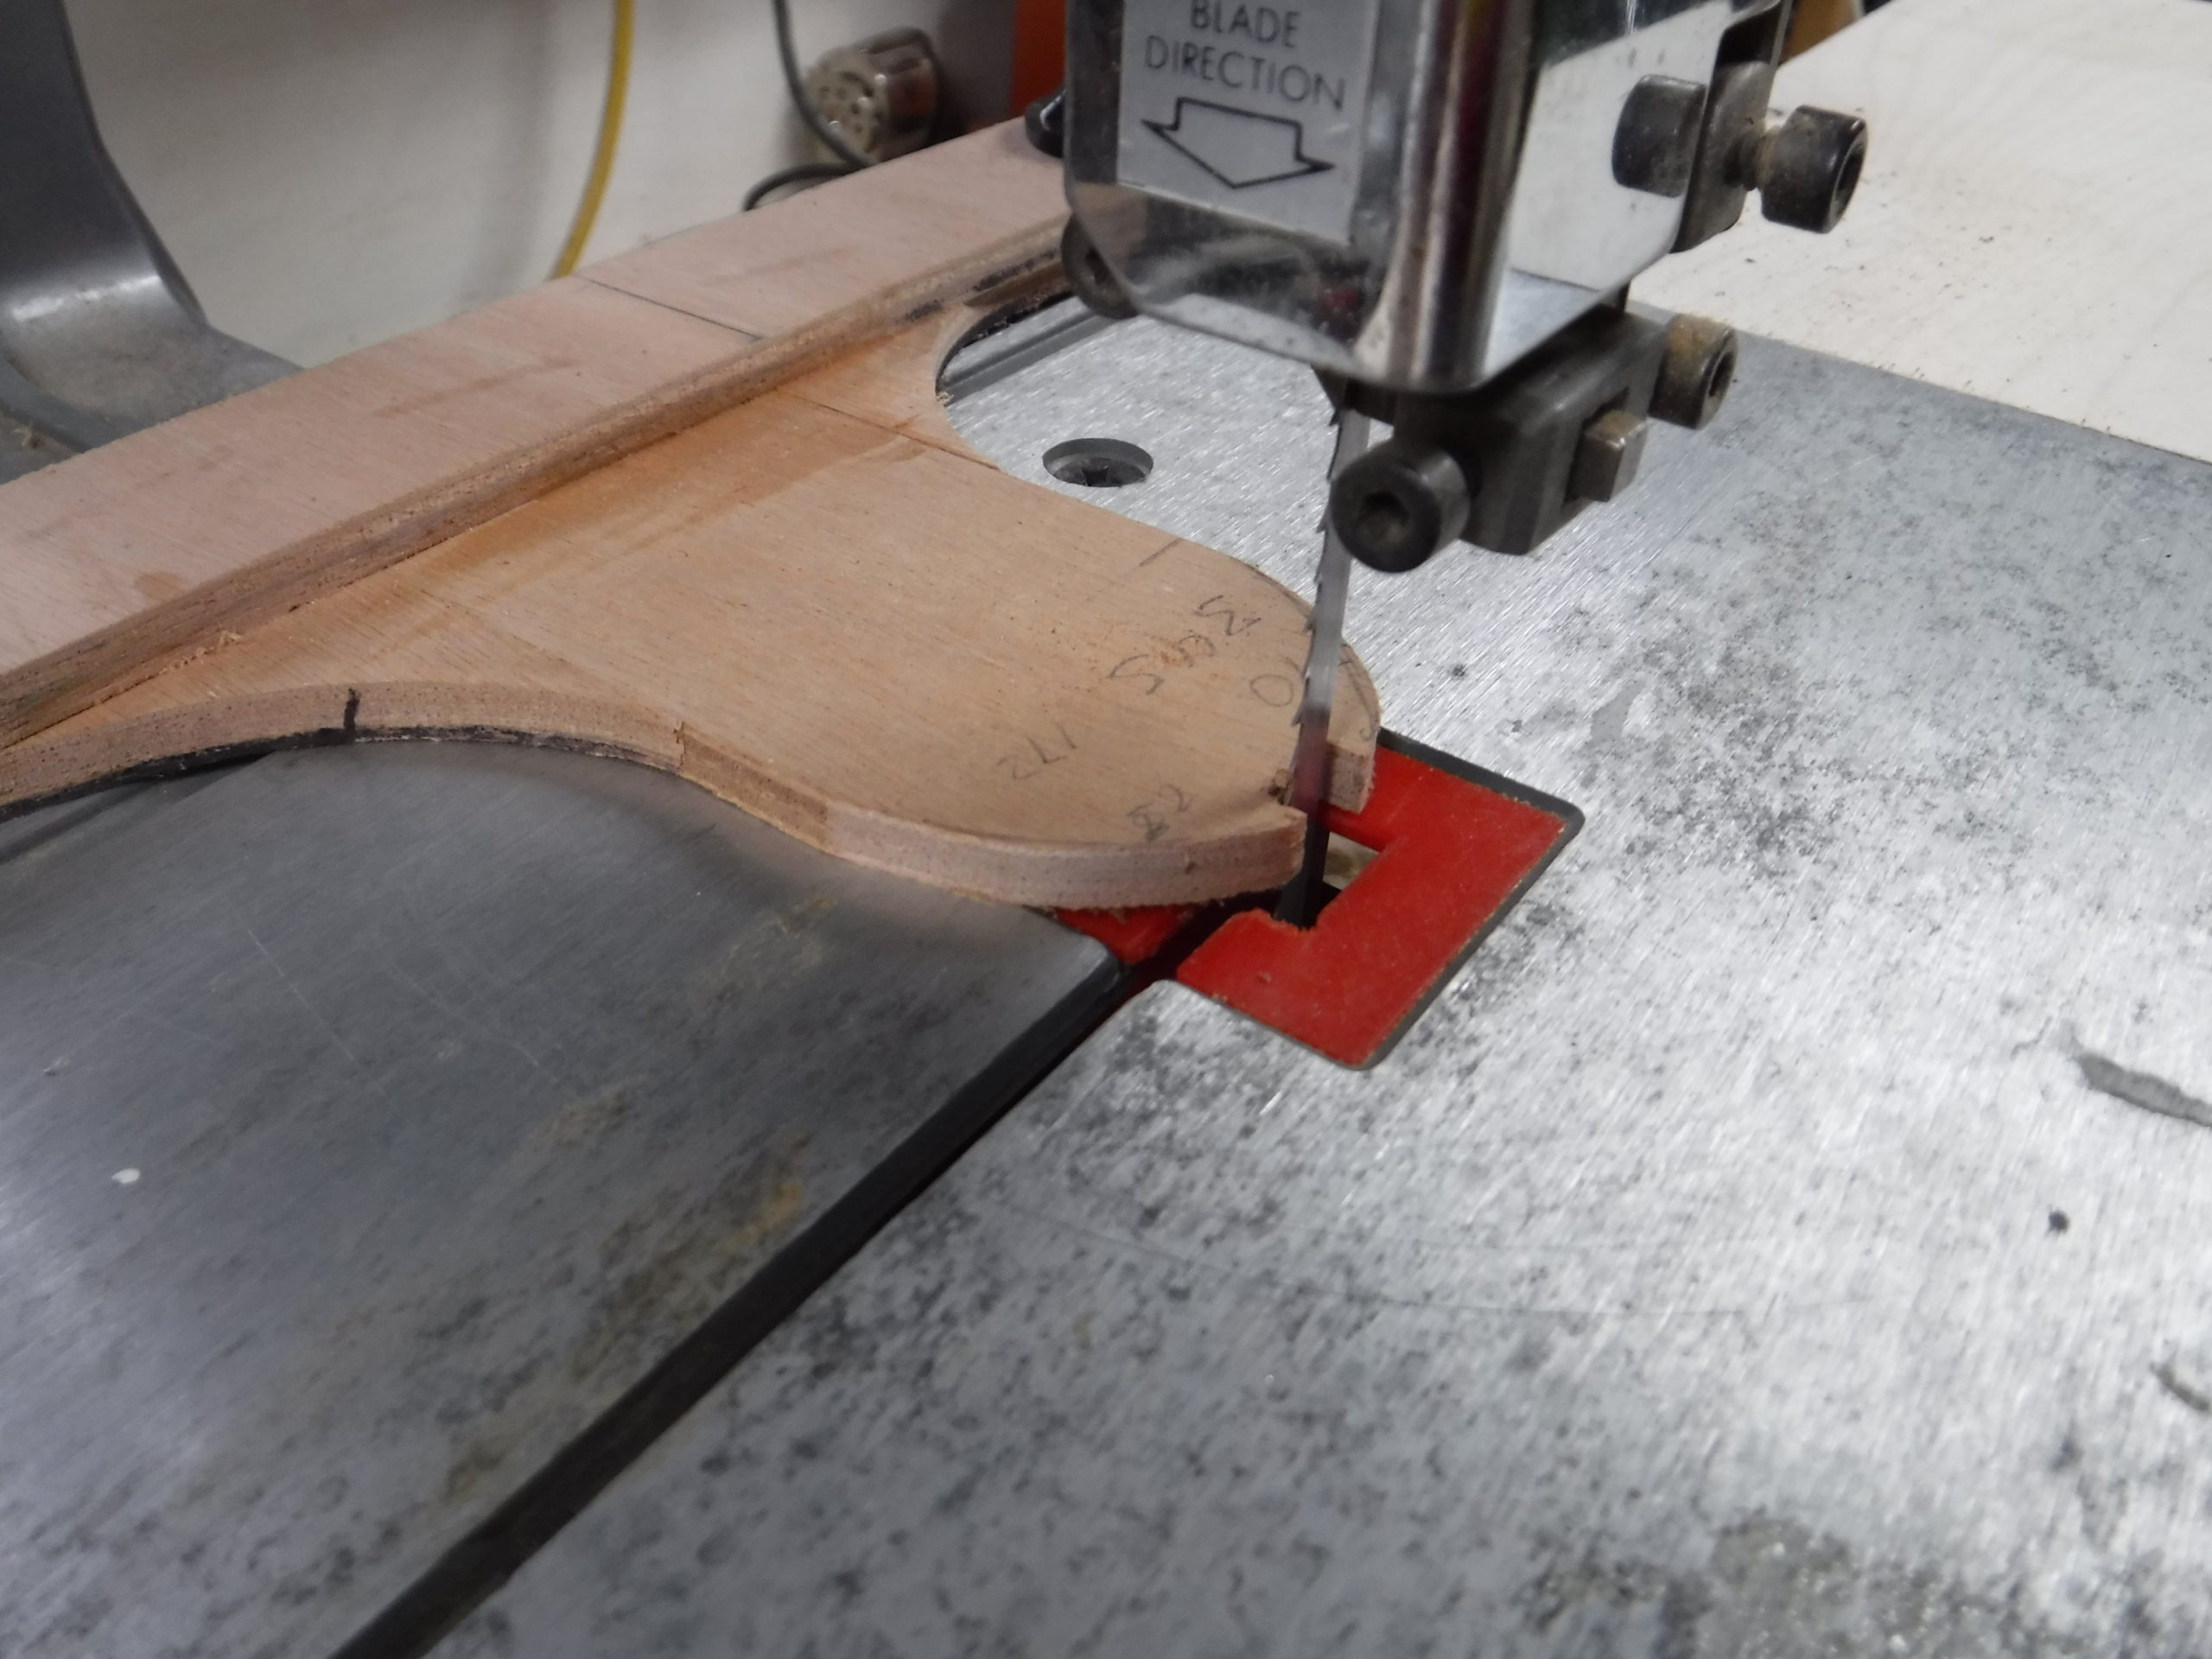
The same pattern is used for the band saw and the router so I can do both operations without resetting the board on the pattern.
Recent Comments